Get Started with Autotune AI
Get started with Statsig Contextual Bandits to personalize variant selection per user based on context features and a single goal metric.
Autotune AI is quick to set up.
Set up your Contextual Autotune
Configure your contextual autotune in the Statsig console. You can also configure it programmatically through the Statsig console API.
Create the contextual autotune
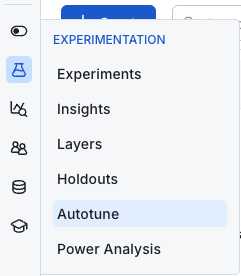
Log in to your Statsig console and navigate to Autotune under Experiments.
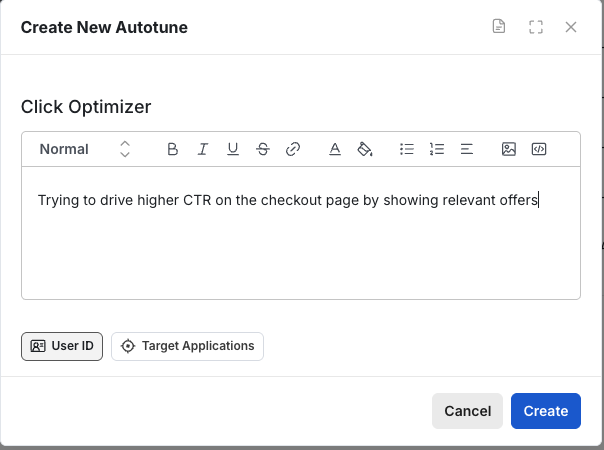
Select Create. Name your contextual autotune and, optionally, specify the goal so other users can understand the motivation behind it.
Set your autotune type to Contextual.

Configure optimization
If optimizing for discrete outcomes such as:
- User clicks
- Checkouts
- Actions
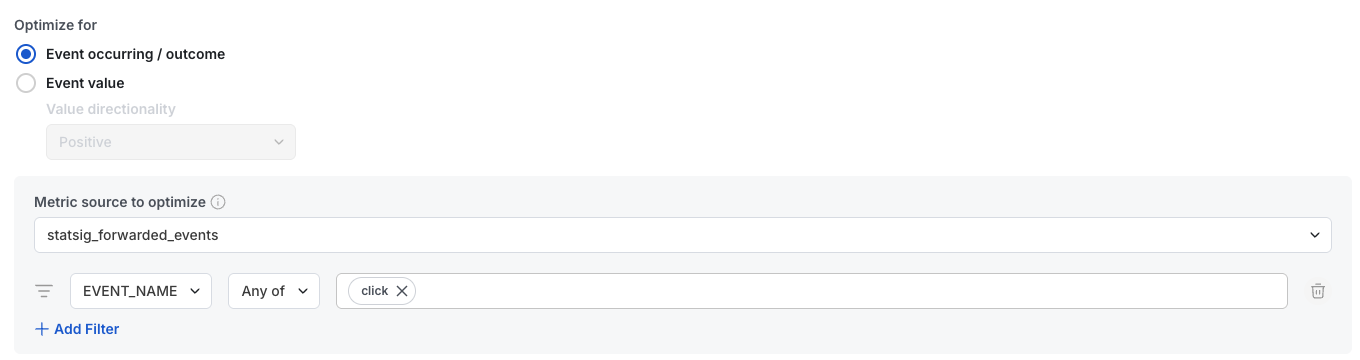
Choose Event Occurring as the outcome type. If optimizing for a continuous output such as:
- Revenue
- Latency
Choose Event Value and set the directionality. Also choose the field from your log or metric source (Warehouse Native) to use for the value.
For Warehouse Native customers, specify the metric source and any optional filters for your target event.
Wrapping contextual autotunes in an experiment is highly recommended but not required. You can set this up before or after your contextual autotune. The experiment wraps autotune calls in code and measures the overall impact of using this contextual autotune in your project.
Training settings
The remaining settings have defaults, but you can tune them as needed:
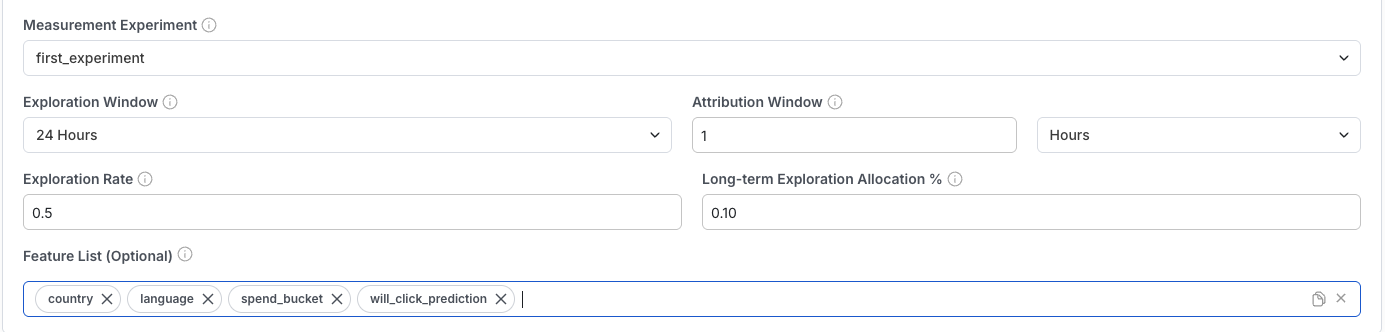
- Exploration window: How long to serve traffic randomly to bootstrap bandit exploration.
- Attribution window: How long after a user sees your variant to count outcome events. If set to 1 hour, a user has 1 hour to take action after seeing the experience.
- Exploration rate: Controls how much the bandit favors exploration over exploitation. 0 uses only the best prediction without confidence intervals. 1 uses the 99.9% CI instead of the 95% CI for exploration.
- Long-term exploration allocation %: The percentage of traffic that is always randomly assigned. Use higher values for contextual autotunes you plan to run for a long time, to help avoid model drift.
- Feature list: A list of features Statsig should use to train the model. This acts as a filter; if not set, Statsig reads every custom attribute. The main use case is fetching this through CAPI to understand which features a given contextual autotune requires for on-demand evaluation.
Set up your variants. Variants are configurations you fetch in code. For example, the configuration below sends a "red" value to your codebase, which can be passed to the color setting on a button.


Use the Contextual Autotune in code (Python example)
The following code assumes you have your server secret key. Before running Python, install the SDK:
pip install statsig-python-core
First, import and initialize Statsig:
from statsig_python_core import Statsig, StatsigUser

key = <your_key_here>
autotune_name = <autotune_name_here>

statsig = Statsig(key)
statsig.initialize().wait()
Then, create a user object and fetch your config:
user = StatsigUser('user_id', custom={'key1': 'value1', 'key2': 'value2'})
cfg = statsig.get_experiment(user, autotune_name)
Now you have your config and can apply it:
color = cfg.get_string("color", "default color")
print(f"Going to use {color} for my color now")
At this point, you should be able to:
- Confirm that you fetched a value from one of your variants.
- Navigate to the diagnostics page of your autotune and see a log of the user ID along with the corresponding variant.
Your code is now serving personalized variants to your users.
Important considerations
Statsig requires a few hundred units to train a model and doesn't start training until those units' attribution window has elapsed. To test the functionality, you can simulate events to confirm things work as expected. Use logic like:
fetch_autotune_value()
if(user country == 'us'):
    log_click()
to conditionally send events and verify that the model picks up on the conditional behavior.
Was this helpful?