Statsig CLI ("Siggy")
Introduction to the Statsig CLI for managing feature gates, experiments, and project configuration from your terminal and CI environments.
How the Statsig CLI works
The Statsig CLI is a command-line interface that helps with management of Feature Gates, Experiments, and Dynamic Configs within the Statsig platform. This tool lets you create, manage, and delete configs from the command line, and you can also use it within scripts.
Why use the Statsig CLI
Efficiency
The Statsig CLI provides a fast way to interact with Statsig, reducing the need for manual actions through the Console interface. It allows quick execution of tasks with simple commands.
Automation
You can integrate the CLI into CI/CD pipelines to automate the management of Feature Gates and Experiments.
Consistency
Using the CLI enables scriptable and repeatable actions, promoting best practices and reducing the risk of human error.
Installation
Prerequisites
- Node.js (version 14 or higher)
- npm (Node Package Manager)
Install and configure
- Install the Statsig CLI using npm:
$ npm install -g @statsig/siggy
- Check install
$ siggy --version
If you get a command not found error, add your node global bin folder to your path.
Run export PATH=$PATH:$(npm get prefix -g)/bin to do this.
If that doesn't work, run the CLI by prefixing npx in the command line:
$ npx siggy --version
- Configure the API keys by running:
$ siggy config -c <console-api-key>
$ siggy config -k <client-api-key>
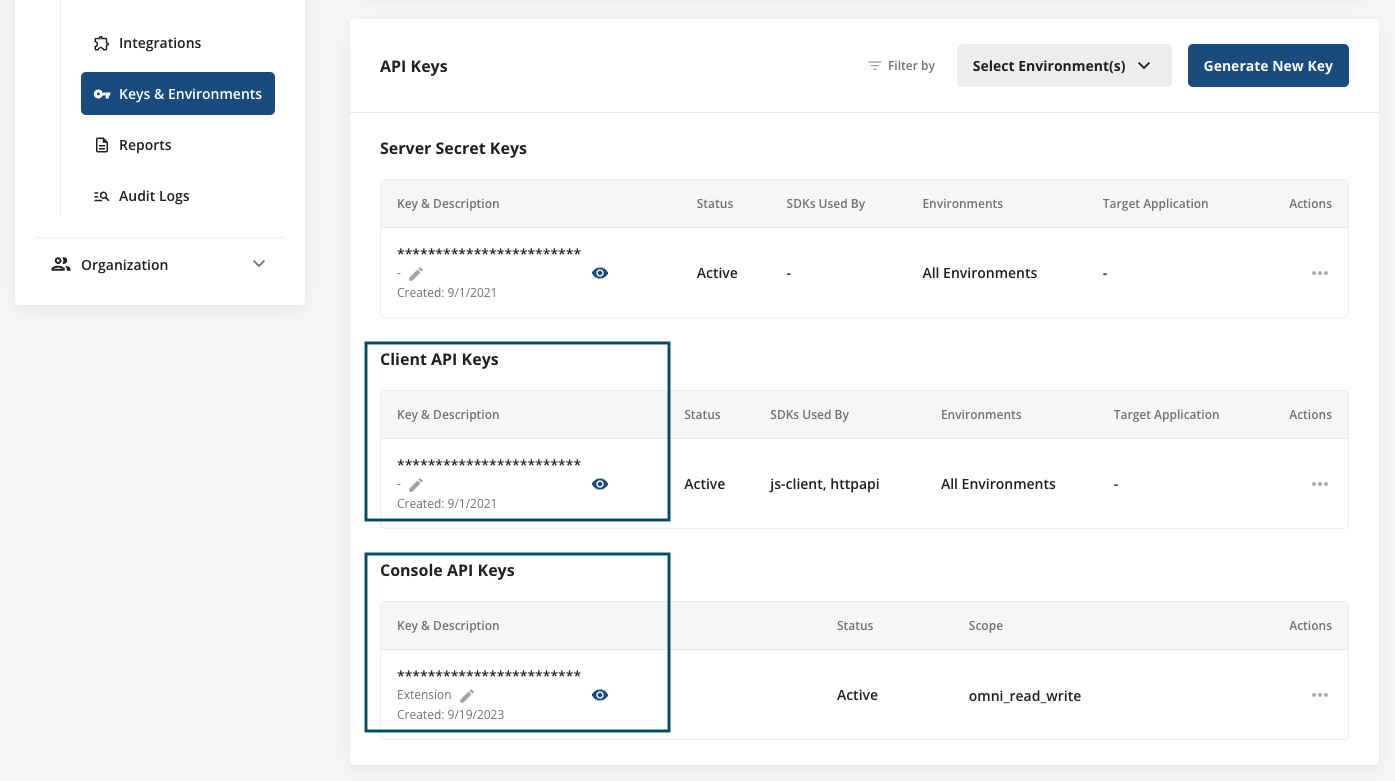
Retrieve these keys from your Statsig project. Log in to Statsig Console at https://console.statsig.com and go to the Settings page (https://console.statsig.com/settings). Select the Keys & Environments panel within Project Settings, then copy both the Console API Key and Client API Key, and paste them in the Settings dialog.
Next steps: Commands in CLI
Was this helpful?