Guide to General CMS Integrations
Integrate Statsig with CMS platforms like Contentful, Webflow, and Framer to run content experiments and personalize pages without redeploying code.
Using Statsig with a CMS
A common question is how to use Statsig with an existing CMS. Statsig also offers a no-code solution, Sidecar, but you can set up your code to integrate your CMS and Statsig so you write code once and then run experiments on arbitrary combinations of parameters in the future.Statsig recommends using Layers to wire this up. Read the Layers documentation before continuing.Layers are a unit of mutual exclusion between experiments in Statsig. Every user participates in only one experiment in a layer at any given time. As such, Statsig recommends you set up a layer for each surface you're experimenting on with the help of your CMS
The remainder of this guide assumes you are experimenting on a single surface. Repeat these steps for each additional surface, such as a landing page, product page, or blog.
As an example, this guide parameterizes the Statsig landing page to connect to a CMS.
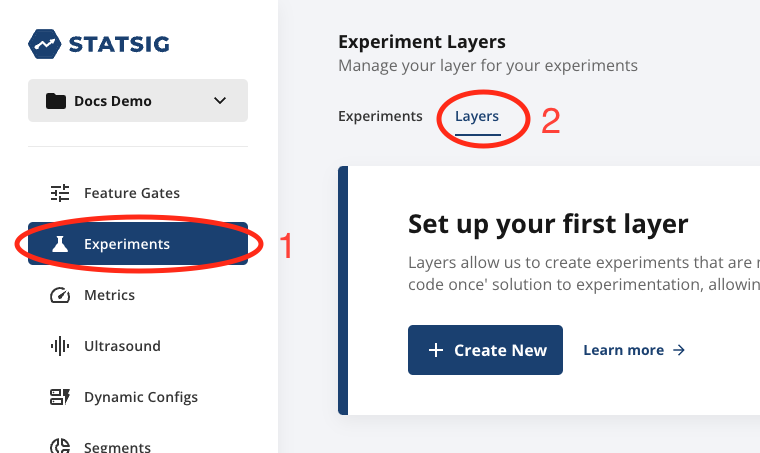
First, create a layer. Navigate to "Experiments" in the left-hand column, and then "Layers" in the title bar:
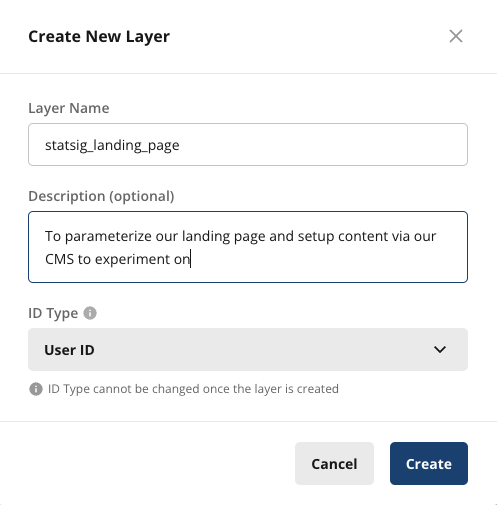
Create a layer for all content or parameters to experiment with on the landing page, named "statsig_landing_page".
Next, create parameters for the title, subtitle, and primary CTA. Set each parameter's value to the actual ID of the content in the CMS.
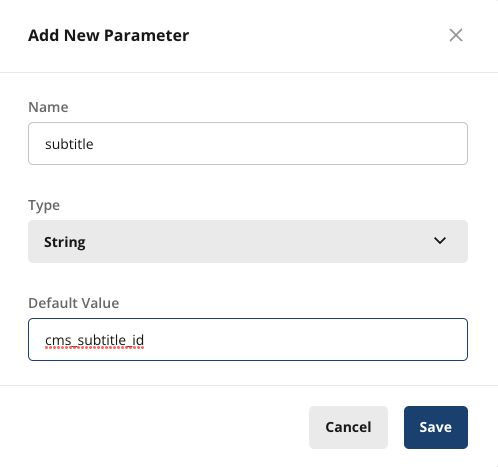
It should look like this when you are done:
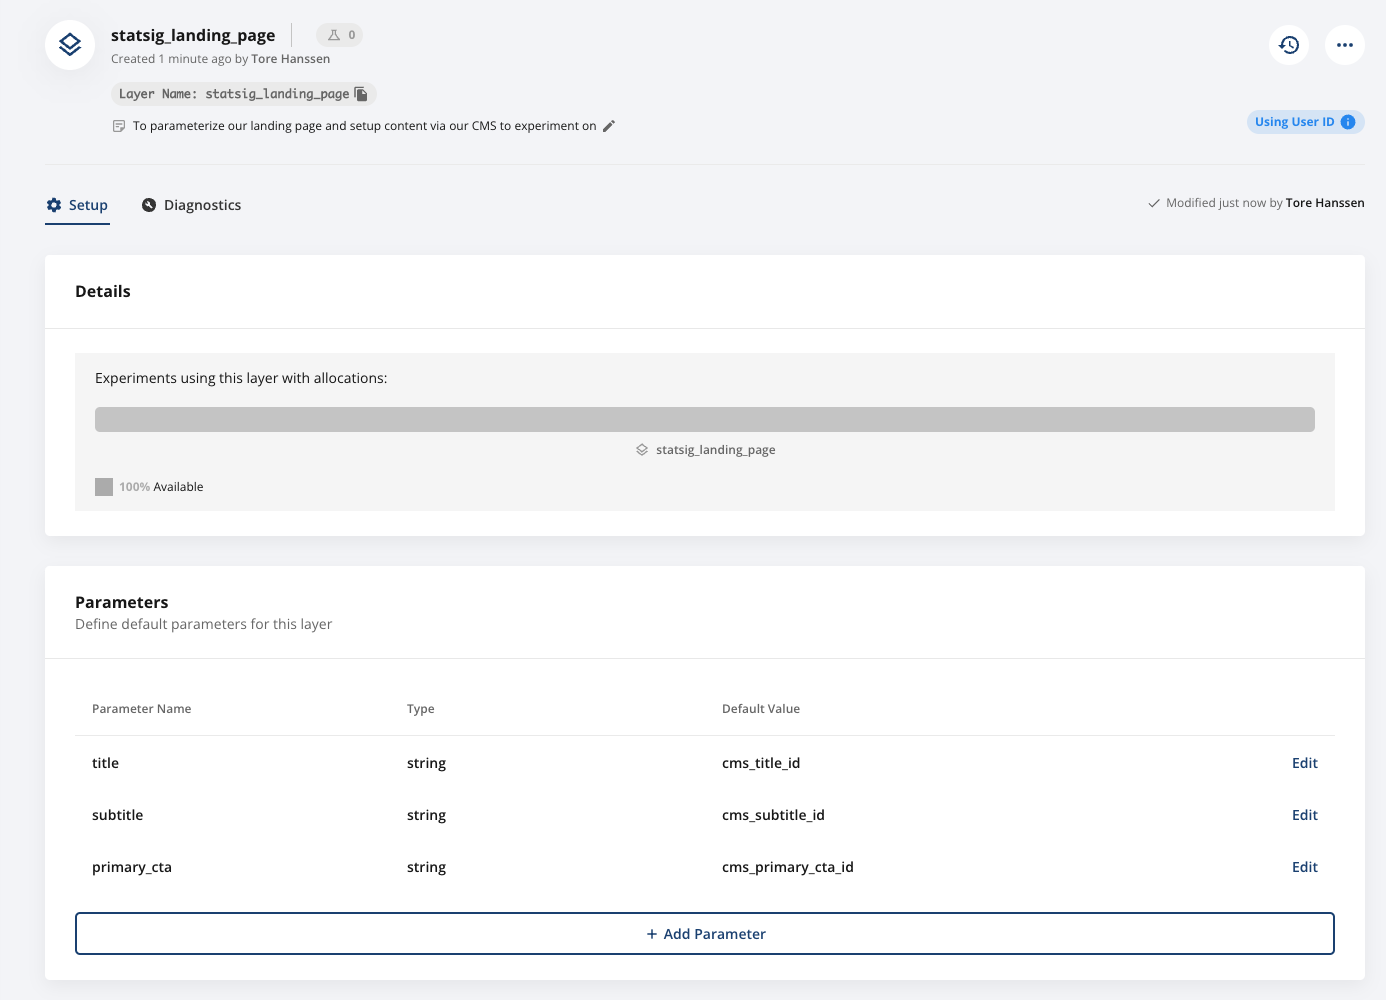
Each layer parameter has a default value. If the user isn't in any experiments in that layer, the parameter returns that default value, which maps to content in the CMS.
In code, your integration looks something like this:
const landingPageCmsIds = statsig.getLayer("statsig_landing_page");

const titleID = landingPageCmsIds.get("title", "<default_cms_title_id>"); // note that you have a default value in code as well

// exact library and function call will map to your cms client library
cmsClient.getEntry(titleID);
Repeat this for the subtitle, CTA, and all other parameters on your landing page to make them all dynamic. After you update a CMS ID in Statsig, your code loads the updated content for that section.
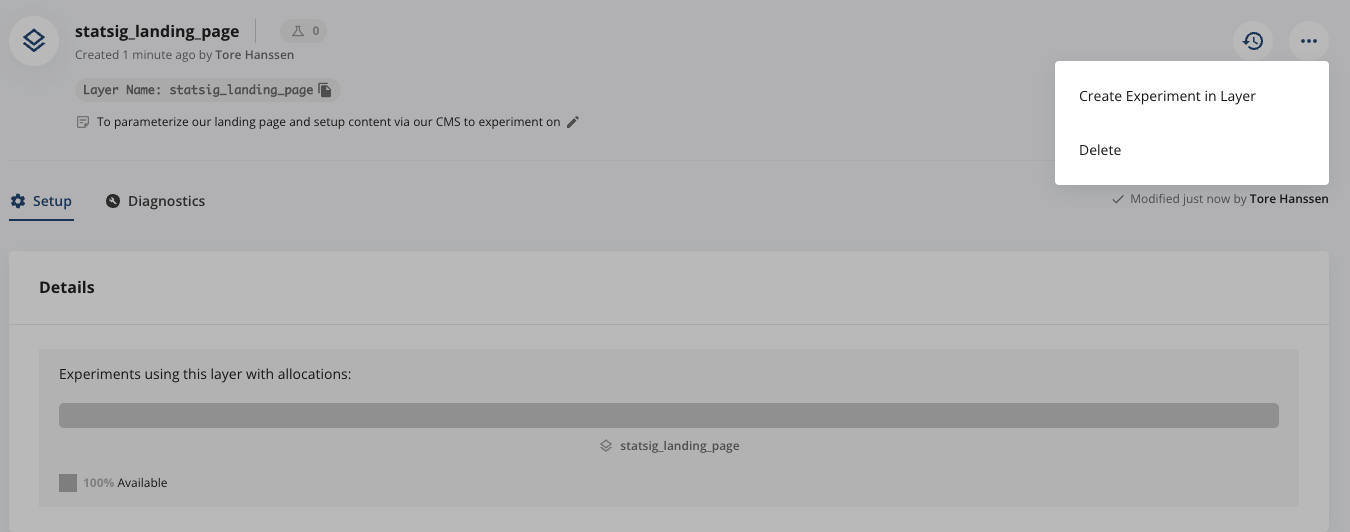
To test a new variant, create new content in your CMS, then return to your layer and select "Create Experiment in Layer":
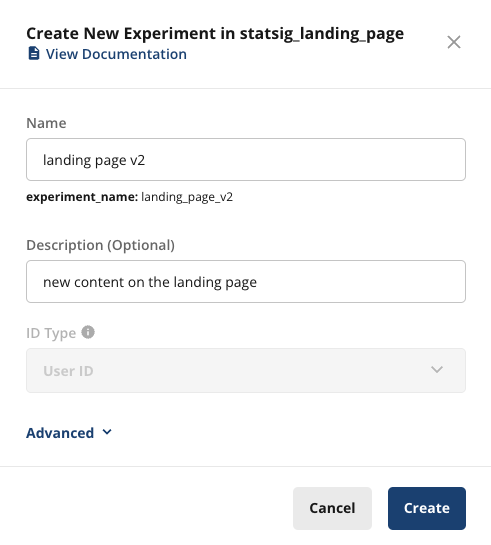
Complete the experiment setup form:
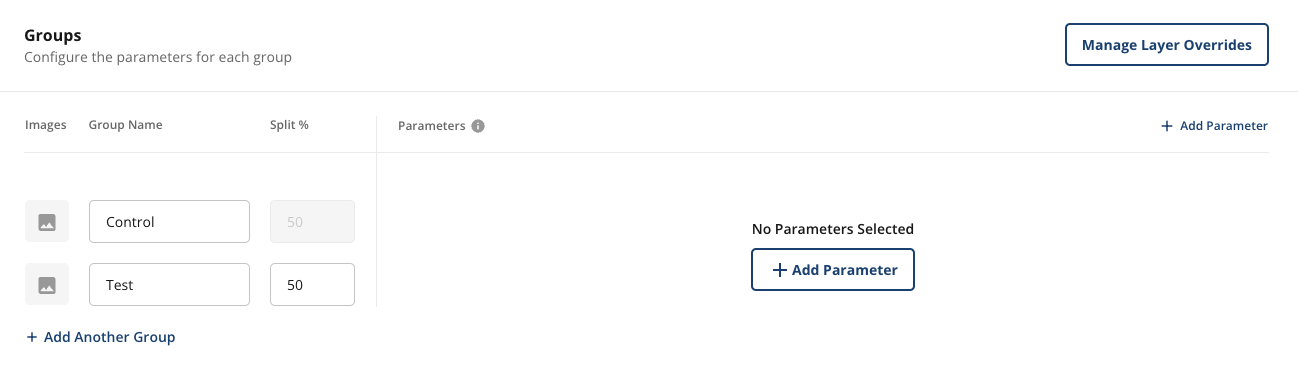
Statsig creates the experiment. Now set up the test and control groups and specify which content each group uses for each parameter. In the Groups and parameters section, select "Add Parameter" and choose one of your existing parameters, such as title:

Update the parameter value to the ID of the new title:
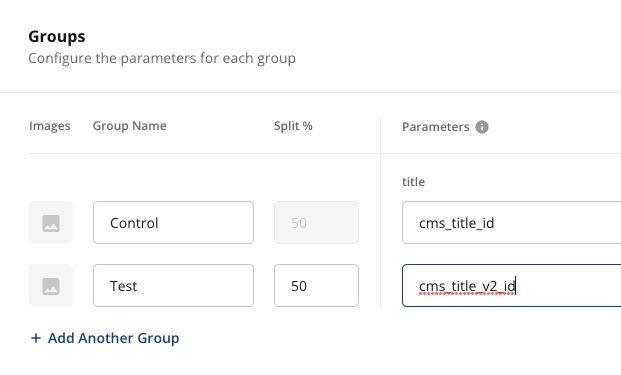
Add more groups or parameters as needed. After you validate the experience in all groups, start your experiment. You don't need to change any code for parameters you already created. Statsig pulls the updated ID and your code loads the updated content automatically.
The experimentation flow is the same as all other Statsig experiments. The parameter value maps to your CMS content.
For more information about setting up and running experiments, go to Experiments.Was this helpful?