Initial Setup Guide of your Workspace
Initial setup guide for configuring your Statsig workspace, organization, projects, and team access permissions for new Enterprise deployments.
How this guide is organized
Set up a Statsig Enterprise workspace by configuring your organization, SSO, projects, roles, and teams. This guide is for organization admins who provision the initial environment and access controls for their teams, and it includes best practices for reviews, API keys, and notifications to increase operational efficiency.
Statsig workspace structure
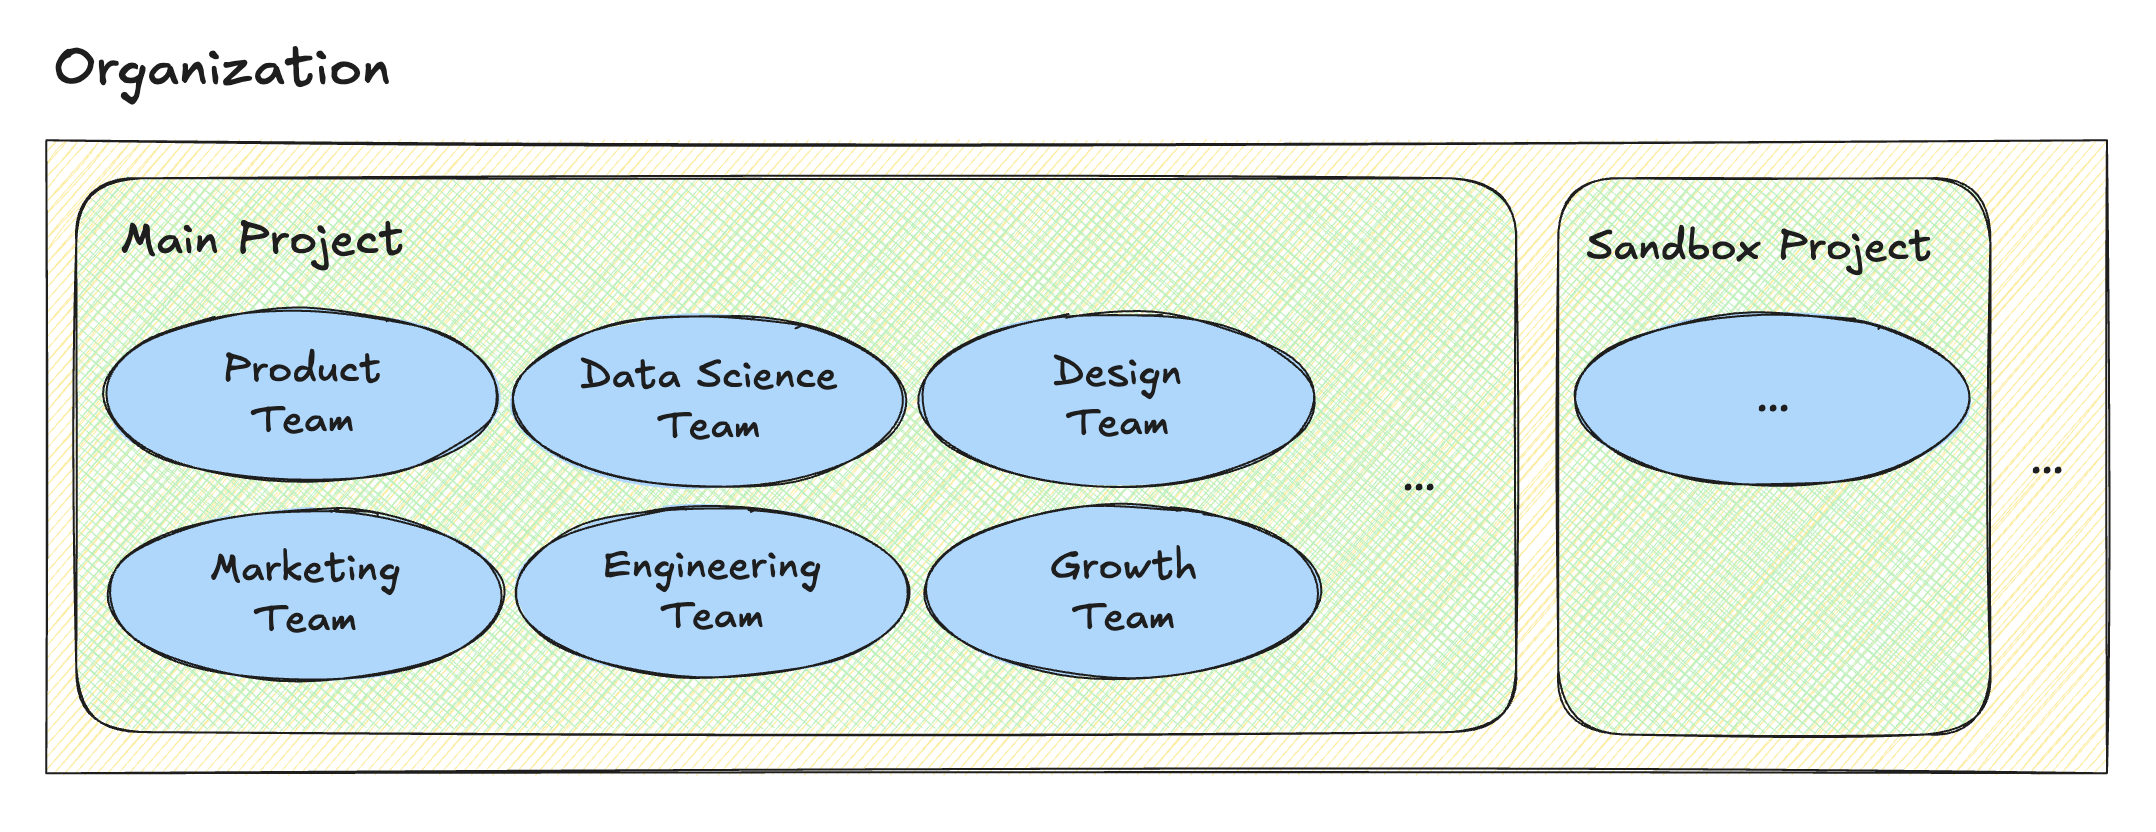
Statsig provides three constructs to help you organize your workspace.
Organization is an enterprise-level environment that allows companies to create project(s) and bring members to work inside the project.
Project is a workspace within the organization where the configs (for example, feature gates, experiments, layers), metrics, and SDK keys your team creates live.
Team is a group of members at the project level that can help your organization manage the permissions and ownership of resources.
Recommended structure
Statsig isolates each project within the organization from the others. Statsig doesn't share resources or data among different projects, even when they're part of the same organization.
The recommended structure for most customers is a single project within the organization, where multiple teams contribute and collaborate.
Different teams and functions can stay well-organized within a single project by using features such as teams, roles, tags, and templates. This structure also avoids costly migrations if you ever need to consolidate projects for cross-functional collaboration.
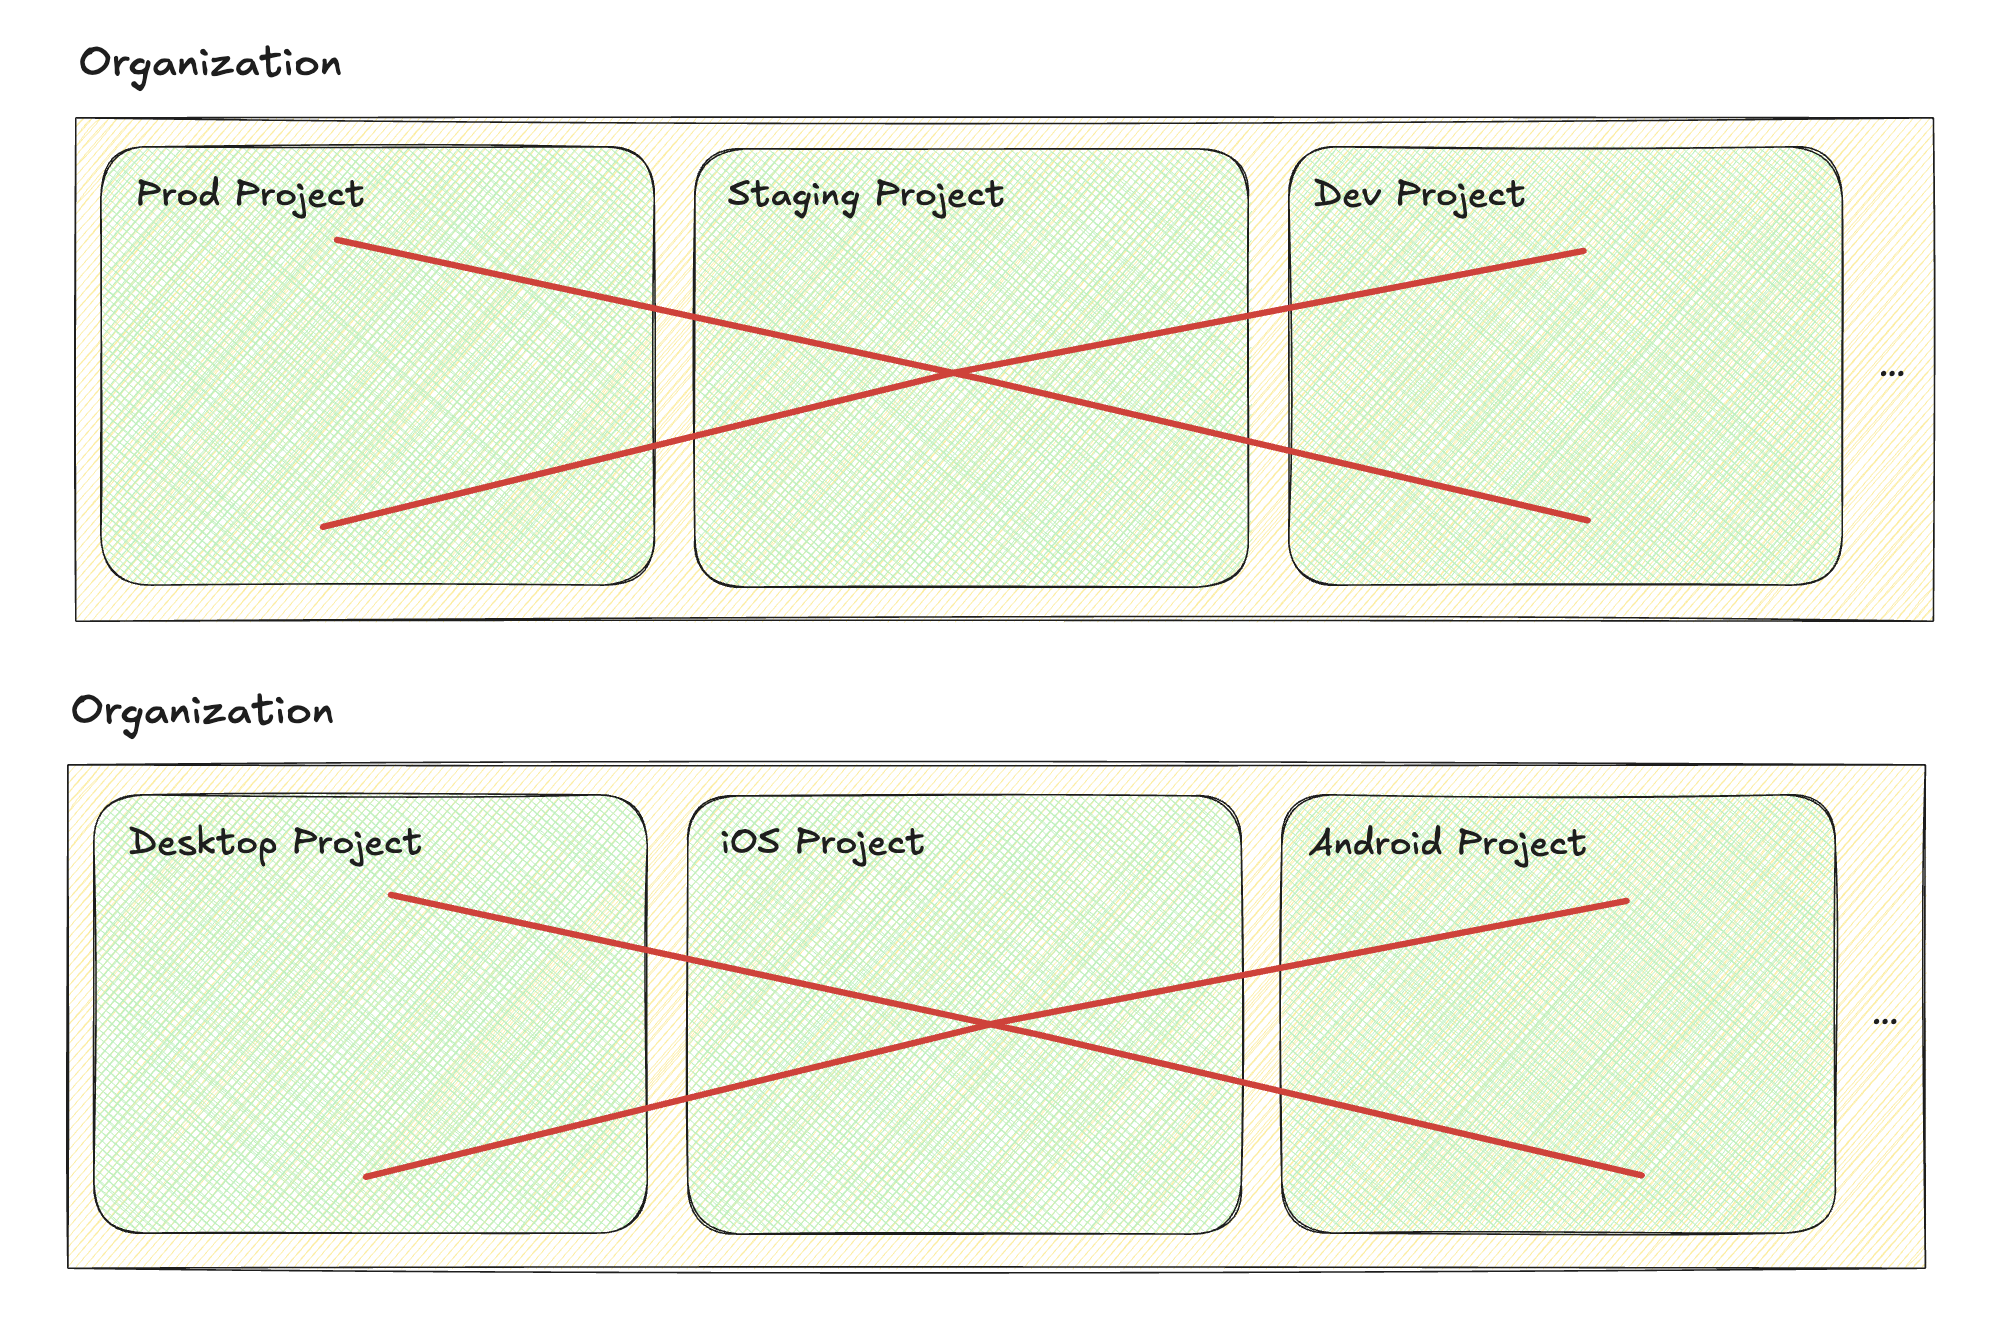
Statsig has rich support for environments within resources. Creating multiple projects to manage lower environments separately from production is an anti-pattern.
Setup guide
Step 1: Setting up the organization
When you sign an enterprise contract with Statsig, Statsig provisions your existing account into an enterprise account.
After provisioning, Statsig adds the tab for Organization to your account along with additional security and governance settings.Step 2: Setting up SSO
Statsig recommends configuring SSO (Single Sign-On) for your Statsig organization to reduce login steps and improve security.Statsig supports any Identity Provider that implements the OIDC protocol for SSO, such as Okta, Microsoft Entra ID, Google, and more. Also consider integrating SCIM (System for Cross-domain Identity Management) if you're using Okta as your identity provider.Statsig assigns new users provisioned through SSO the Member role unless you're using SCIM.
Step 3: Creating your project
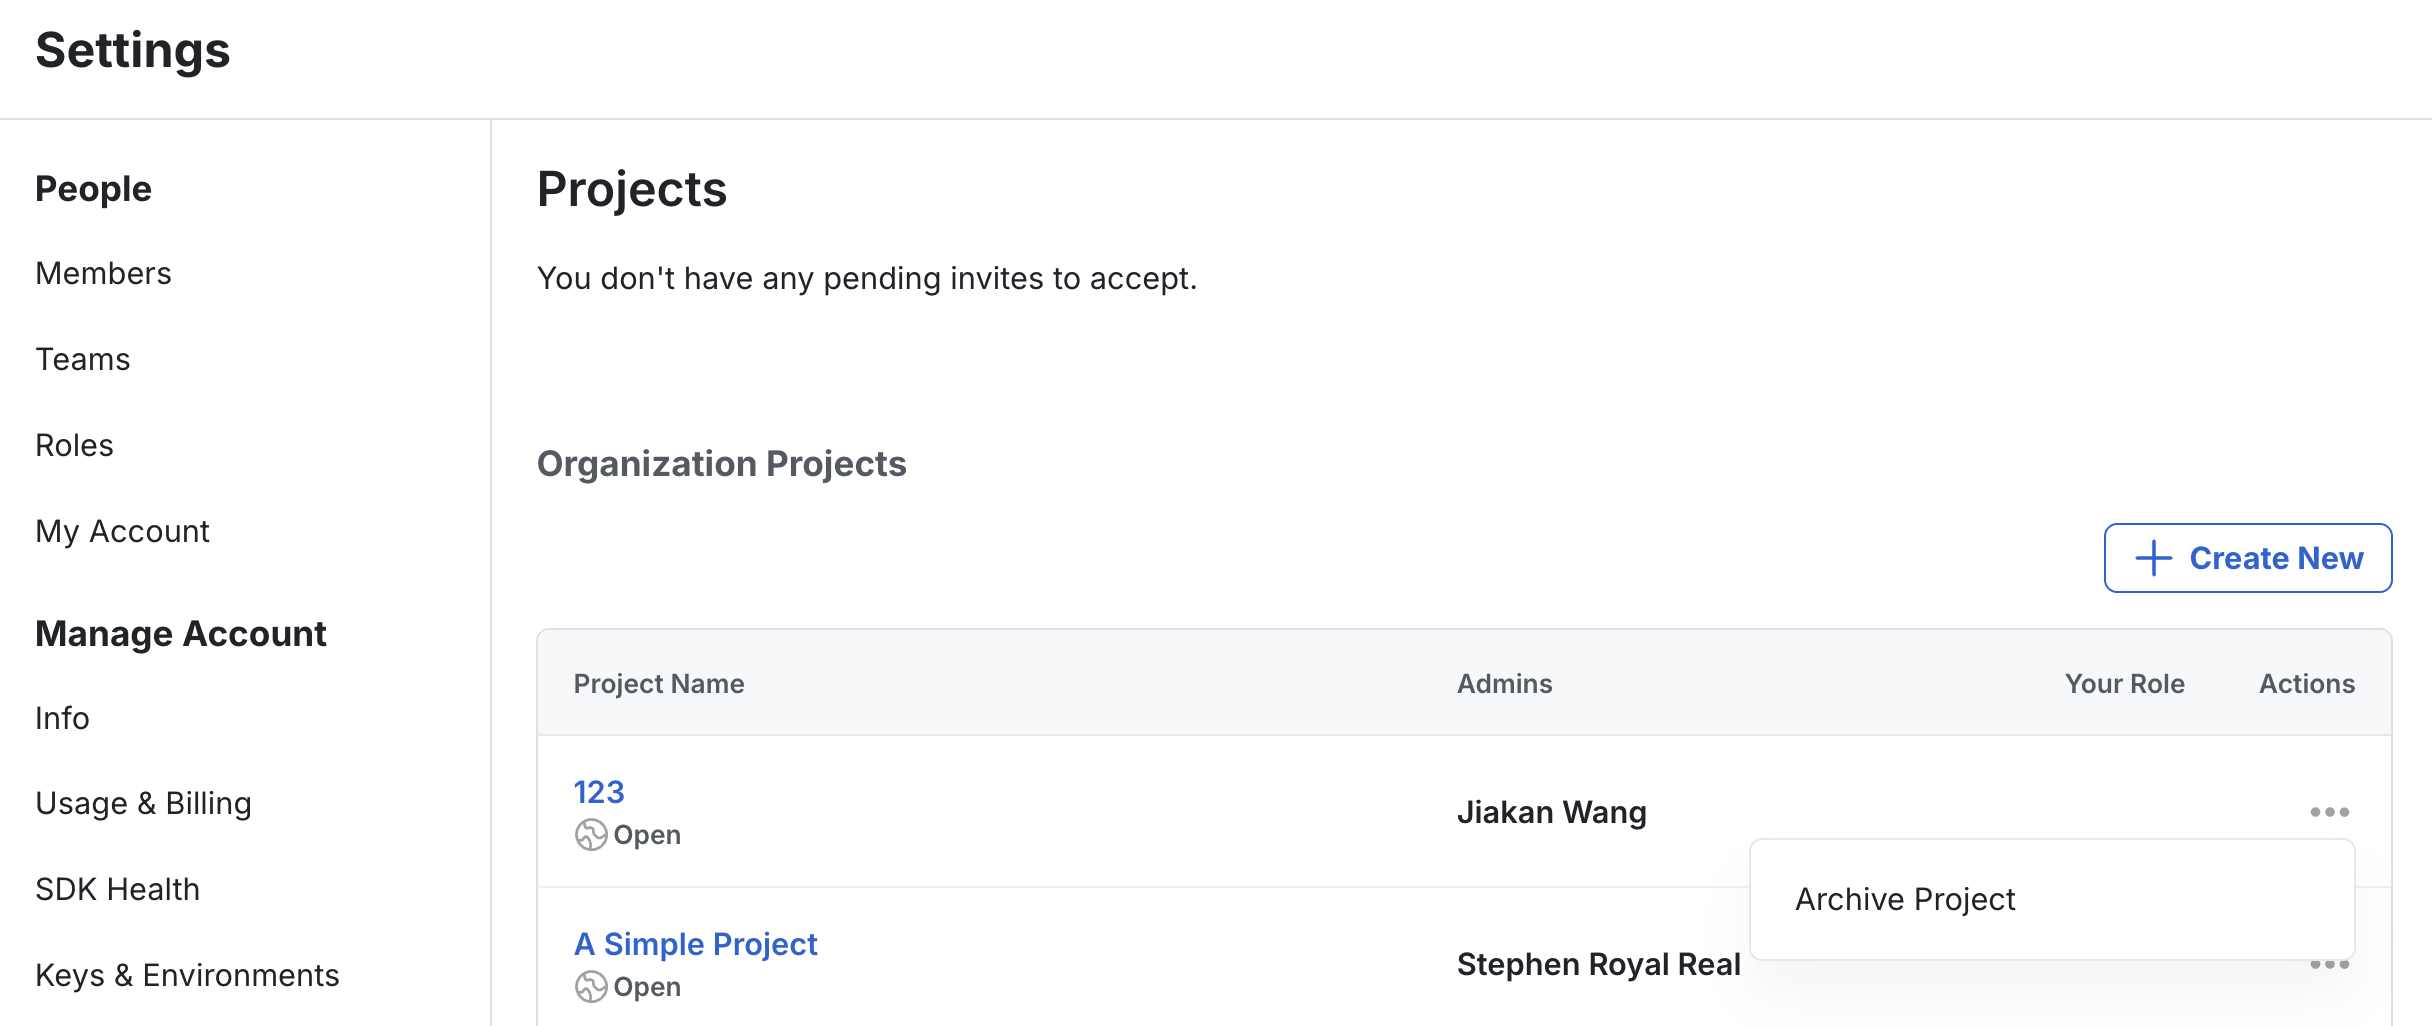
A project in Statsig is a workspace that contains everything you and your team create, including configs (for example, feature gates, experiments, dynamic configs, layers), metrics, integrations, and more.
When creating a new project, you can set its type to Open, which allows anyone in the organization to join freely, or to Closed, which allows people to join only by invitation or request.
Step 4: Setting up roles
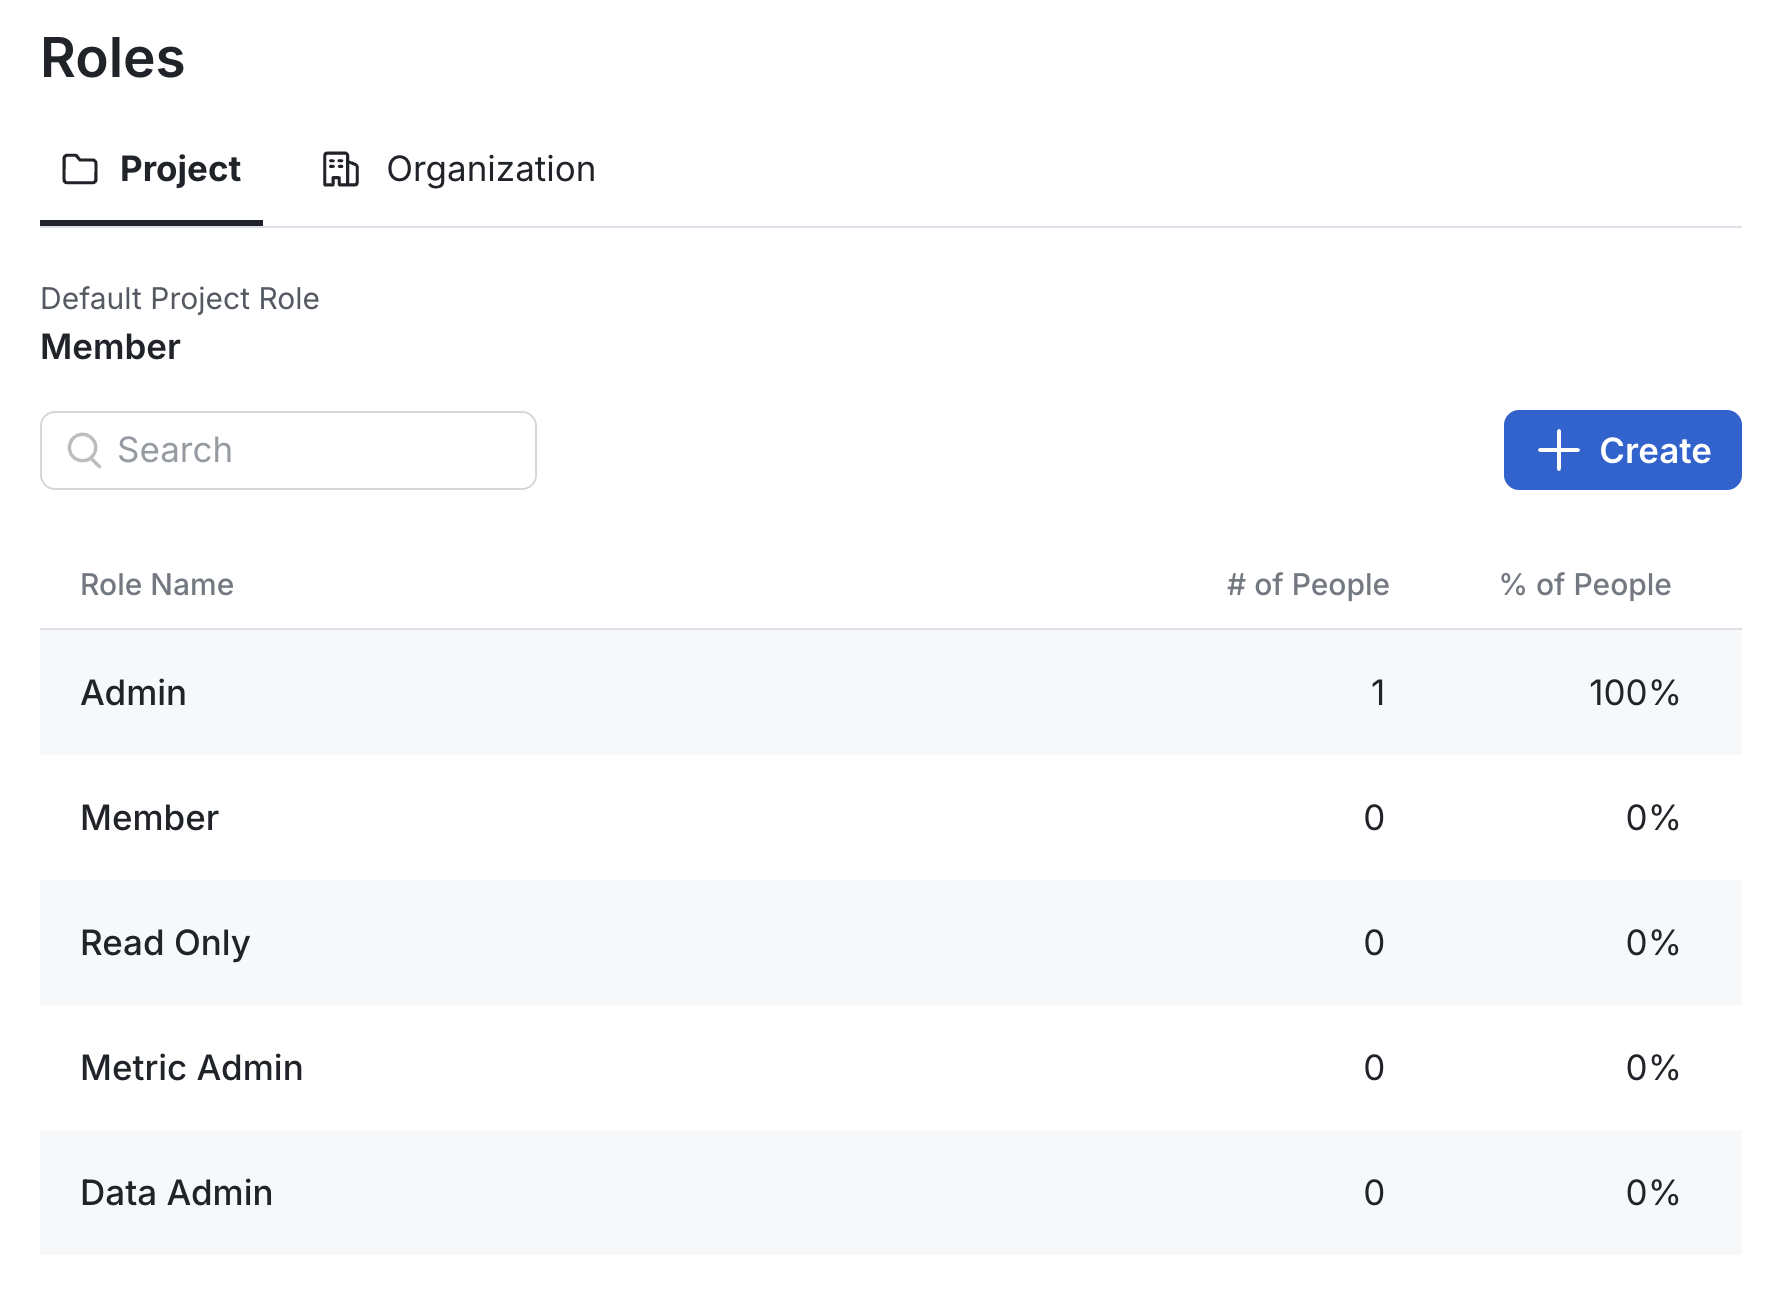
Common examples of custom roles include a Metrics Admin (responsible for managing metrics) and a Data Warehouse Admin (in Warehouse Native projects, responsible for managing warehouse connections).
Step 5: Inviting your team to the organization
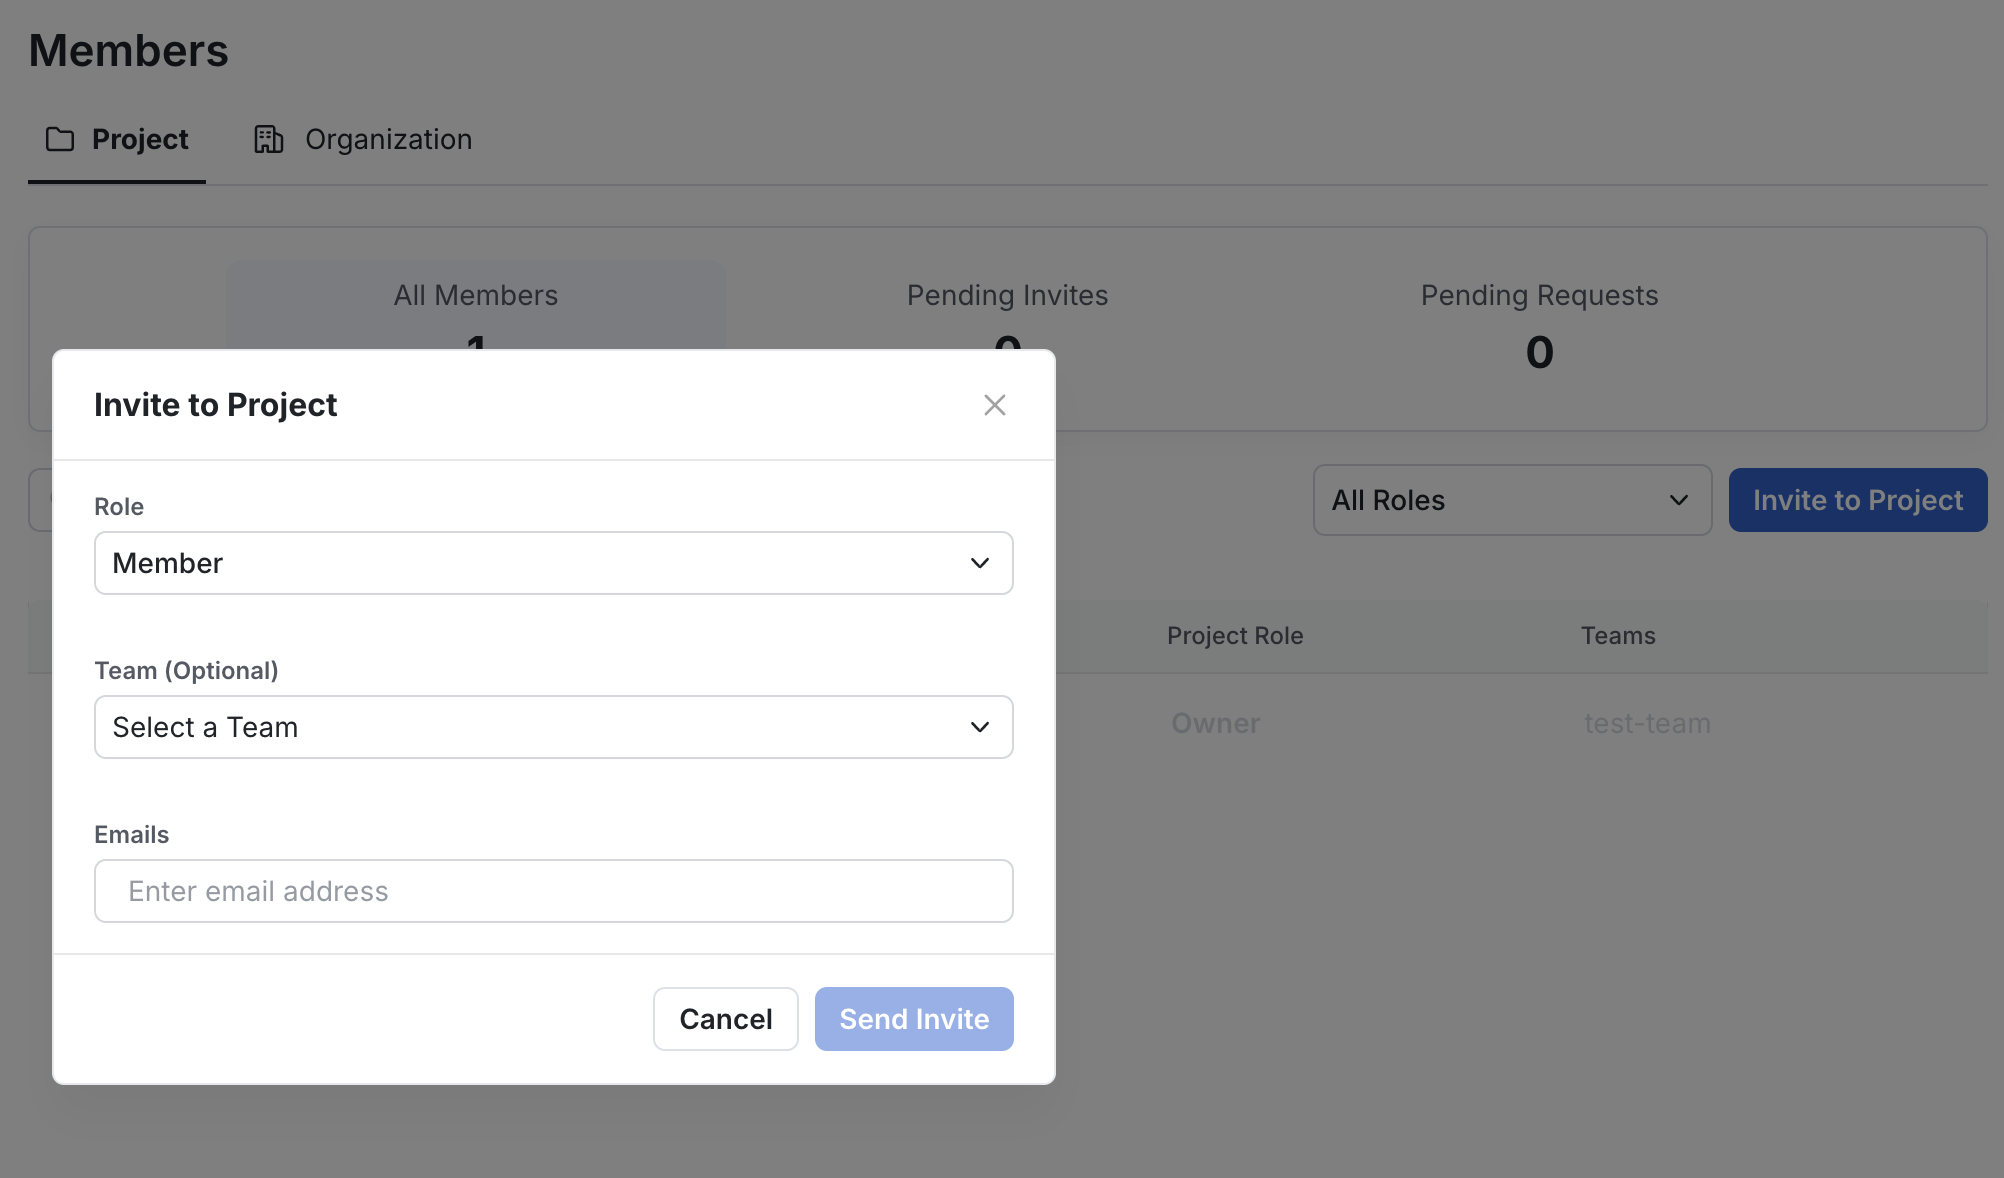
After you configure SSO, your teams can join the Statsig organization by signing in from the console and completing the request flow within your identity provider.
If you haven't set up SSO, you can invite individual members to your organization or project in the console.
Step 6: Creating teams within the project
You can create Teams within the project to help with organization and ownership.After you configure a team and add users, Statsig associates any configs created with the user's team and automatically inherits all default settings and templates from that team.
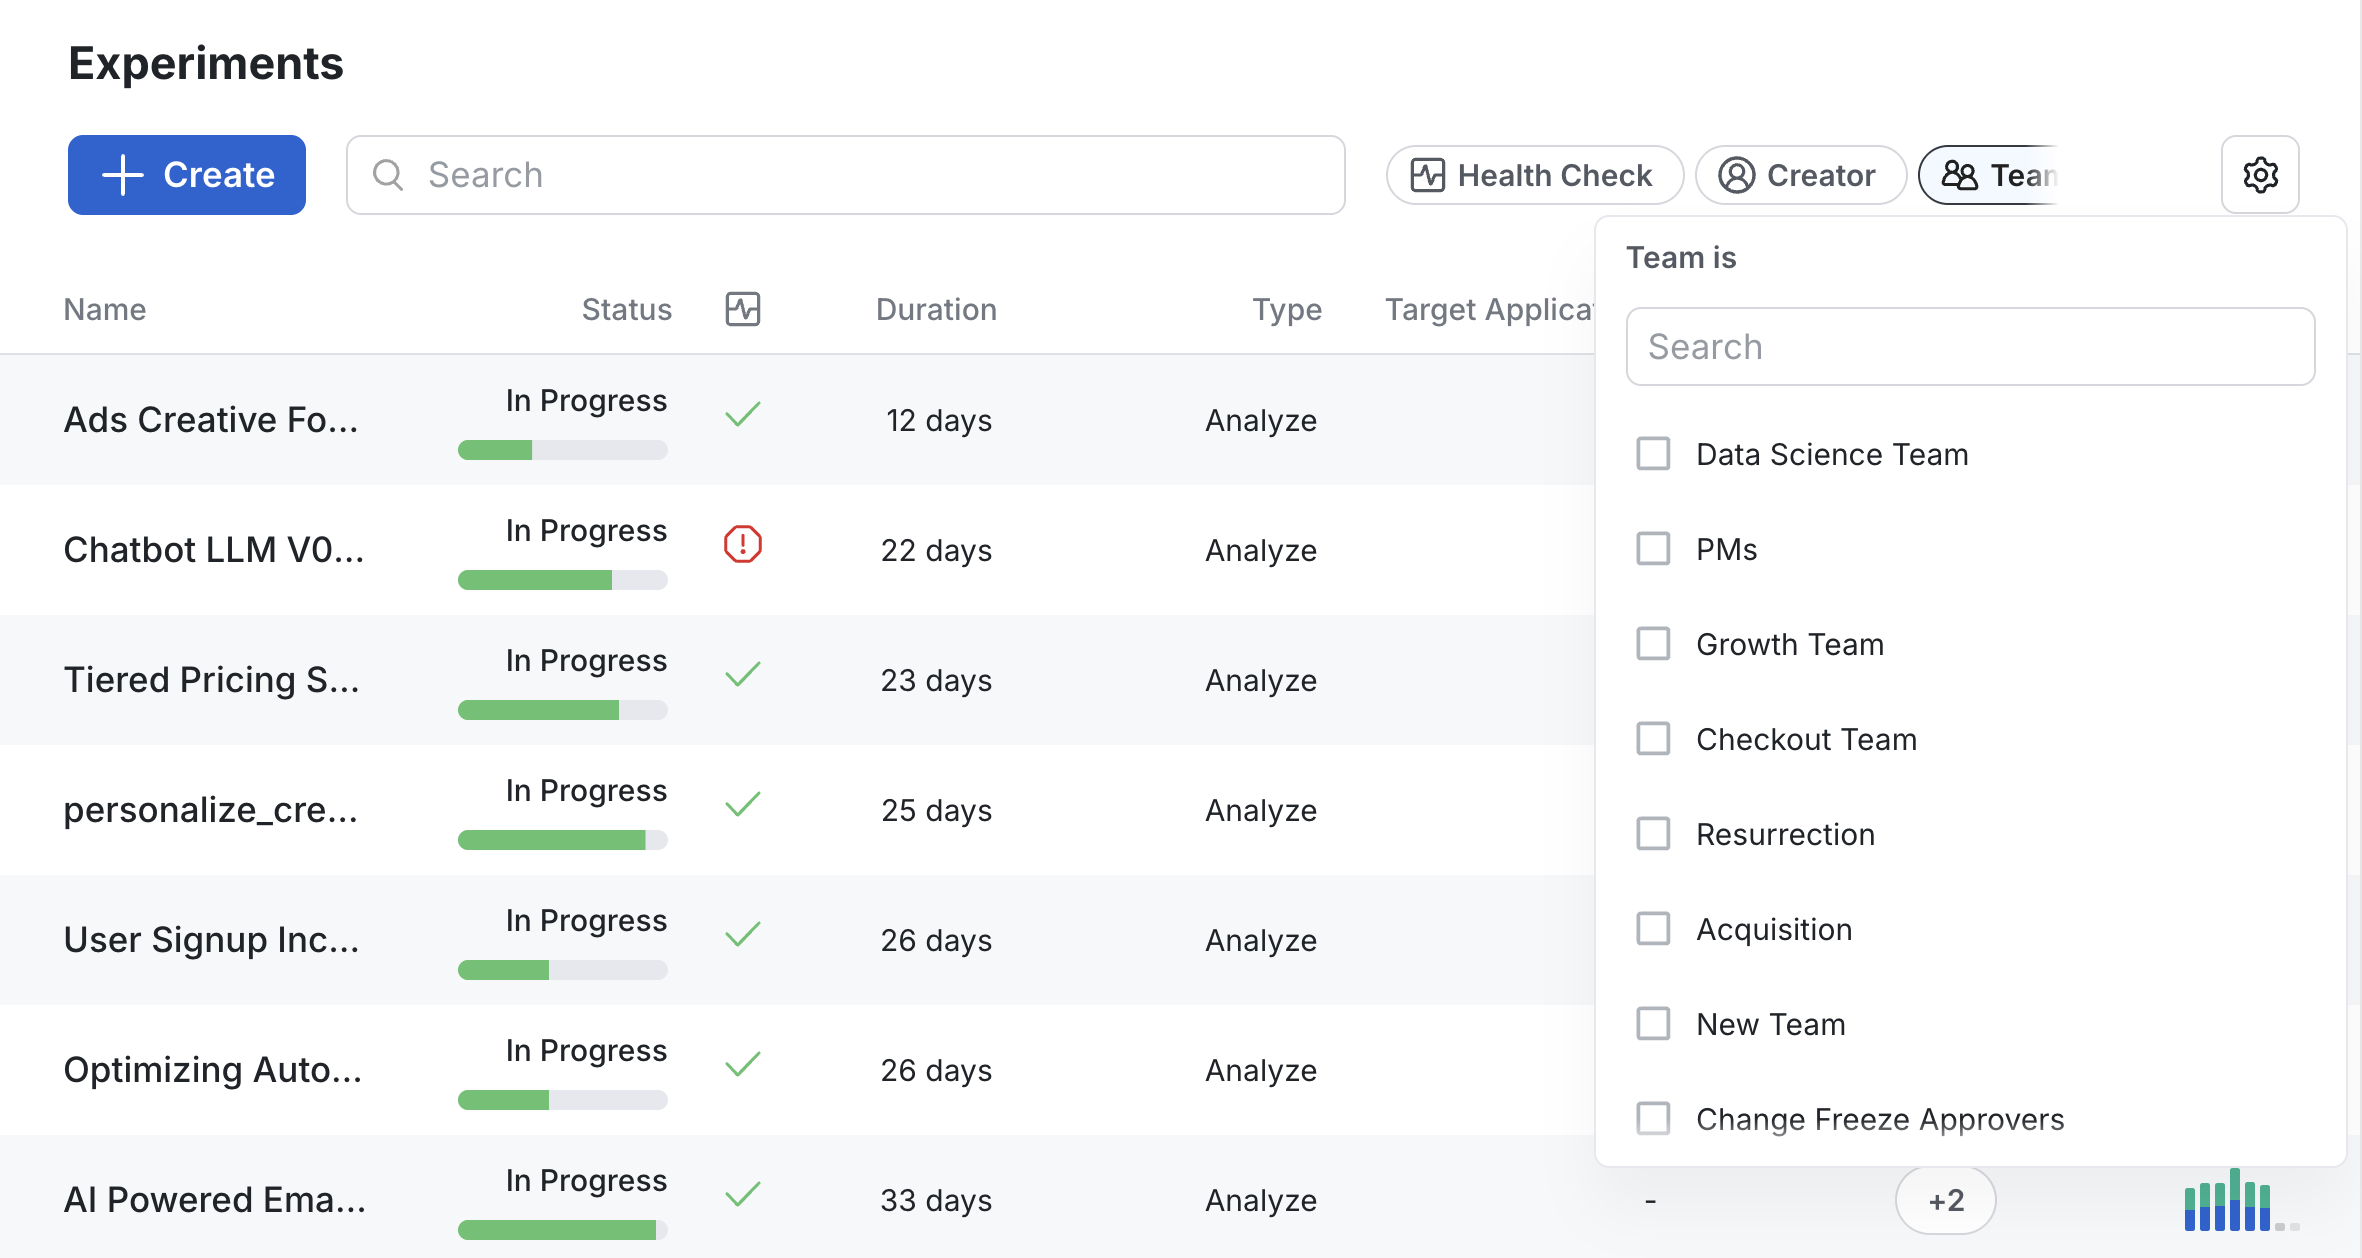
Teams become particularly useful as multiple teams begin to use Statsig. Teams help with organization and governance, and provide a set of defaults that simplify onboarding of new users.
As a best practice, require creators to attach every new resource to a team. Have team admins (for example, tech leads and engineering managers) add people to their teams, so members can start creating configs and metrics.
Best practices
Setting up review policies

You can customize your review policies to align with your organization’s needs. For example, you can set up a team of reviewers by giving their roles permission to approve reviews. You can also give certain roles (for example, on-call engineers) the ability to self-approve, or require reviews for the production environment only.
Each team also has team-level review settings. These settings can require reviews for configs and metrics owned by a specific team, and allow only members or admins of that team (with roles that permit approving reviews) to approve the reviews.
Setting up your API keys
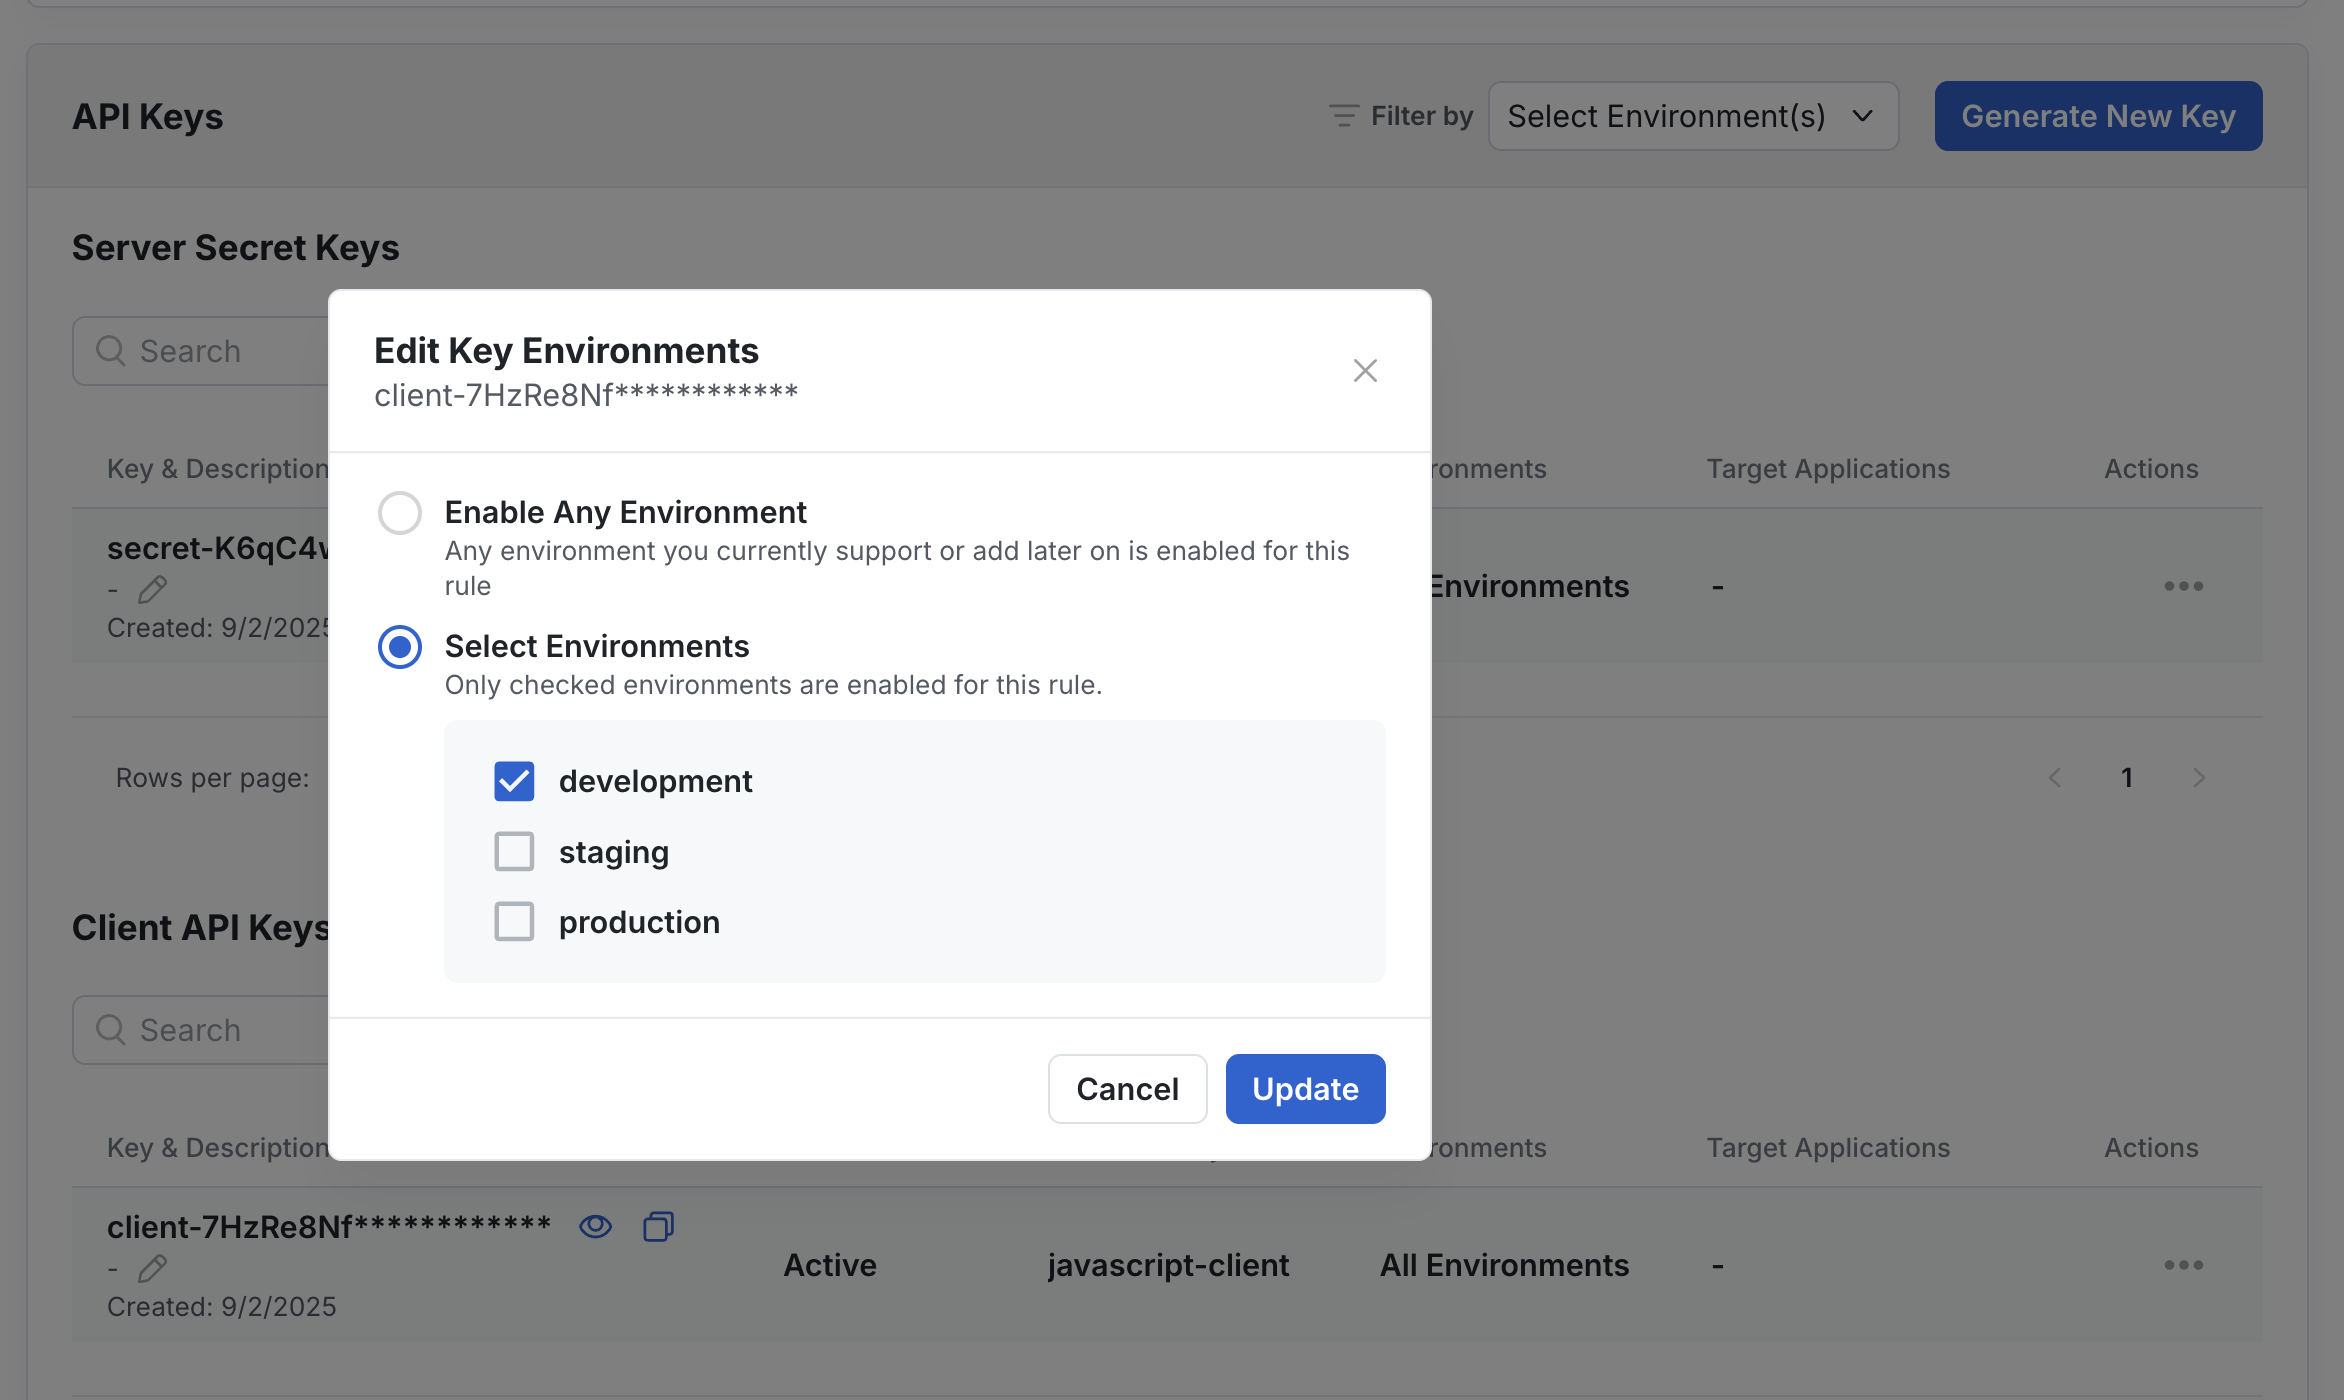
Statsig recommends a "Crawl, Walk, Run" approach when configuring your API keys:
- Crawl: Create API keys scoped to a specific environment within Statsig for environment-based evaluation.
Walk: Create different API keys for each frontend client (for example, iOS, Android, and Web).
Run: At scale, create separate API keys at the service level so each backend service and its environments have their own keys.
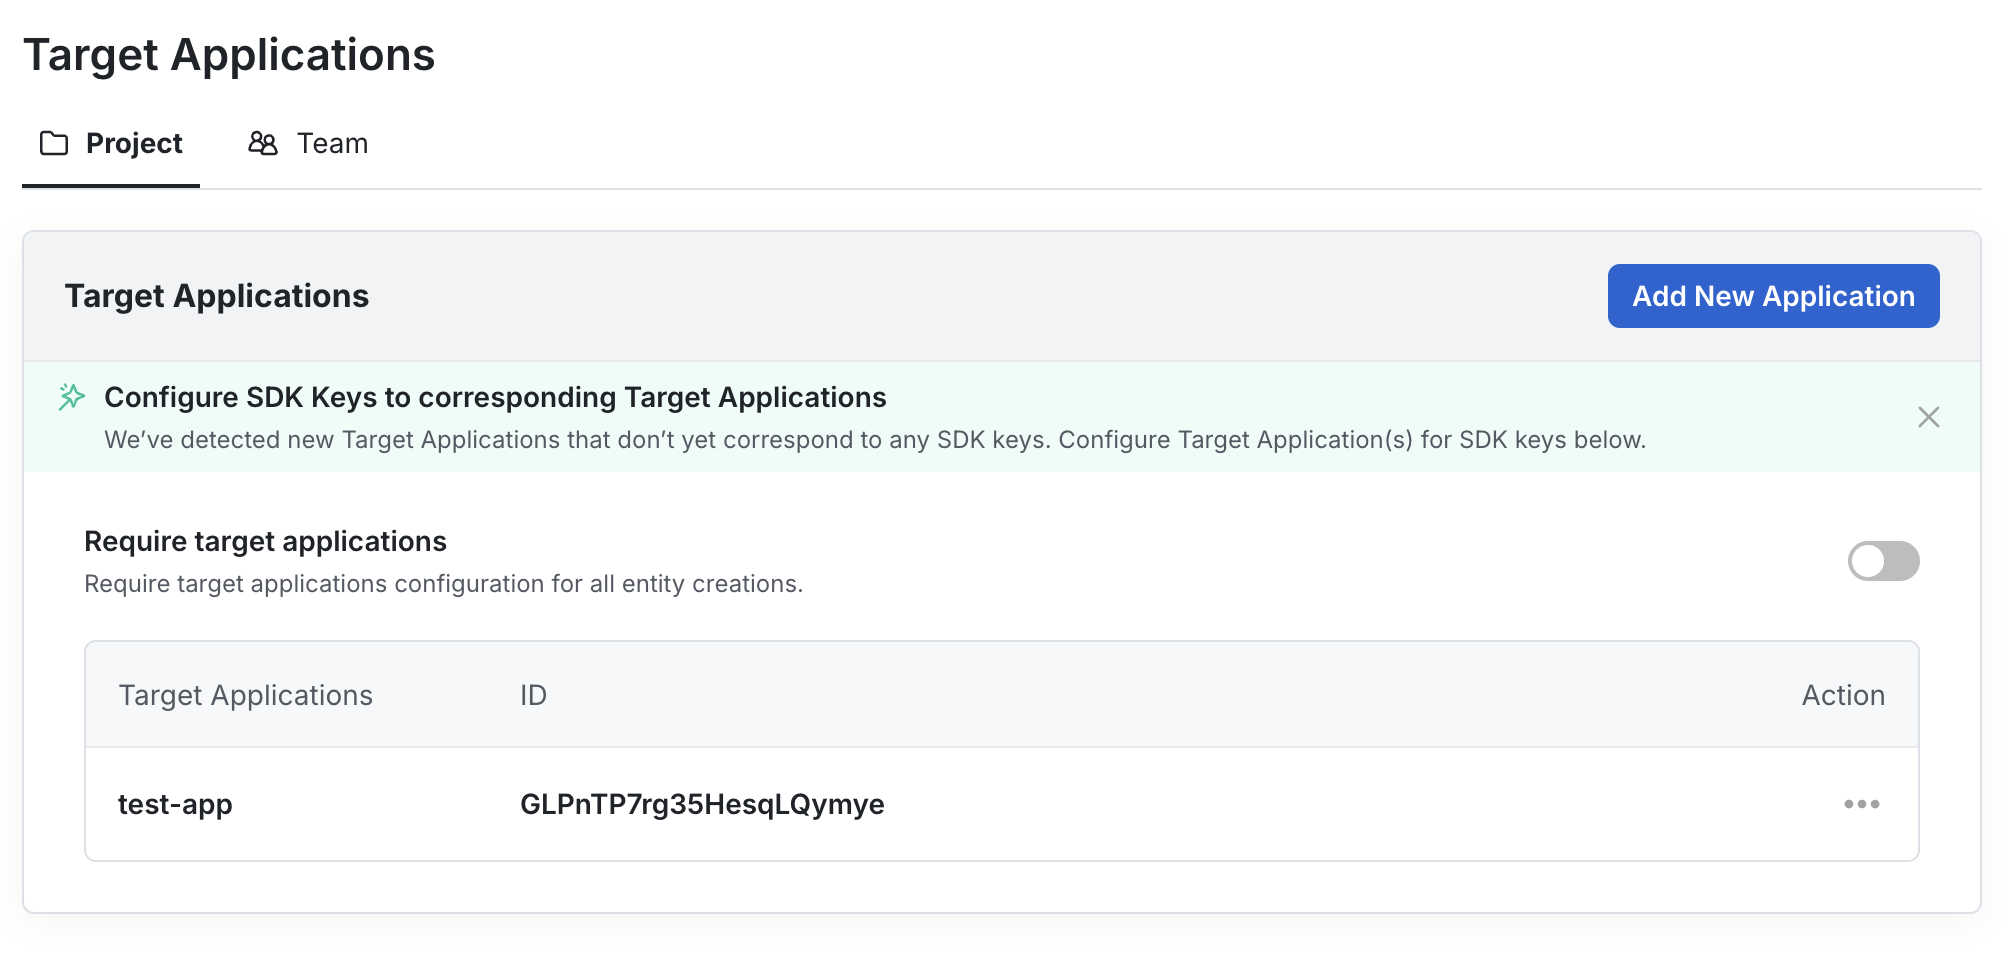
Configuring Target Apps for API keys
Setting up notifications
Statsig has a Slack integration that sends real-time notifications about activities, status changes, and other alerts directly to your Slack workspace.You can also configure email notifications for alerts, reviews, reports, and more.Was this helpful?