Implement an Experiment
Learn how to deploy an experiment by pulling configurations, logging events, testing, and launching.
To deploy an experiment, you need to:
- Pull the experiment configurations in your application.
- Log the events you want in your experiment results.
- Test your experiment in development or a lower environment.
- Click "Start"!
Every experiment needs to expose users into more than one bucket (#1) and log metrics on their behavior after exposure (#2, called "log events"). Statsig automates the setup steps, such as generating the bucket-assignment code and running analysis on exposures and log events. The experimenter's job is to design the experiments and use the Statsig SDKs to accomplish steps 1 and 2.
Pulling experiment configurations from Statsig
The code snippets below illustrate experimenting on a product demo flow, where you might experiment to improve conversion through the funnel to demo completion. For full implementation details, go to the SDK documentation for the language you're using, or go through the example guide for your first A/B test.const user = { userID: loggedInUserID };
const demoConfiguration = statsig.getExperiment(user, "demo_experience");
// use parameters to control the experience
if (demoConfiguration.get("show_banner", false) {
showBanner();
}
const title = demoConfiguration.get("title", "Start Demo");
banner.setTitle(title);
You can also view a code snippet for your particular experiment by selecting the code snippet button on the experiment page and choosing the right SDK.

Logging events for your scorecard
To get experiment results for the events and metrics you care about, instrument the experience with the proper event logging (or set up an event integration or data warehouse import to send events to the Statsig experimentation stats engine). Using the Statsig SDKs, your code might look like this:
statsig.logEvent(user, "demo_started");
...
statsig.logEvent(user, "demo_completed");
A few events can help you measure how users move through a funnel in your product and enable you to experiment on those flows to increase conversion.
Testing in a lower environment
After you launch an experiment, you can't edit the groups without restarting the experiment, because Statsig is already allocating users to each group. Statsig recommends testing each experiment in lower environments before starting. Select the "Test" button in the experiment setup page, then select "Enable for Environments". These environments should match your SDK environment setup. Testing in a lower environment and using overrides lets you manually set your experiment group to test each variant.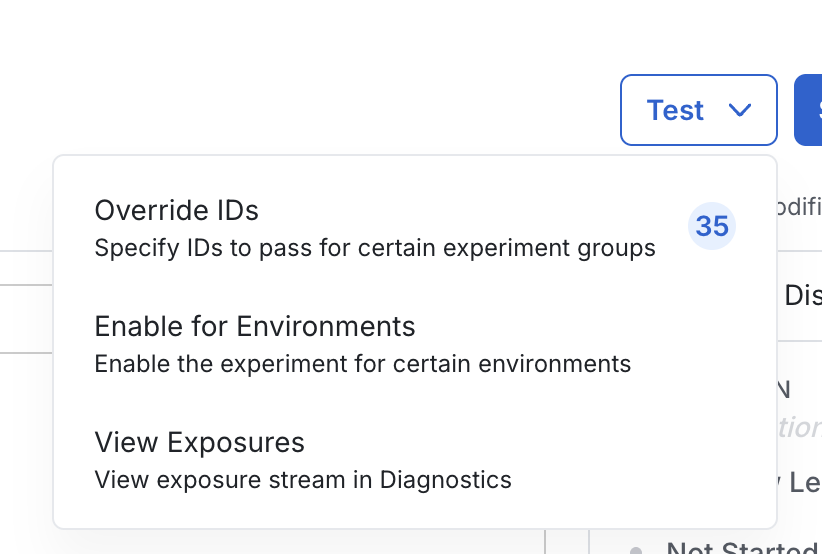
After you enable the experiment for a lower environment, the experiment status shifts from “Not Started” to “Testing”.
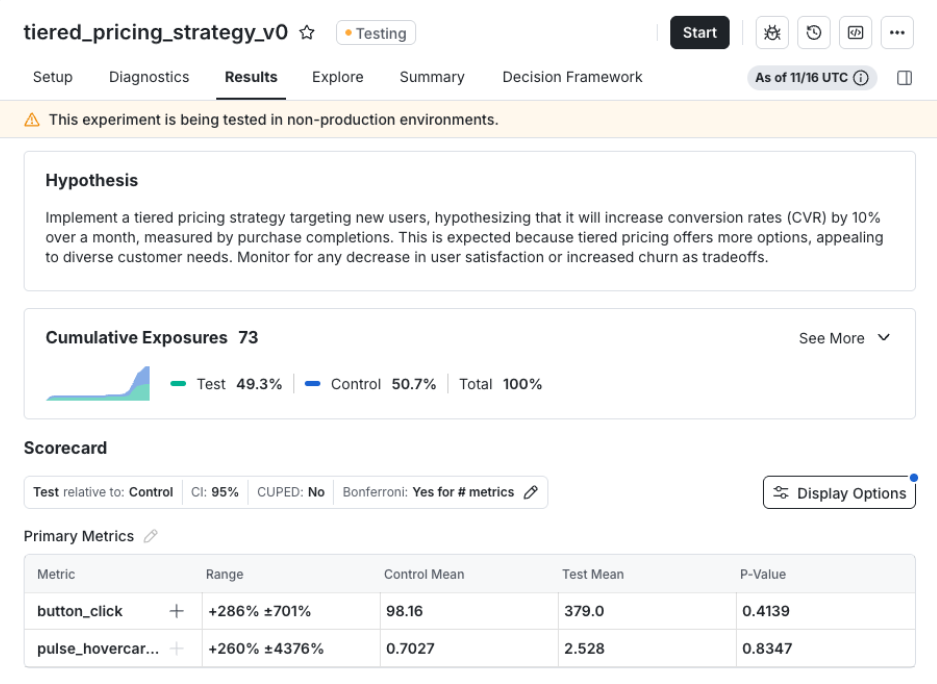
In the results section, you can track cumulative exposures and metric results collected from lower environments. Statsig displays results in aggregate across all lower environments and doesn't distinguish between individual environments. Statsig retains metric data and exposure data even when you repeatedly disable and re-enable the experiment for the lower environment.
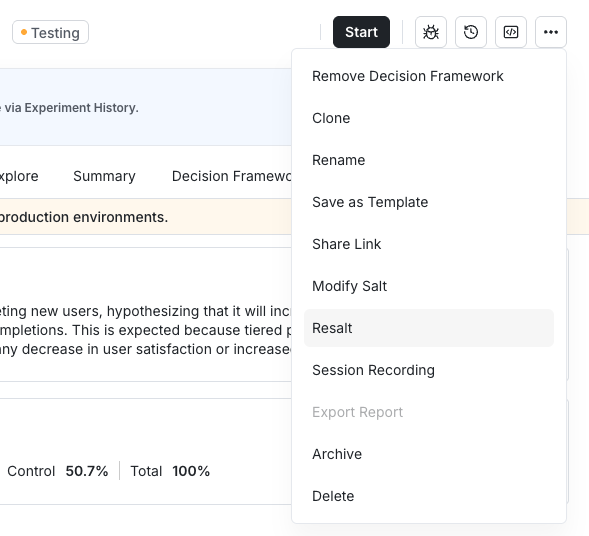
You can resalt the experiment in lower environments. Resalting the experiment is useful when you need to re-test the experiment end-to-end.
Starting your experiments
After your experiment has metrics, parameters, and a hypothesis, and you've tested it in a lower environment, select the "Start" button. Your experiment is immediately live in Production.
Was this helpful?