For AI agents: a documentation index is available at /llms.txt. Append .md to any page URL for markdown, or send Accept: text/markdown.
Experiment Overrides
Learn how to override group allocation for experiments during development and testing.
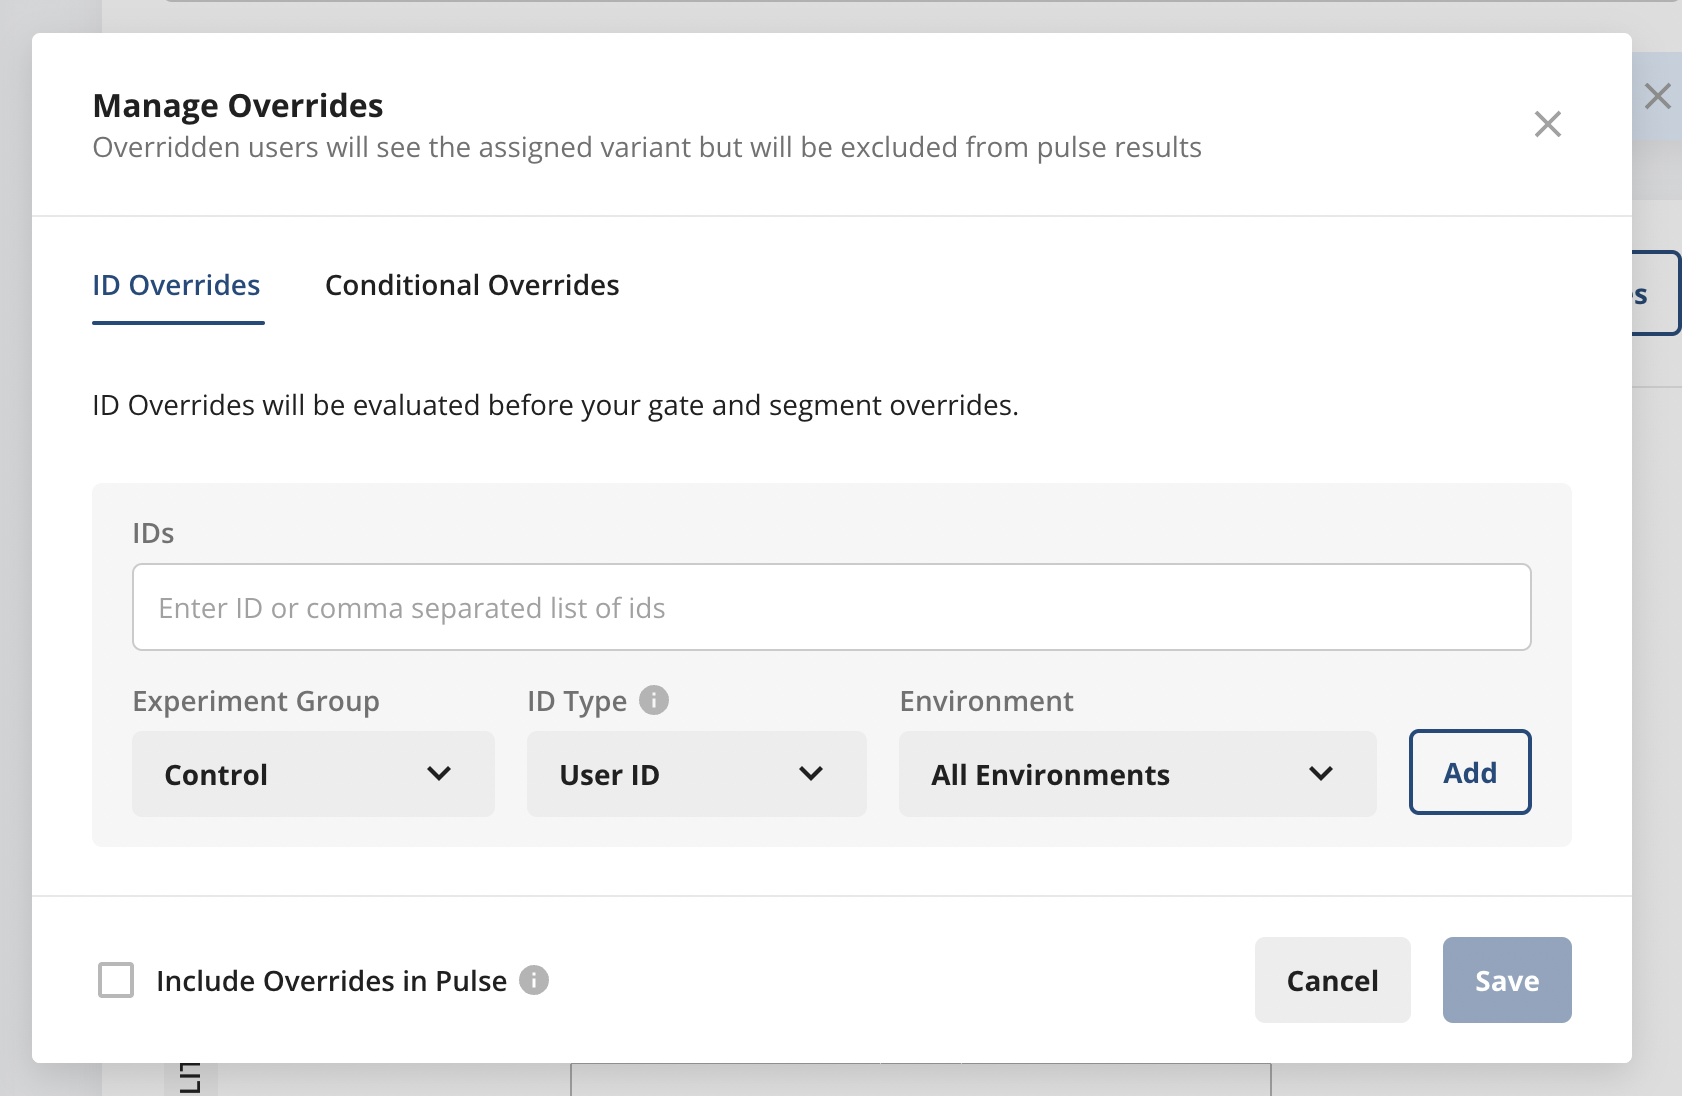
Experiment overrides force chosen users into a specific experiment group instead of the group that randomization would assign. When your app fetches an experiment's parameters, Statsig checks overrides first and returns the overridden group immediately for any user who matches one. Use an override during development to put yourself into each group and confirm that every variant works. To test each variant across a whole environment without pinning individual users, enable the experiment for a lower environment instead.
Statsig supports two kinds of overrides, each on its own tab of the Manage Overrides dialog:
- ID Overrides: Force specific unit IDs, such as a user ID or stable ID, into a group.
- Conditional Overrides: Force every user who passes a feature gate or segment into a group.
How Statsig evaluates overrides
- Statsig evaluates ID overrides first, then conditional overrides from top to bottom.
- The ID type of an ID override doesn't have to match the experiment's ID type.
- Each override applies to one environment or to All Environments.
- For experiments in a layer, set overrides at the layer level. Layers make their experiments mutually exclusive, so Statsig can override a user into only one experiment within a layer.
- By default, Statsig excludes overridden users from experiment results, because those users aren't randomized. To count them, select Include Overrides in Results at the bottom of the dialog. Statsig includes only overrides whose ID type matches the experiment's ID type.
- Add overrides before the experiment starts, or at least before a user's first exposure. Adding a large number of users to an override can reduce the reliability of your results.
If you add an override after Statsig has already exposed a user to the experiment, Statsig honors the override but doesn't exclude that user from Pulse results. Statsig keeps attributing the user's events and metrics to the group it first assigned them to, even though the user now sees a different group. This can pollute your results. The impact depends on how many users fall into this category.
Open the Manage Overrides dialog
- In the Statsig console, go to Experimentation > Experiments and select the experiment.
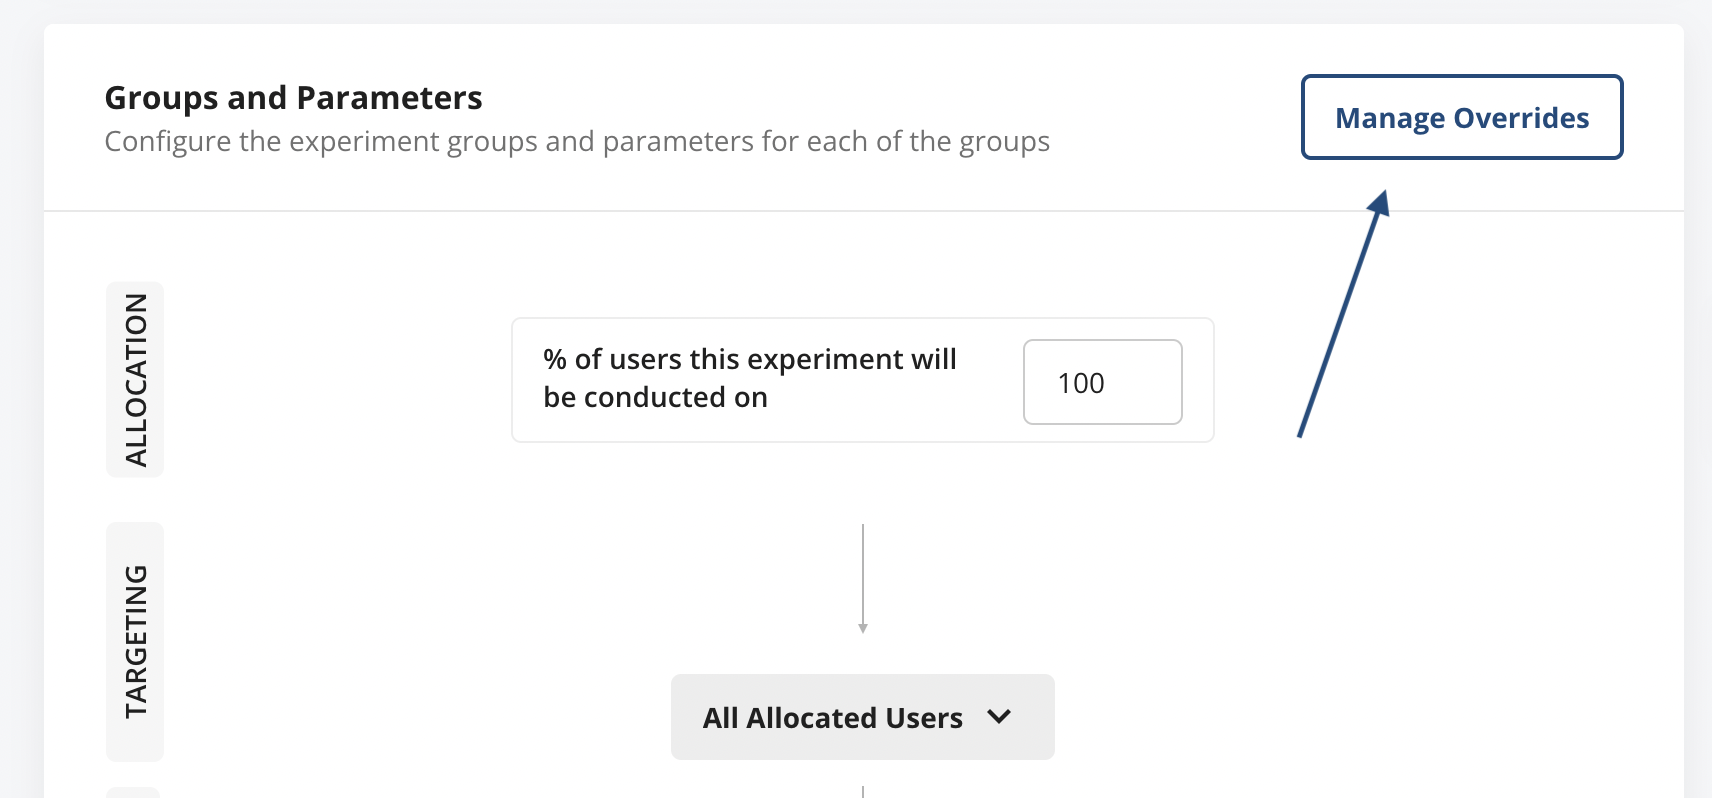
- On the Setup tab, scroll to Groups and Parameters and click Manage Overrides. You can also click Test, then Override IDs.
The button shows the number of saved overrides, for example Manage Overrides (1).
Add an ID override
- Open the Manage Overrides dialog and select the ID Overrides tab.
- Click the IDs field, enter or paste one or more IDs, and press Enter after each one.
- Choose the Experiment Group to force these IDs into.
- Choose the ID Type of the IDs you entered, for example User ID or Stable ID.
- Choose the Environment where the override applies, or keep All Environments.
- Click Add. The override appears in the table with its IDs, group, unit ID type, and environment.
- Click Save.
To change the group for an existing ID override, use the Group dropdown in its table row, then click Save. To find an override in a long list, use the Search field above the table.
Add a conditional override
- Open the Manage Overrides dialog and select the Conditional Overrides tab.
- Click Add Override.
- In the new row, choose Gate or Segment, then select the gate or segment.
- Choose the environment where the override applies, or keep All Environments.
- Choose the experiment group to force matching users into.
- To add more conditions, click Add Another Override. Drag rows by their handle to change the order; Statsig evaluates them from top to bottom.
- Click Save.
Delete an override
Remove an override you no longer need so that Statsig evaluates the experiment's rules as normal.
- Open the Manage Overrides dialog on the experiment or layer that contains the override.
- On the ID Overrides or Conditional Overrides tab, click the trash can icon next to the override.
- Click Save.
Test an override
Confirm that Statsig returns the overridden group for a user:
- On the experiment, open the Diagnostics tab and click Check Group for a User.
- In the Evaluate dialog, edit the user object. For an ID override, set the ID field to an overridden ID, for example
"userID": "my-test-user". For a conditional override, add the properties a user needs to pass the gate or segment. - Read the result below the editor. An overridden user shows the group name followed by the override type, for example Test (ID Override).
Was this helpful?