Taking your experiments to production
Learn how to publish, QA, and launch your Sidecar experiments in production with step-by-step guidance.
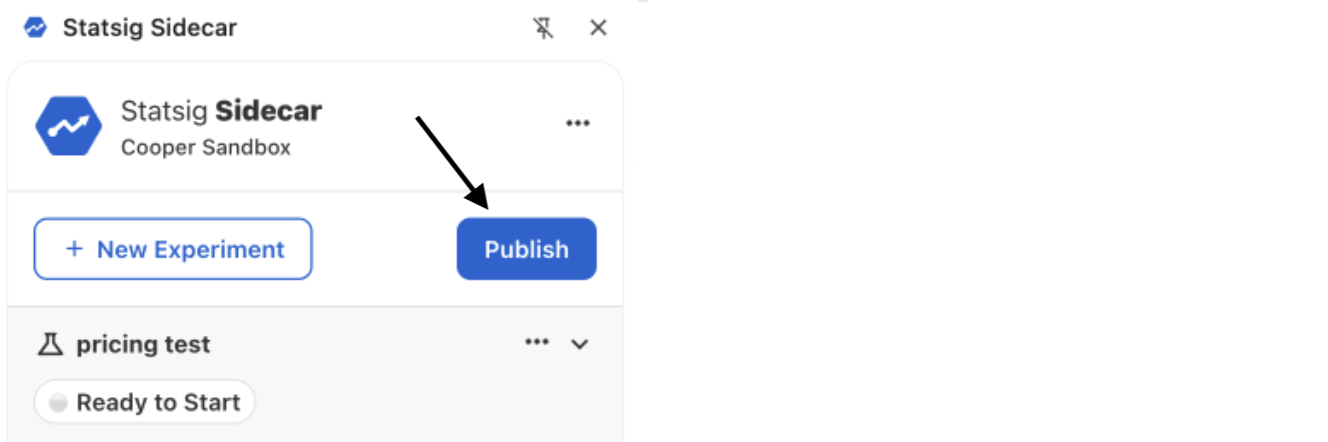
After completing the experiment configuration, publish and launch it in production. Sidecar makes this process straightforward with a few steps.
Step 1: Publish the experiments
When you are satisfied with the experiment configuration, select the blue Publish button. This saves all configurations to Statsig. To verify the changes were stored successfully, select the ... menu and choose Go to Experiment Console.
Publishing changes doesn't start any experiments; it does the following:
- Sync any unsaved changes to Statsig (making them accessible in Console where you can configure metrics and other targeting conditions if applicable).
- Include any configured tests in the Sidecar script installed on your website.
- Allow you to QA experiments on your site while they're in an unstarted state.
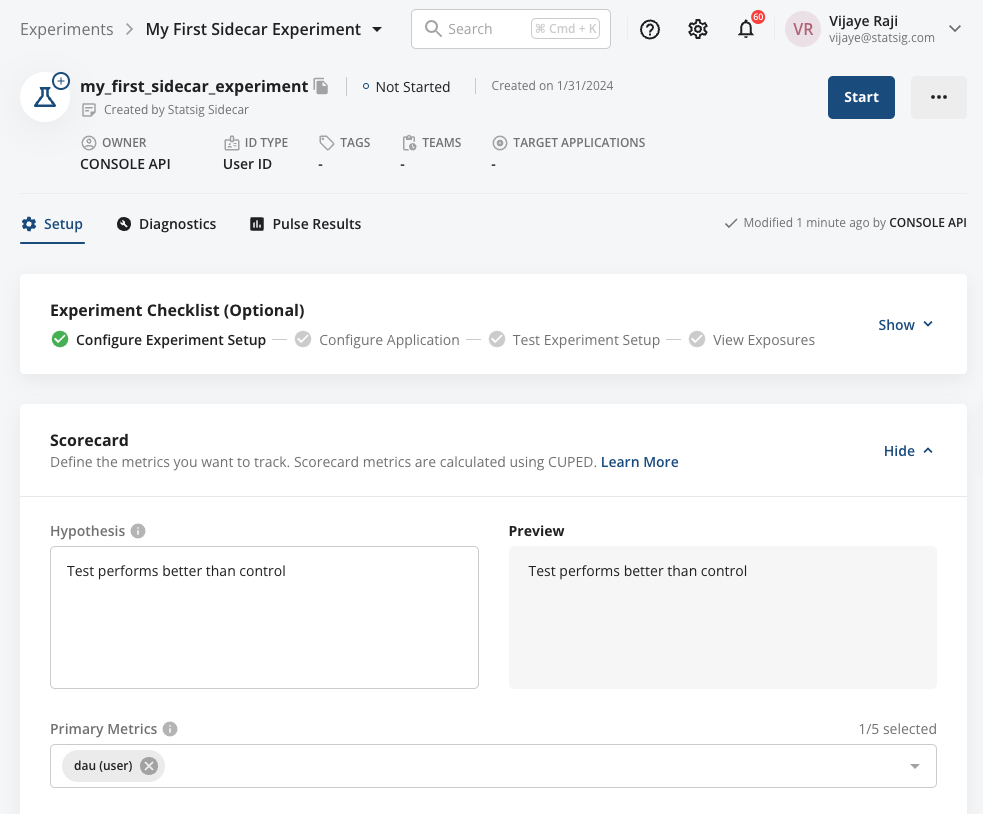
The experiment console lets you configure targeting, metrics, and advanced statistical settings.
Step 2: Preview and QA the experiment
At this point, your experiment is in a pre-started state, meaning it isn't yet active to site visitors. To preview a specific variant, pass a query string to your test page URL using the overrideuser parameter.
The override method uses the following convention to force a test & test group:
https://www.DOMAIN.com/?overrideuser=<EXPERIMENT_ID>_<TEST_GROUP_ID>
The image below shows where to find the experiment ID and each variation ID. Based on this example, force a preview of the Test Group by visiting: https://www.DOMAIN.com/?overrideuser=name_color_test_1
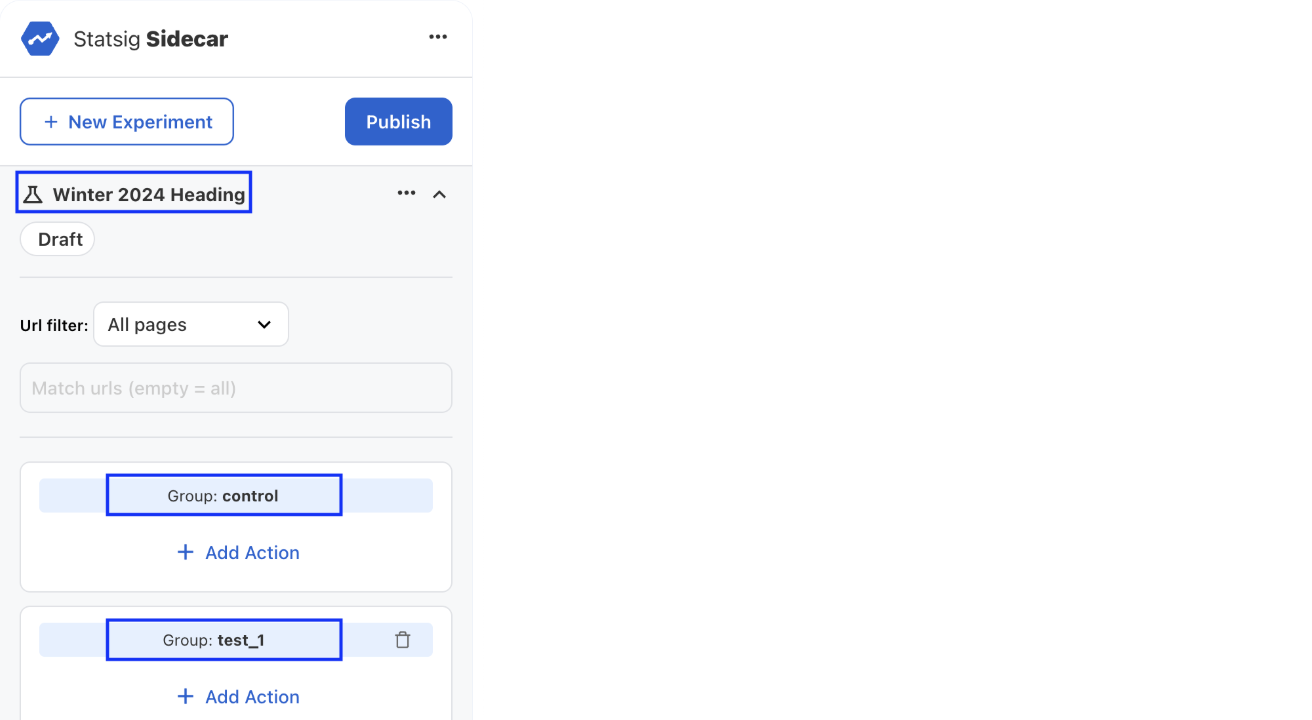
This works best with the default test/control group names. If you change a group name, you must also update it in the Statsig Console by selecting "Manage Overrides".
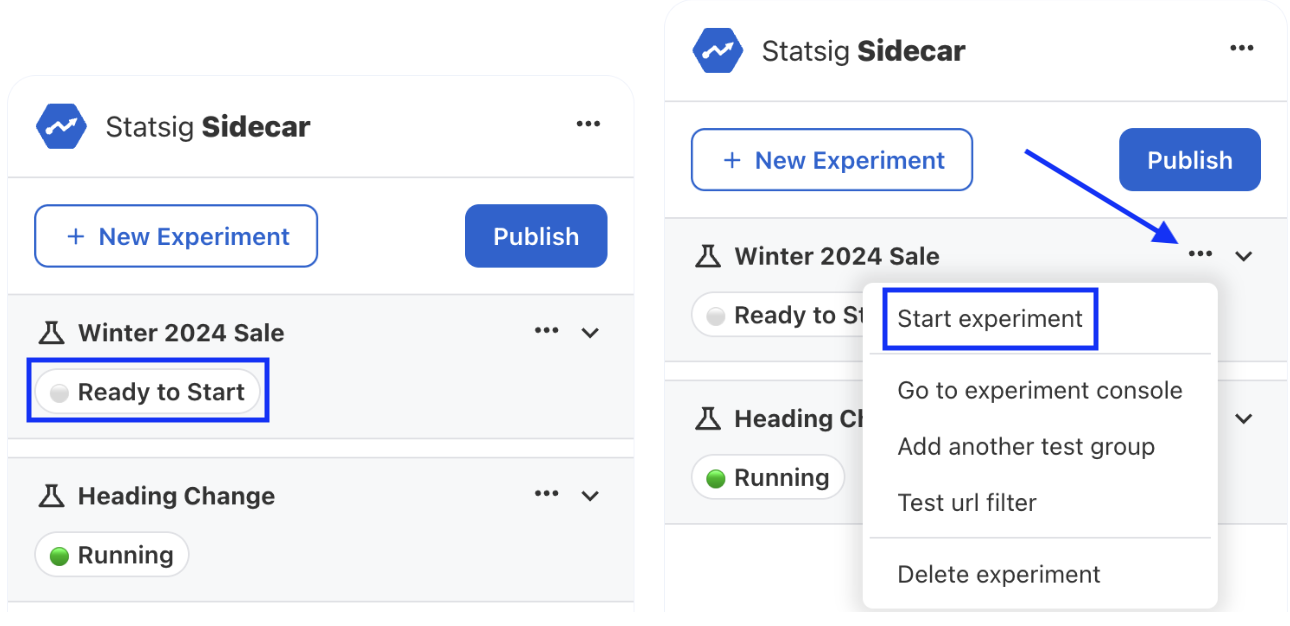
Step 3: Start the experiment
Refresh the page in your browser with the script embedded. Sidecar automatically detects the published experiment and displays all experiment properties.
Start the experiment by selecting the ... menu and choosing Start Experiment. Sidecar then starts the experiment, serves the correct variants for control and test groups, and begins collecting metrics.
You have successfully built and shipped an experiment.
Was this helpful?