Creating Your First Experiment
Learn how to create and configure A/B experiments using Sidecar without writing code or deploying to production.
Sidecar lets you create and run A/B experiments without writing code or pushing code to production. This guide shows how to create an experiment and review results.
Step 1: Navigate to the web page
Navigate to the web page you want to experiment on.

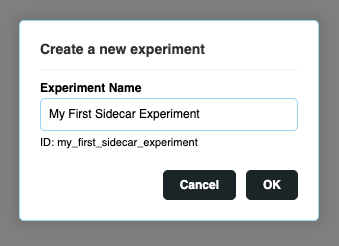
Step 2: New experiment
Select the New Experiment button and fill out the details. This creates a local experiment that has not been published yet, so you can configure all the details and verify that everything works before publishing.
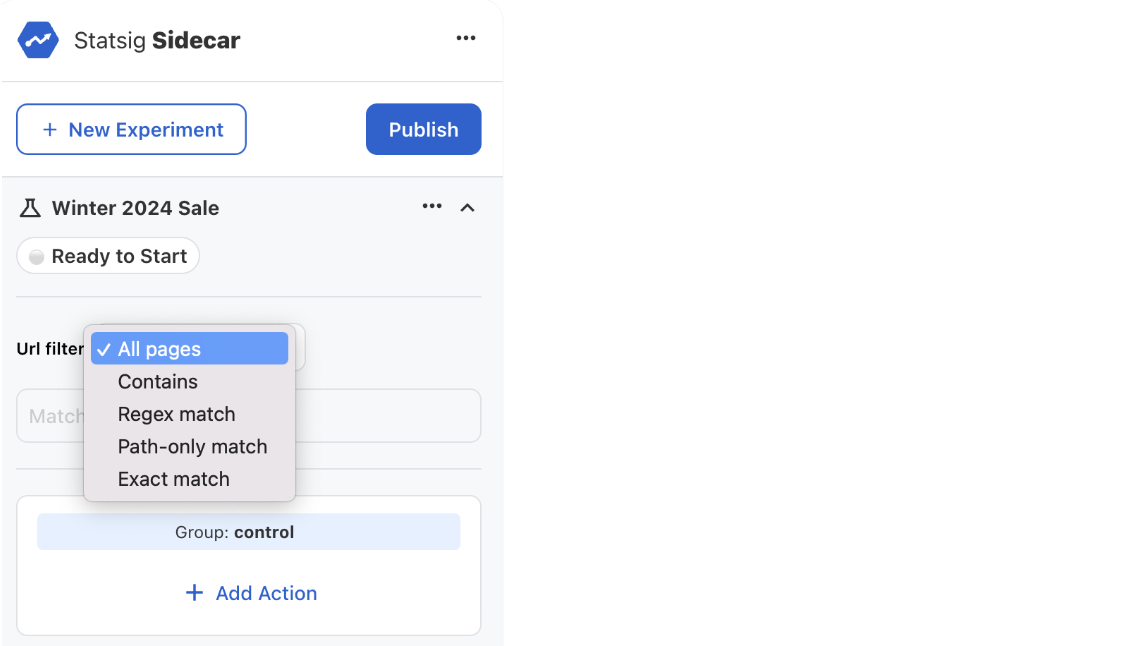
Step 3 (Optional): Add URL filter
You can select which pages the experiment runs on. URL filters are evaluated before any targeting rules configured on the experiment in the Statsig console.
You can configure URL targeting using the following methods:
- All Pages - anywhere Sidecar client is installed
- Contains - The page URL must contain the value as a substring
- Exact Match - The page URL must match the exact value specified here.
- Regex - Regular expressions, for example
(http|https):\/\/www.statsig.com\/pricingmatches pageshttp://www.statsig.com/pricingorhttps://www.statsig.com/pricing, and will activate this experiment on those pages.
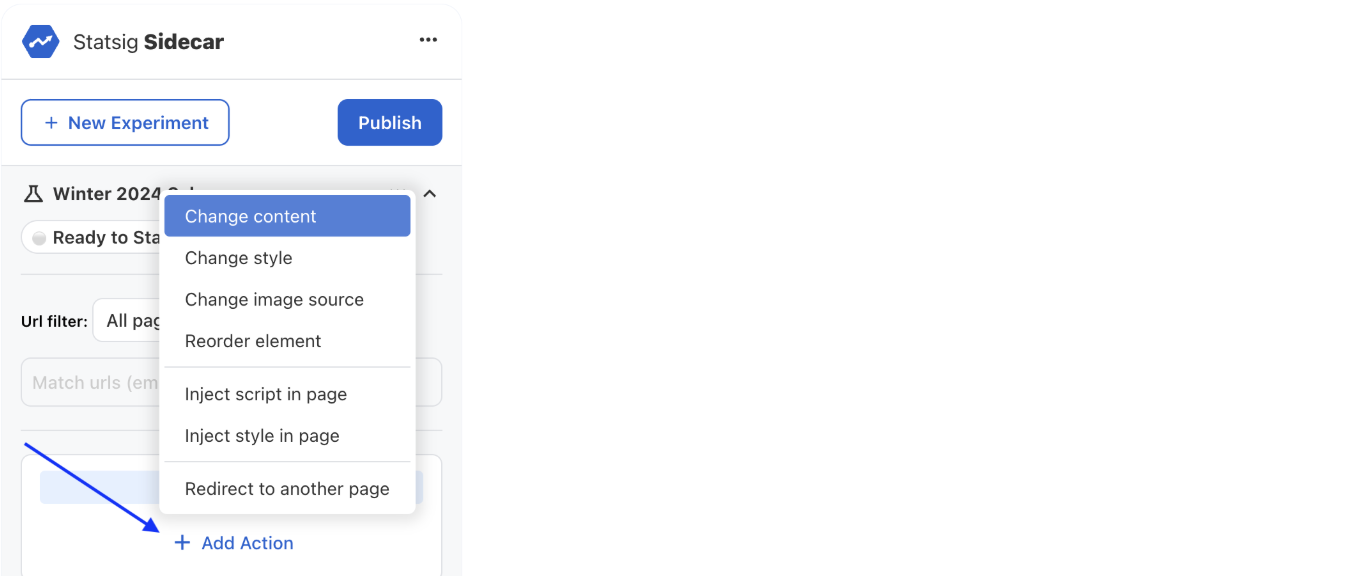
Step 4: Add actions
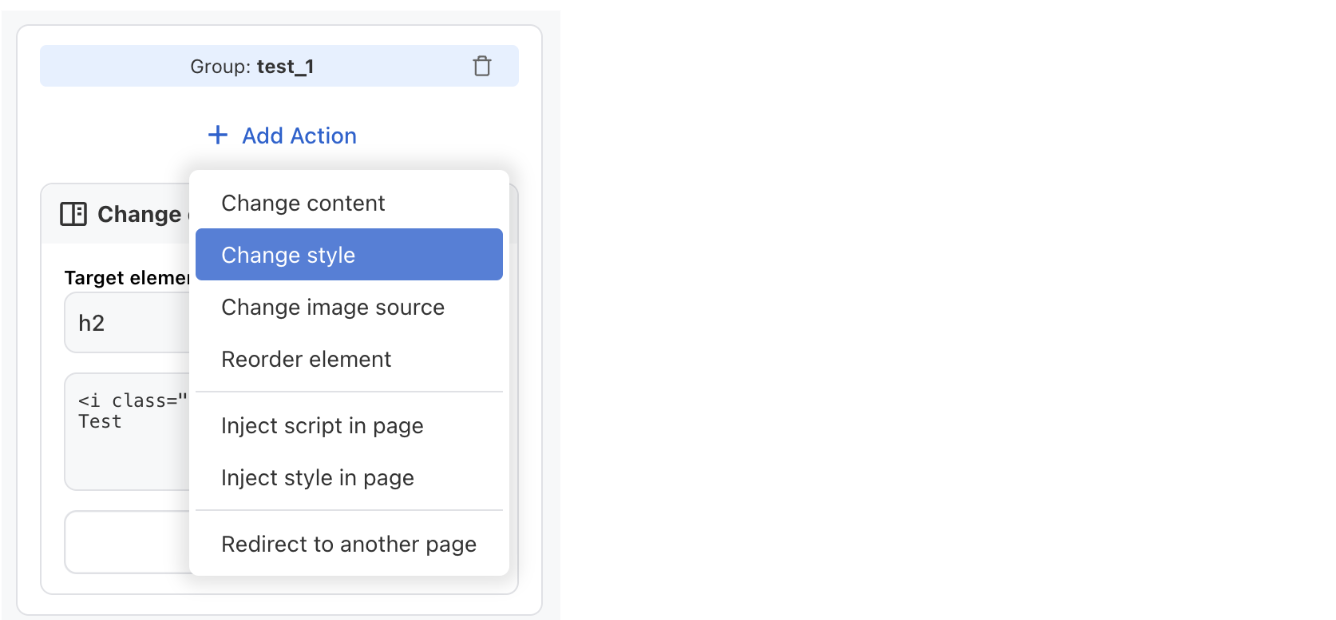
Select the Add Action button to see a list of actions available for this experiment.
Choose Change content of an element to run an A/B test that changes the content of an HTML element, such as headlines, descriptions, or CTAs.
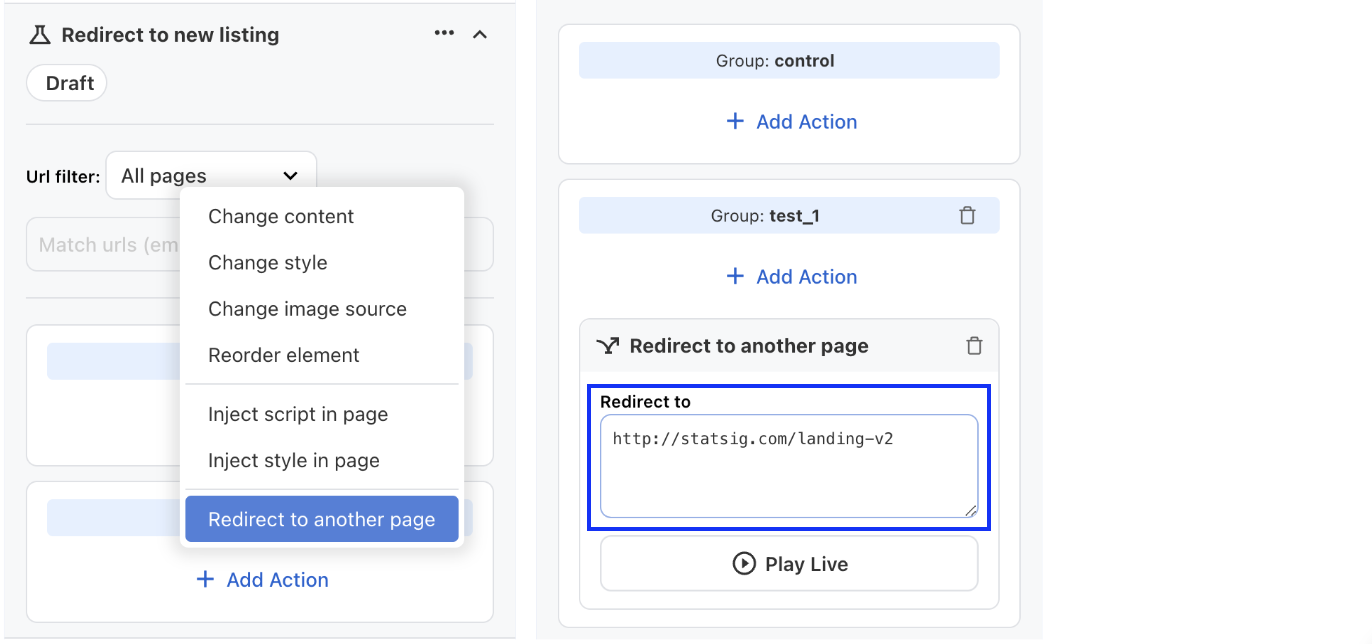
Use the Redirect action for landing page and split URL experiments
For Landing Page and Split URL experiments, add the "Redirect to another page" action for any test group and specify the destination URL. Query string parameters are preserved and passed to the destination URL.
Step 5: Select an element
To run a content change experiment, you need two things: the element to test, and the content to change.
Select the yellow Target element path text box to activate element selector mode.
Move your mouse over the web page to see a red selection rectangle. Select the element you want. In this example, the main Headline is selected.
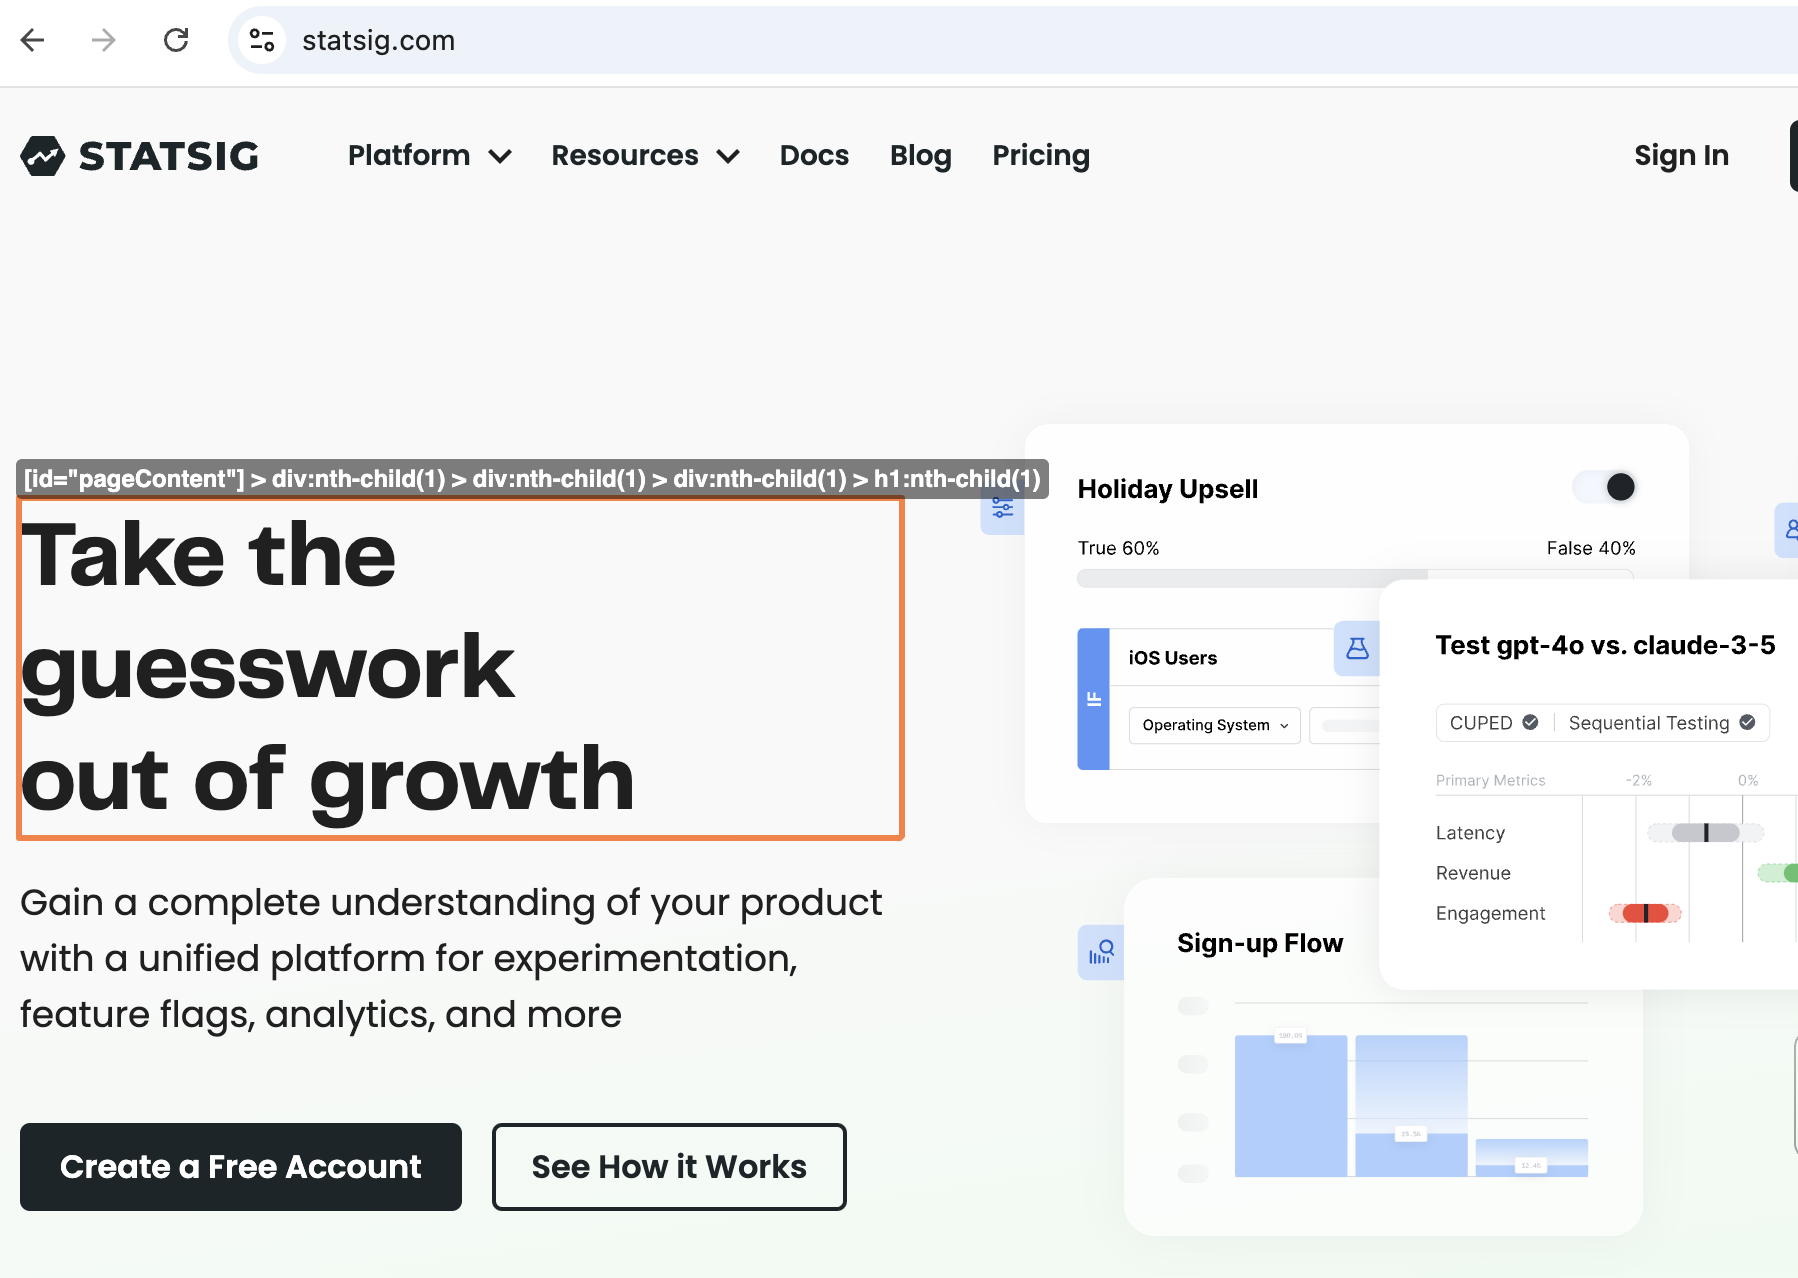
Sidecar now reflects the path of the selected element.
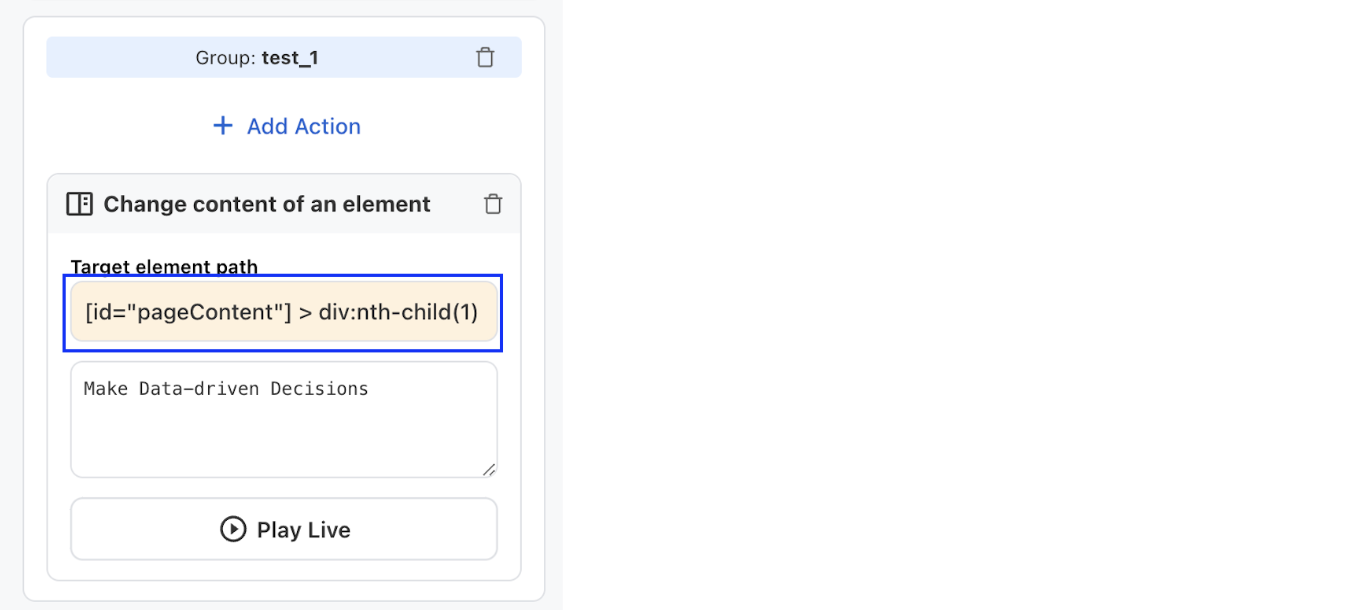
Step 6: Update content
Choose the two text values to A/B test. In the Control content text box, add your control text (for example, "Build Better Products"). In the Test content text box, add your test variant (for example, "Experiment Like a Pro").
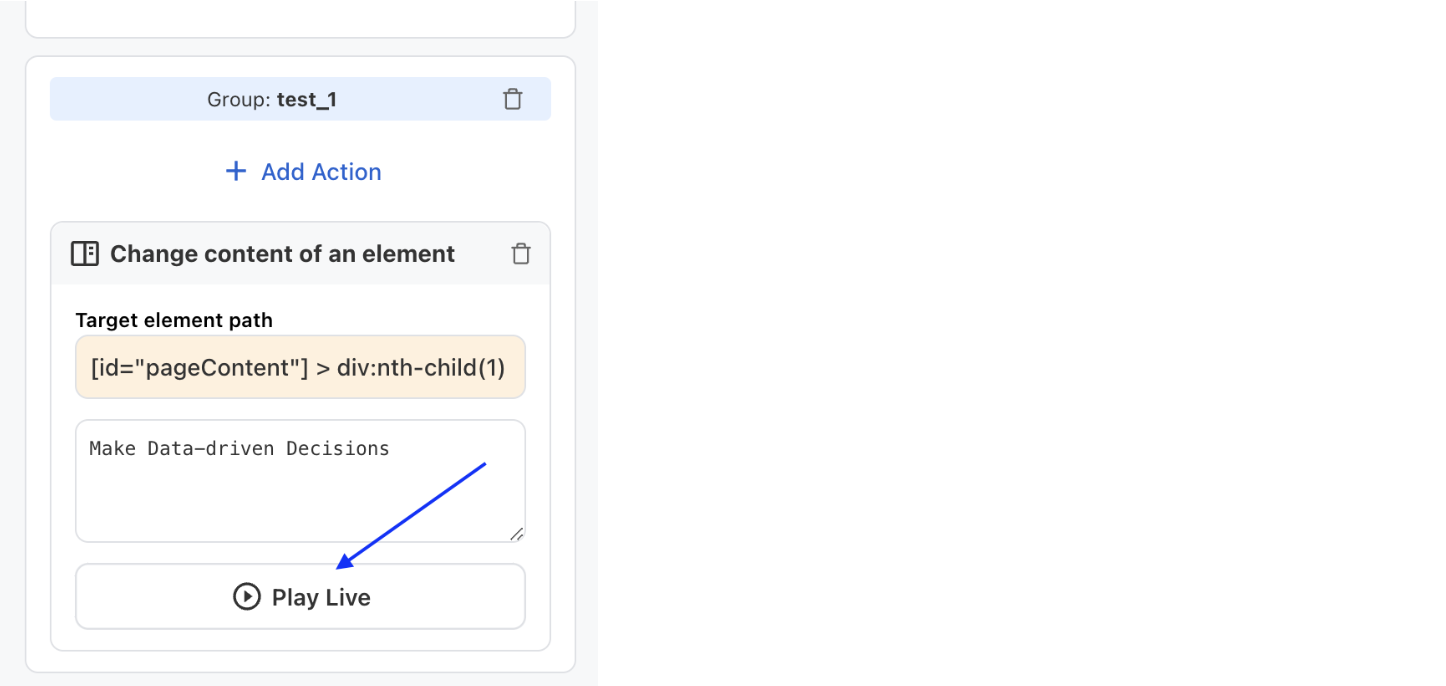
You can validate these changes in real time by selecting the ▶ button above the text box for each variant. This immediately changes the element's content so you can visually inspect the result before publishing.
Step 7: Add more actions
You can add more actions within the same experiment to explore additional capabilities.
You have created your first no-code experiment.
Next up: Measuring Experiments
Was this helpful?