Okta SCIM Org Roles
Map Okta groups to Statsig organization roles via SCIM provisioning so user permissions stay in sync between your identity provider and Statsig.
Update Okta user org role
For every user, Statsig surfaces a SCIM field named statsigOrgRole. Through this field, you can manage organization user roles. Okta can only push role updates to Statsig. Supported org roles are: Member Admin Owner
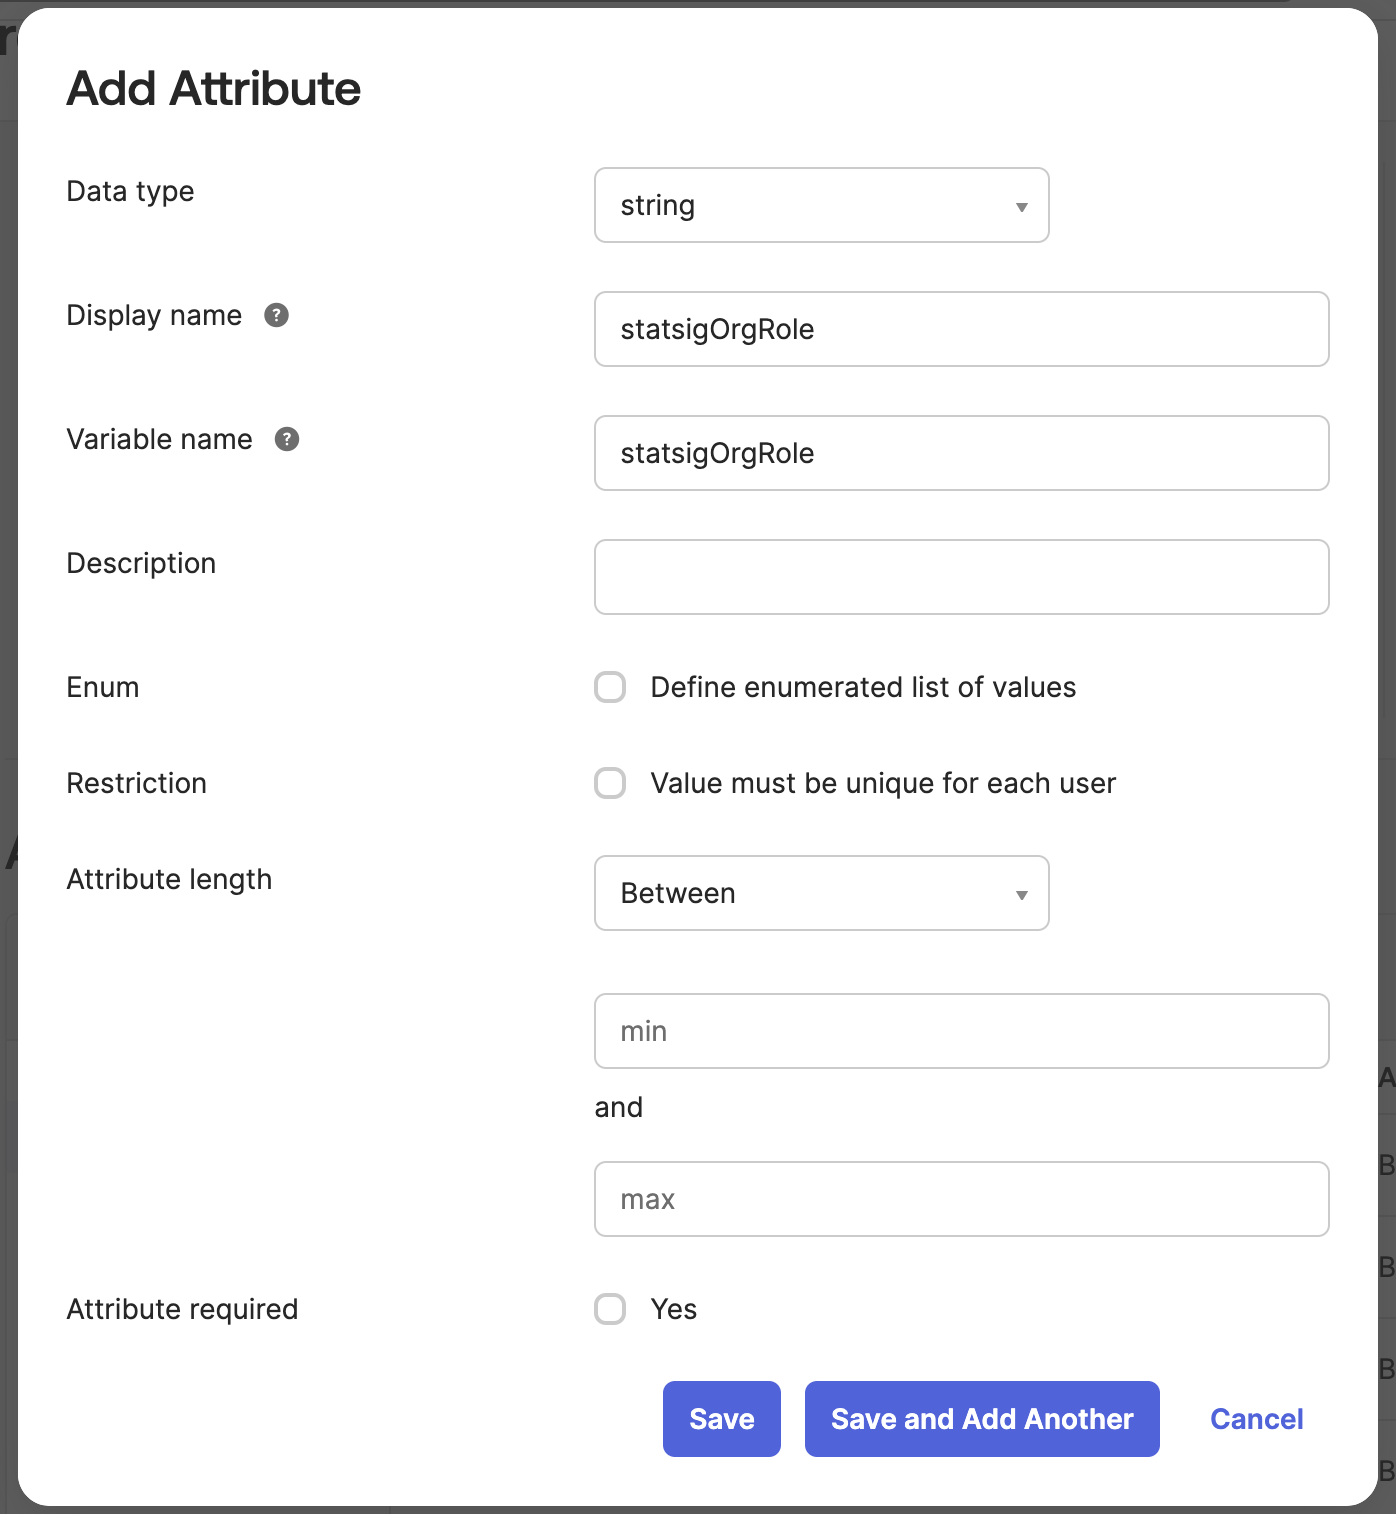
Step 1. Create the custom attribute in Okta
Navigate to Directory > Profile Editor and select the User (default) Okta profile. This profile represents all Okta user attributes. Scroll down and press Add Attribute and fill out the new attribute to have the variable name statsigOrgRole.
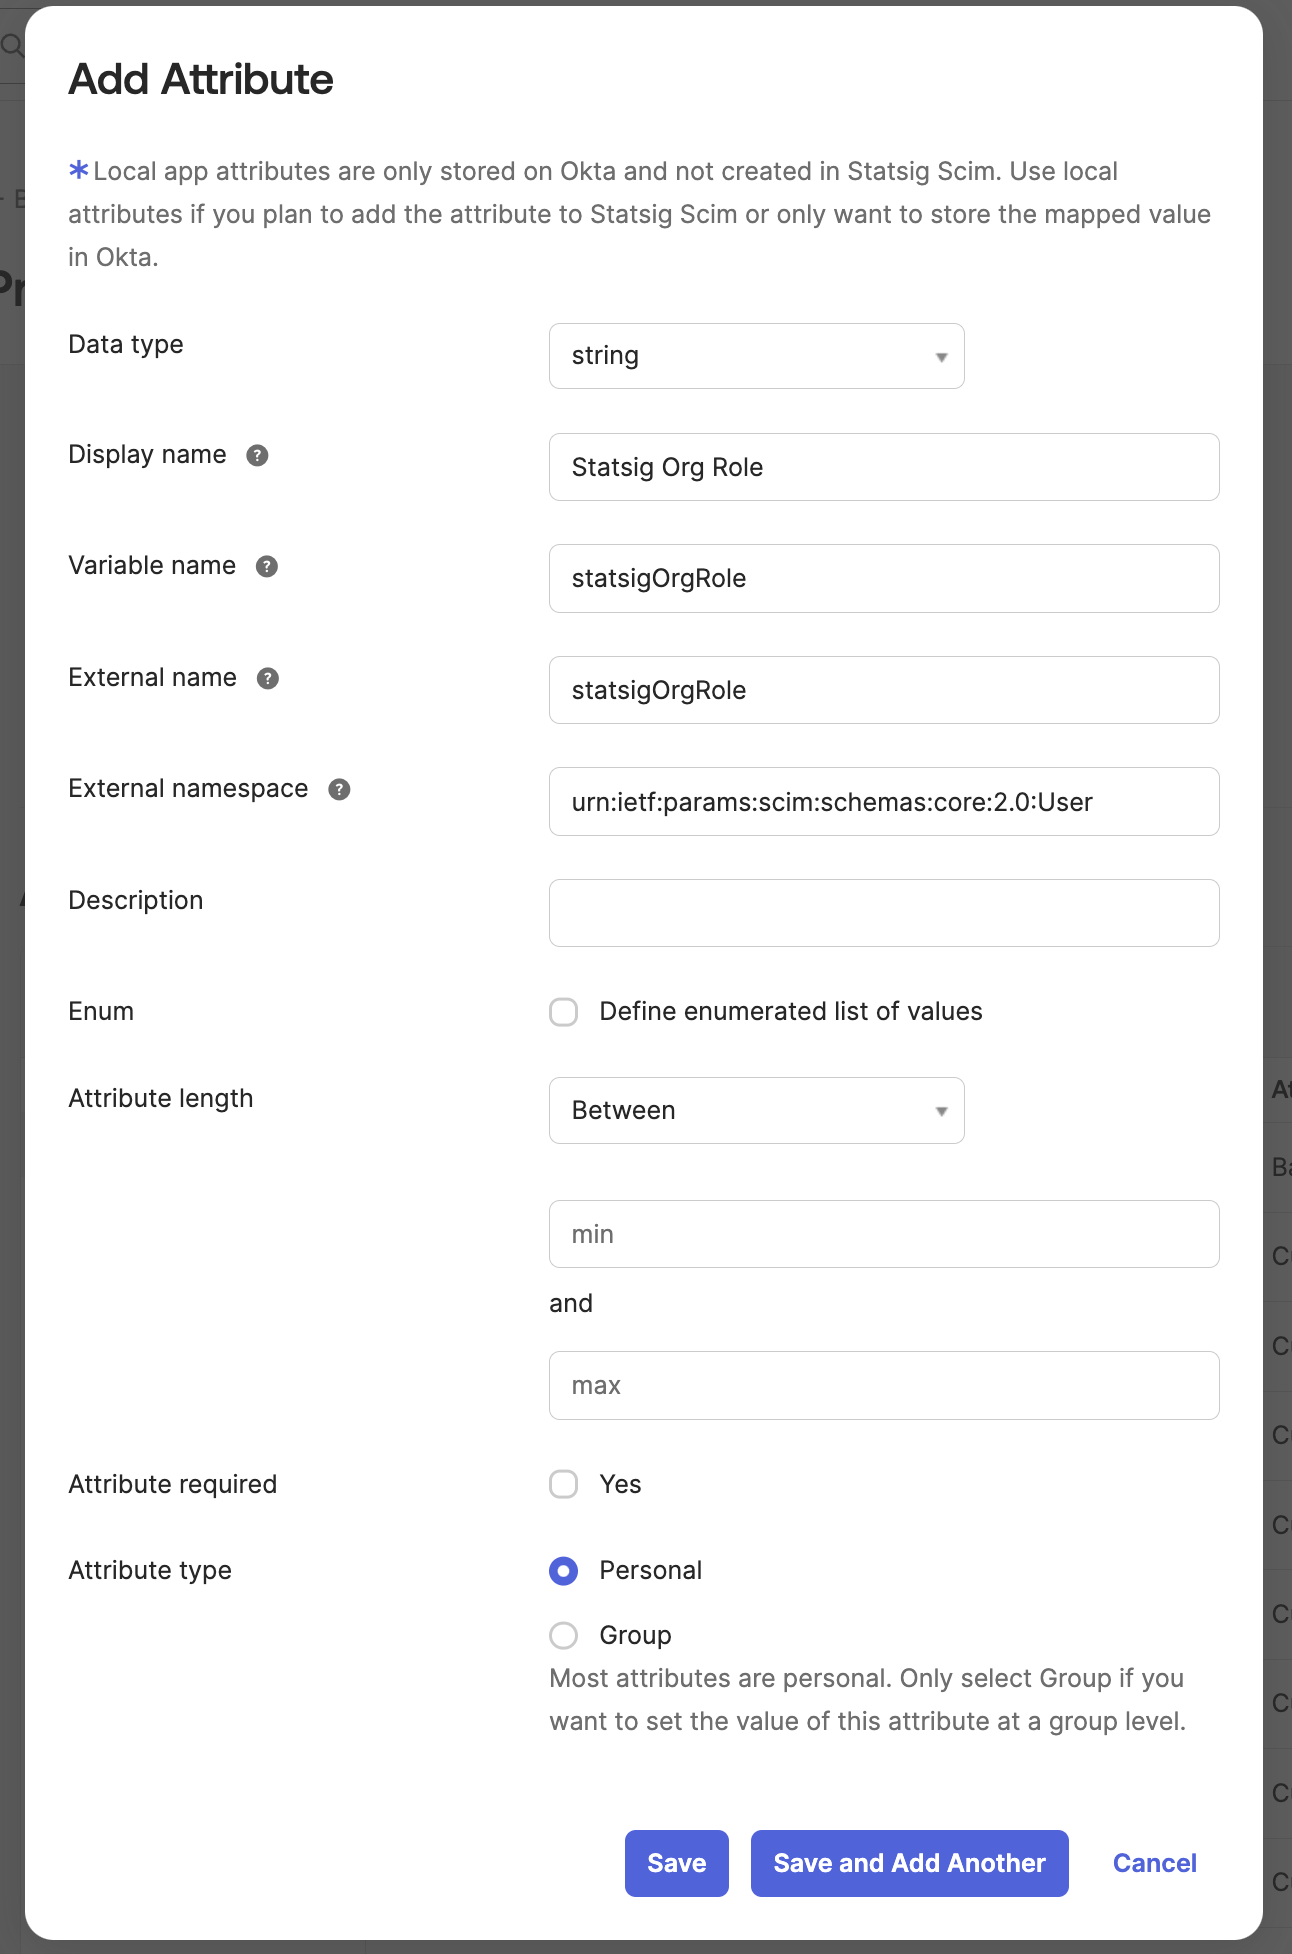
Step 2. Create the custom attribute in the Statsig SCIM integration
Navigate to the Statsig SCIM Integration's User Profile in the Profile Editor. Add a new attribute that matches the following format:
- Variable name:
statsigOrgRole - External namespace:
urn:ietf:params:scim:schemas:core:2.0:User - Attribute type: either
PersonalorGroup, depending if using groups for app assignment
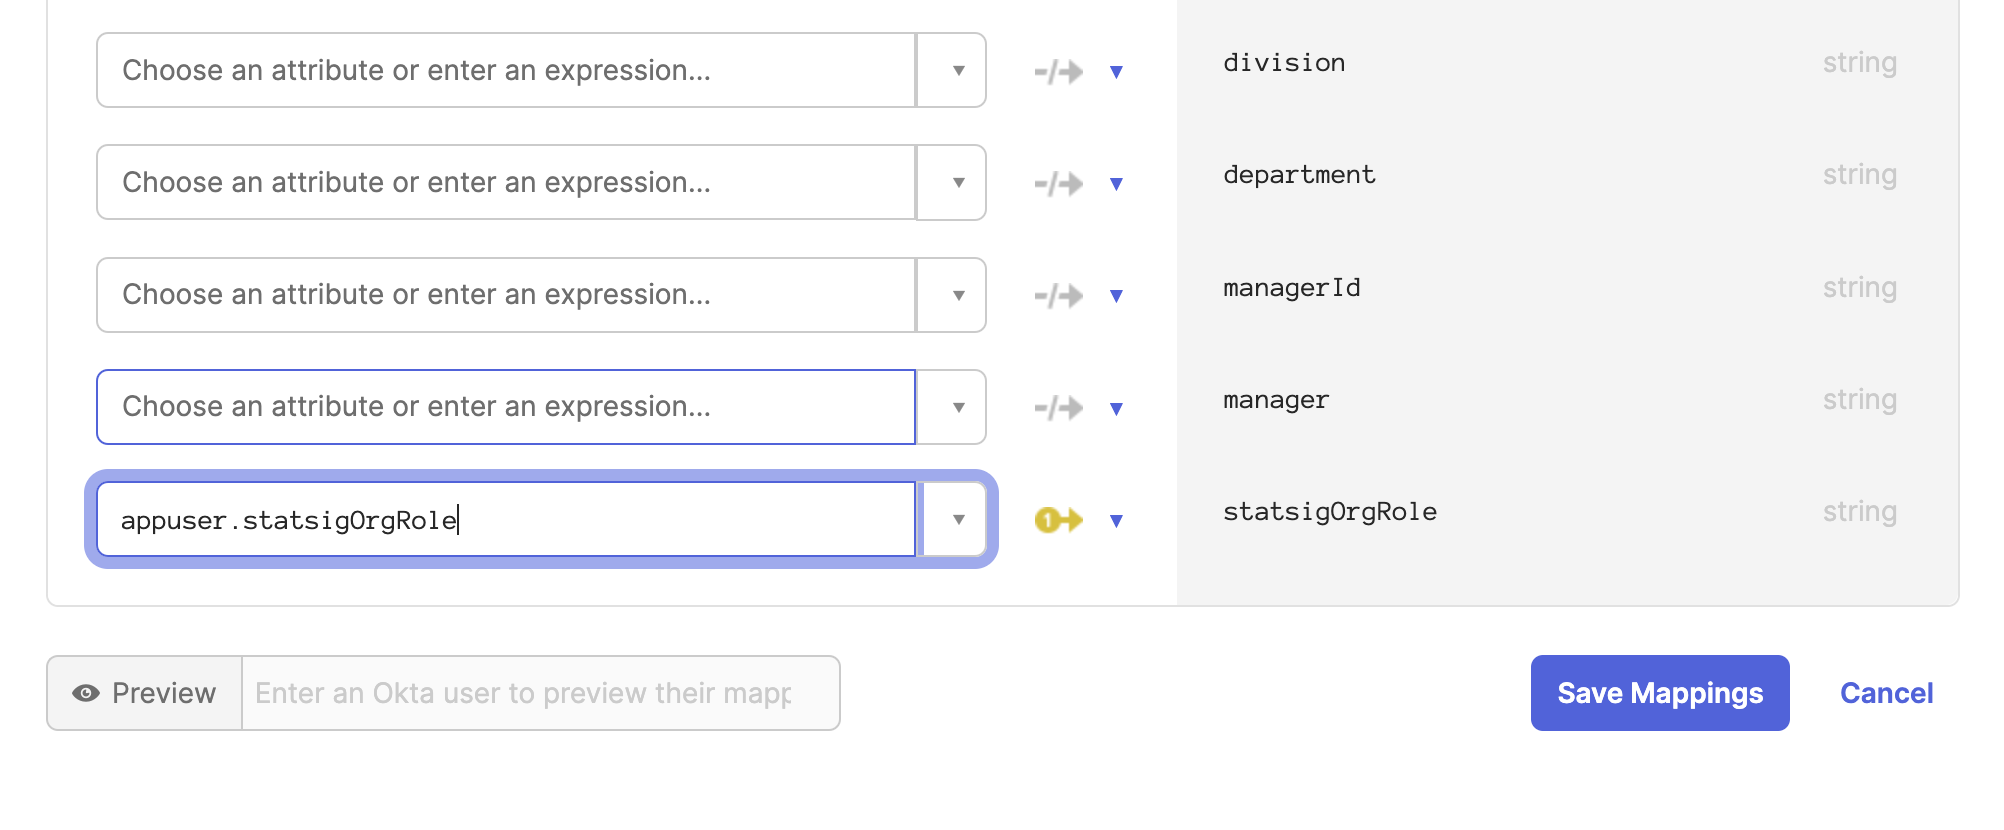
Step 3. Create a mapping from Statsig to Okta for the custom attribute
On the same Statsig SCIM profile editor, navigate to the Mappings button. Scroll down to the new attribute statsigOrgRole and map user.statsigOrgRole to the Okta attribute statsigOrgRole.
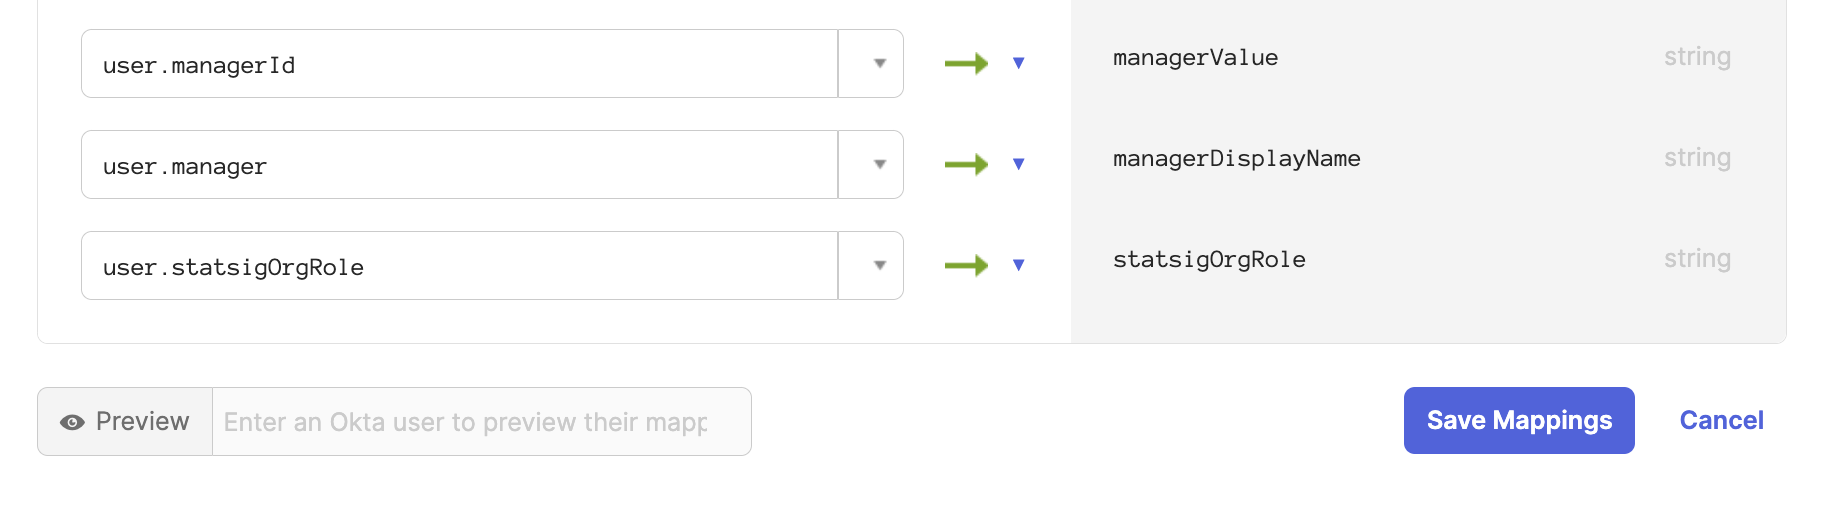
Step 4. Create a mapping from Okta to Statsig for the custom attribute
Now navigate to the Okta User to Statsig SCIM user mapping.

Scroll down to the statsigOrgRole attribute and map user.statsigOrgRole to the Okta attribute statsigOrgRole.
All users now sync with their organization role. You can also modify a user's role directly on the Statsig SCIM integration.
Step 5. Modify integration mappings
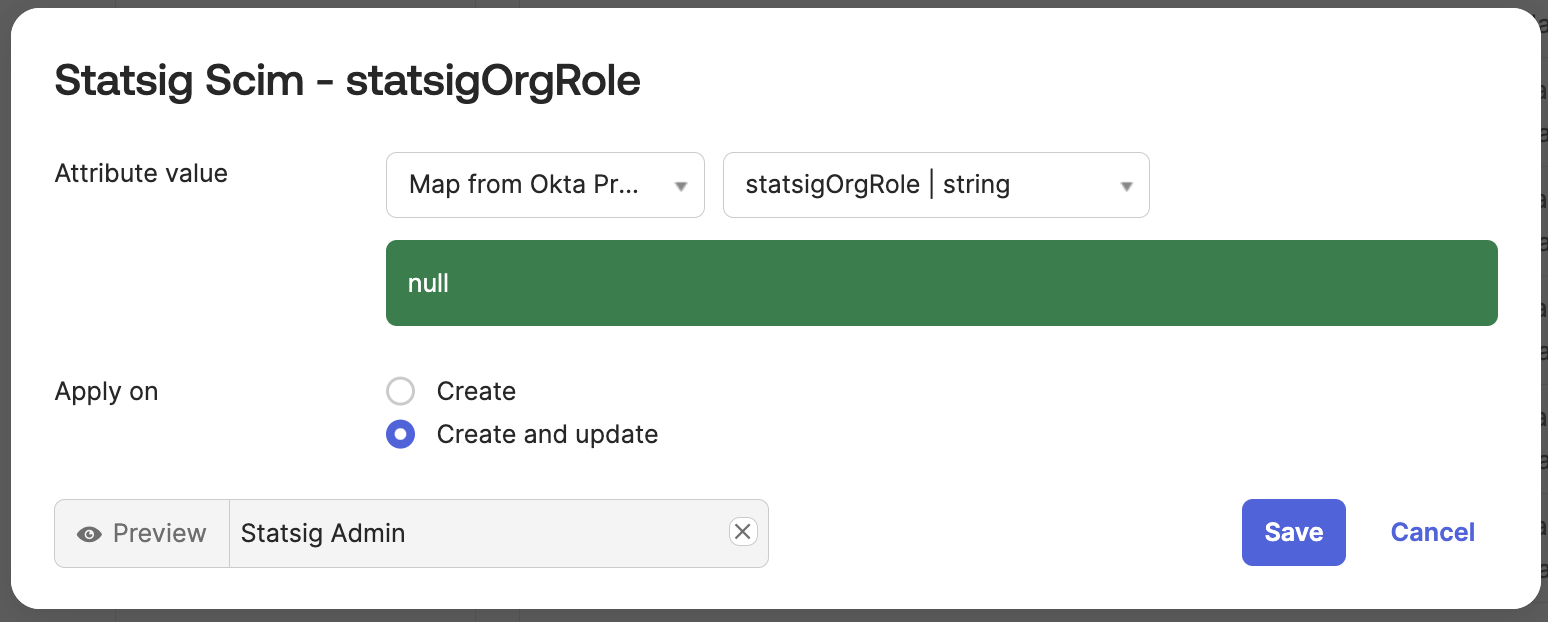
Navigate to the Statsig SCIM integration provisioning section. Under the "To App" tab, scroll down to the statsigOrgRole attribute.
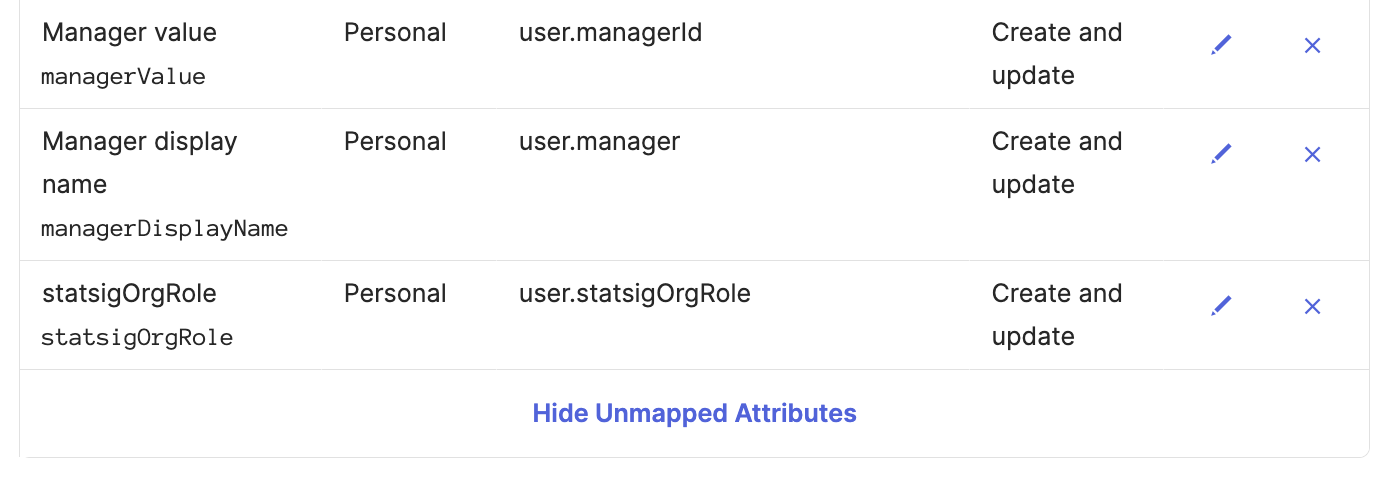
Set the attribute value to Map from Okta Profile and statsigOrgRole. Set apply on Create and update.
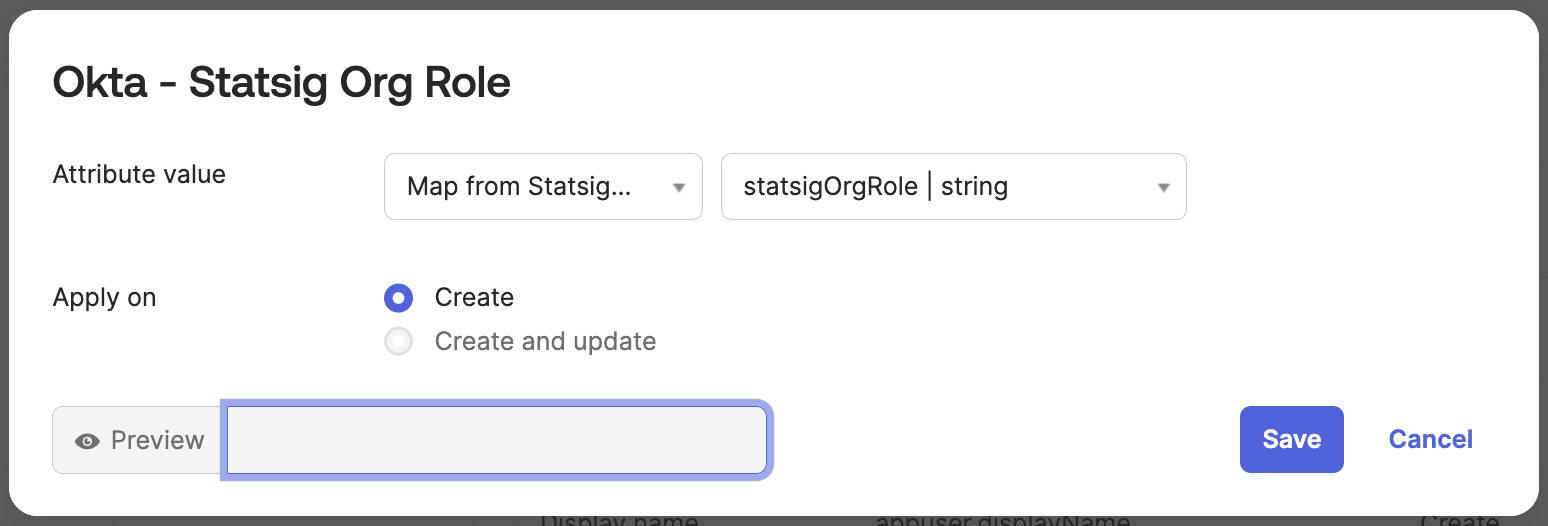
Navigate to the "To Okta" tab and scroll down to the statsigOrgRole attribute.
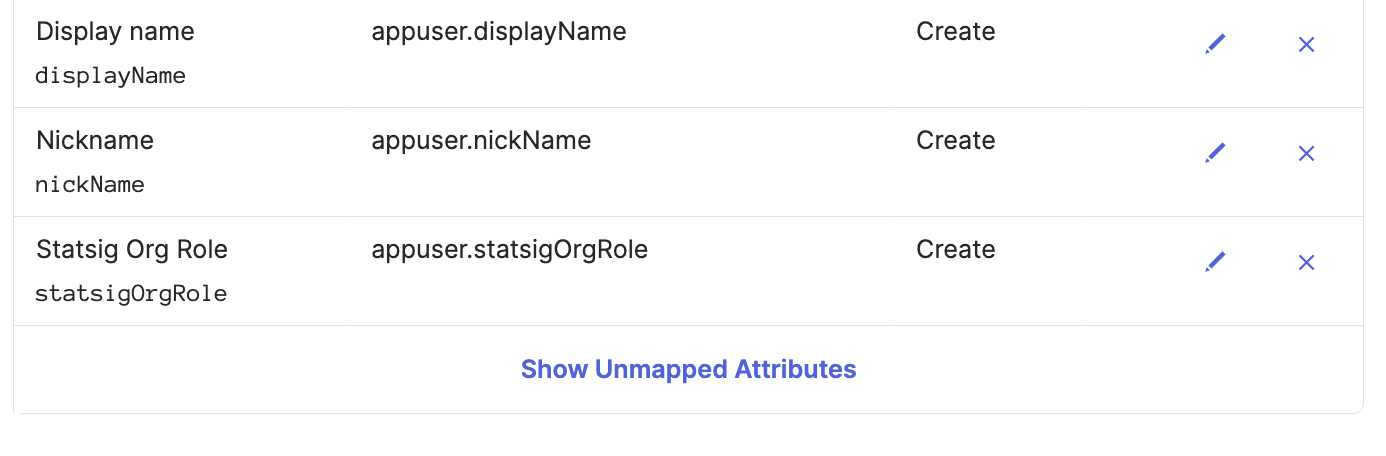
Set the attribute value to Map from Statsig Profile and statsigOrgRole. Set apply on Create.
Was this helpful?