Statsig ChatGPT App
Learn how to talk directly to Statsig from within OpenAI's ChatGPT.
How the Statsig ChatGPT app works
The ChatGPT App builds on the Statsig MCP server. After setup, you can query experiments, manage feature flags, and explore analytics directly within OpenAI's ChatGPT conversational interface.
Installation
- Navigate to the Statsig App in the ChatGPT Apps Directory here.
Click "Connect" and "Continue" to complete OAuth for your Statsig project.
ChatGPT App OAuth only supports Personal Console API Keys. Ensure your Statsig org owner has enabled Personal Console API Keys creation for your role in organization settings.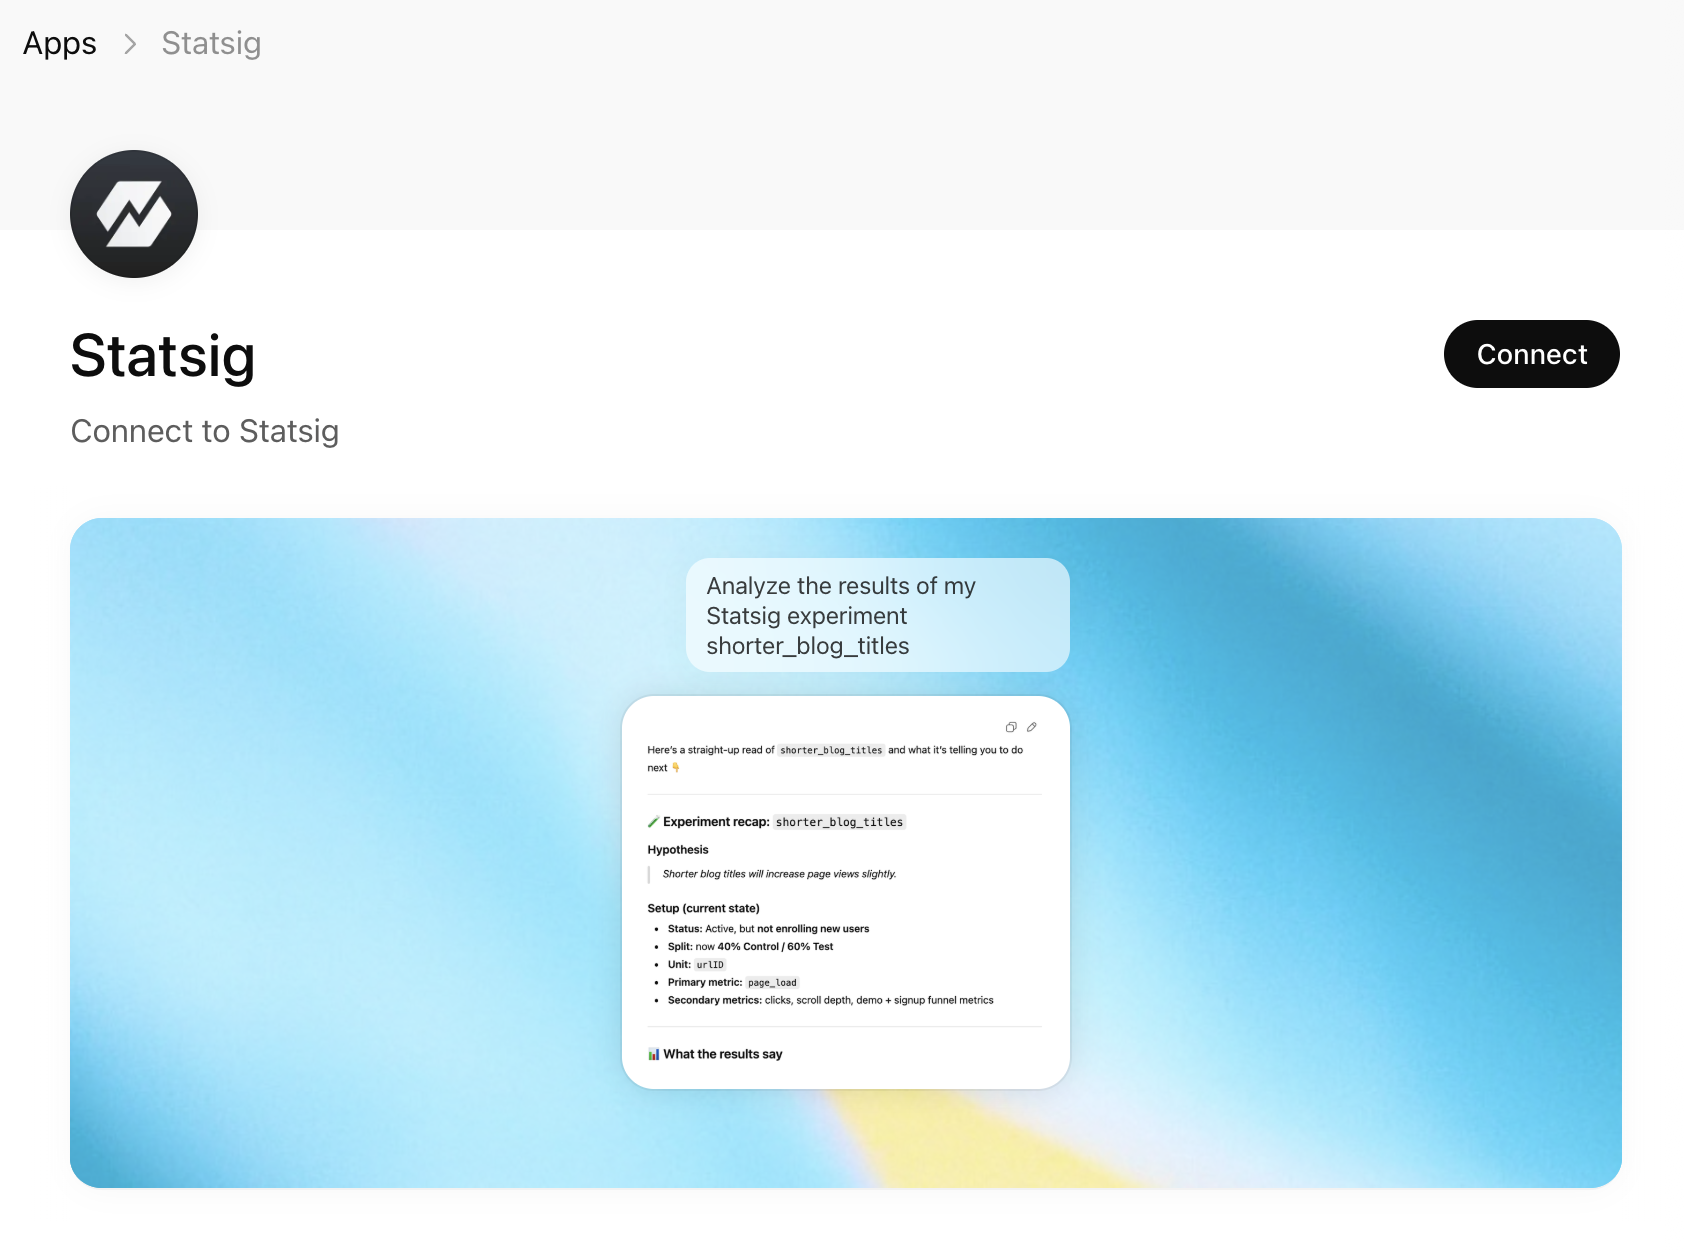
Using Statsig MCP within ChatGPT
With Statsig MCP configured in ChatGPT, you can:
- Explore Experiments: "List all my active experiments"
- Manage Gates: "What gates are currently stale?"
- Configure Dynamic Configs: "Show me the configuration for the dynamic config 'dynamic-config'"
- Get Insights: "Show me details about the experiment called 'new-checkout-flow'"
What you can do after installation
- List experiments, gates, and dynamic configs
- Create and update experiments, gates, and configs
- Access your Statsig data directly from ChatGPT
Was this helpful?