Single Sign-On With Okta
Configure Single Sign-On for Statsig with Okta using OIDC, including app integration, claim mappings, and role assignment for invited users.
Requirements
- You must be the
Adminof the Statsig Organization you intend to add SSO with Okta to. - You must be the Administrator of the Okta account you want to link.
Supported Features
Statsig supports the OIDC protocol for SSO with the following flows:
- Service Provider(SP)-Initiated Authentication for Single Sign-On (SSO). This flow starts when you log in on the Statsig website.
- Identity Provider(IDP)-Initiated Authentication for SSO. This flow starts when you launch the Statsig App from Okta.
- Just-In-Time (JIT) provisioning for SSO. Upon successful first-time login, Statsig automatically provisions an account for the user.
Configure SSO with Okta
Adding the Statsig OIDC Application in Okta
- Navigate to your Okta portal.
- On your Okta portal, click on
Applicationson the left-hand-column, and click intoApplicationsin the dropdown.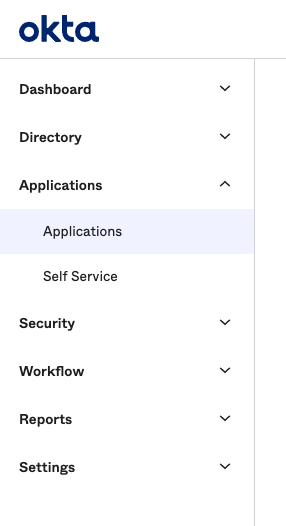
- On the Applications page, click on the
Browse App Catalogbutton.
- On the App Catalog page, use the searchbox to search for Statsig and click on the Statsig OIDC Application.
- In the Statsig Application, click on the
Addbutton.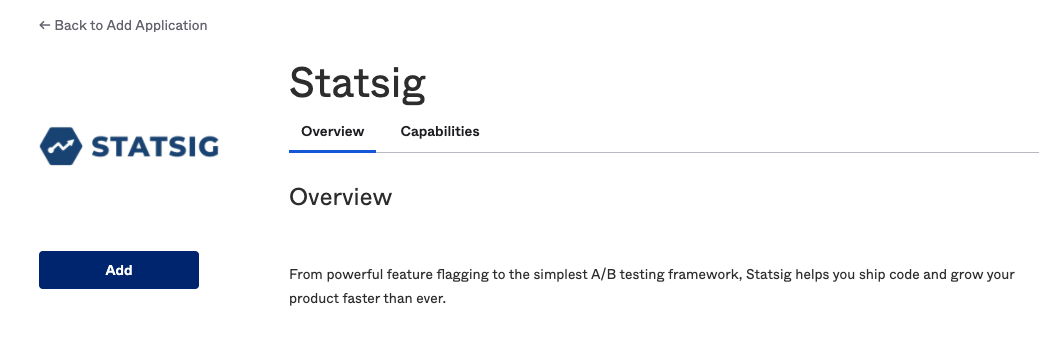
- After creating the Statsig OIDC Application in Okta, go to the
Sign Ontab to find theClient IDandClient Secretfields. You need both values to enable SSO on the Statsig Project. Statsig automatically configures the sign-in and sign-out redirect URIs.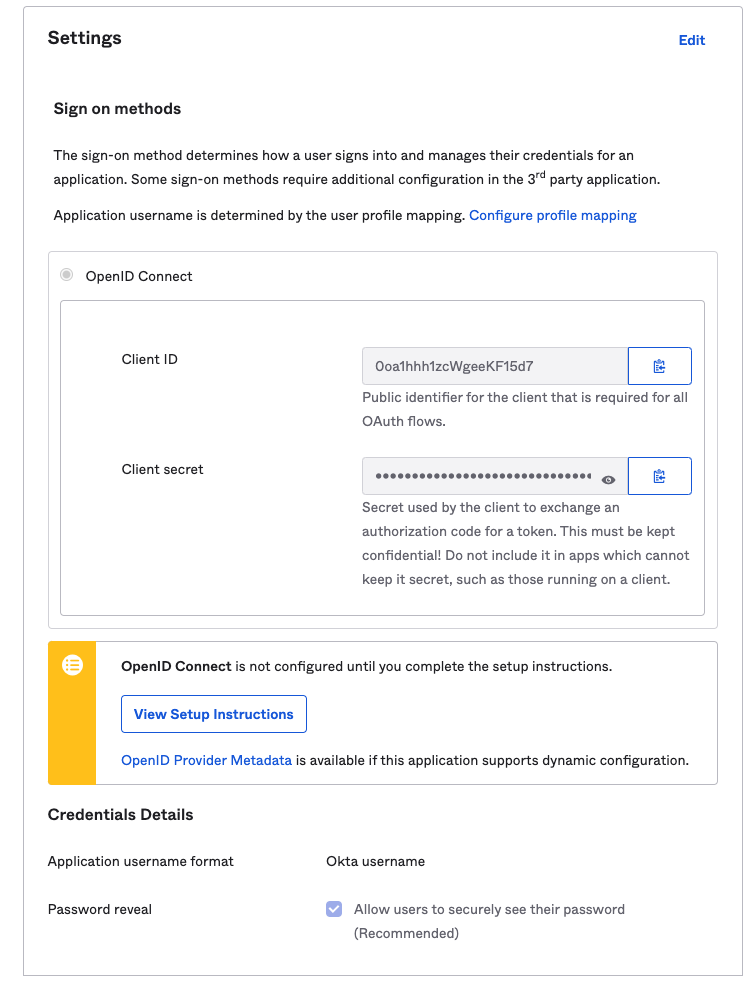
SP-Initiated SSO
- Navigate to https://console.statsig.com/sso
- Enter your email address and click on "Authenticate"
- Statsig redirects you to authenticate with Okta. If prompted, enter your Okta credentials.
- After you authenticate, Statsig redirects you and logs you in.
Proof Key for Code Exchange (PKCE)
Statsig doesn't currently support the PKCE Flow, so you need to turn off the feature in Okta when you enable SSO with Statsig.
Was this helpful?