Statsig ID Resolver
Use the Statsig ID resolver to deduplicate and stitch user identities across anonymous and logged-in sessions for consistent experiment exposures.
How Statsig ID Resolver works
Statsig ID Resolver is a project-level integration that brings your ID names into the console. IDs appear throughout the console, but without additional context, it's hard to identify who or what an ID belongs to. Consider Feature Gate rules as an example:

Each of the IDs shown represents a superhero with a name and other identifying information. After you set up ID Resolver, Statsig shows an ID’s “name” next to each ID. In this example, the name is the superhero’s name followed by their publisher. You can define “name” as whatever string is most useful for your project.

After setting up ID Resolver Autocomplete, you can begin typing an ID’s name and have it auto-resolve to the correct ID.
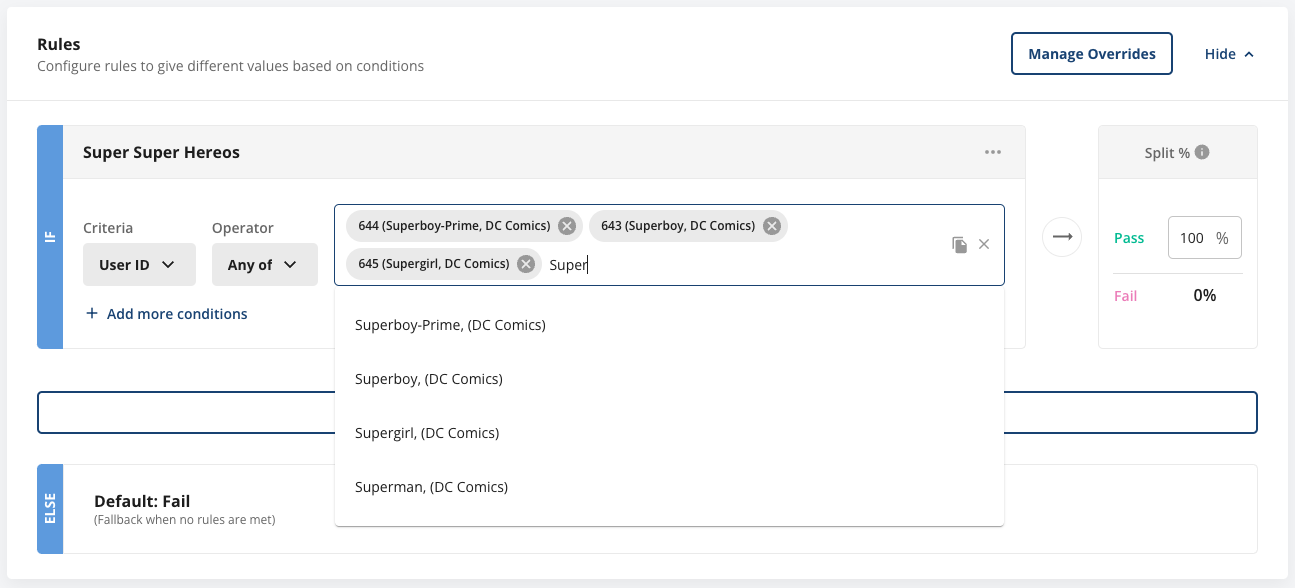
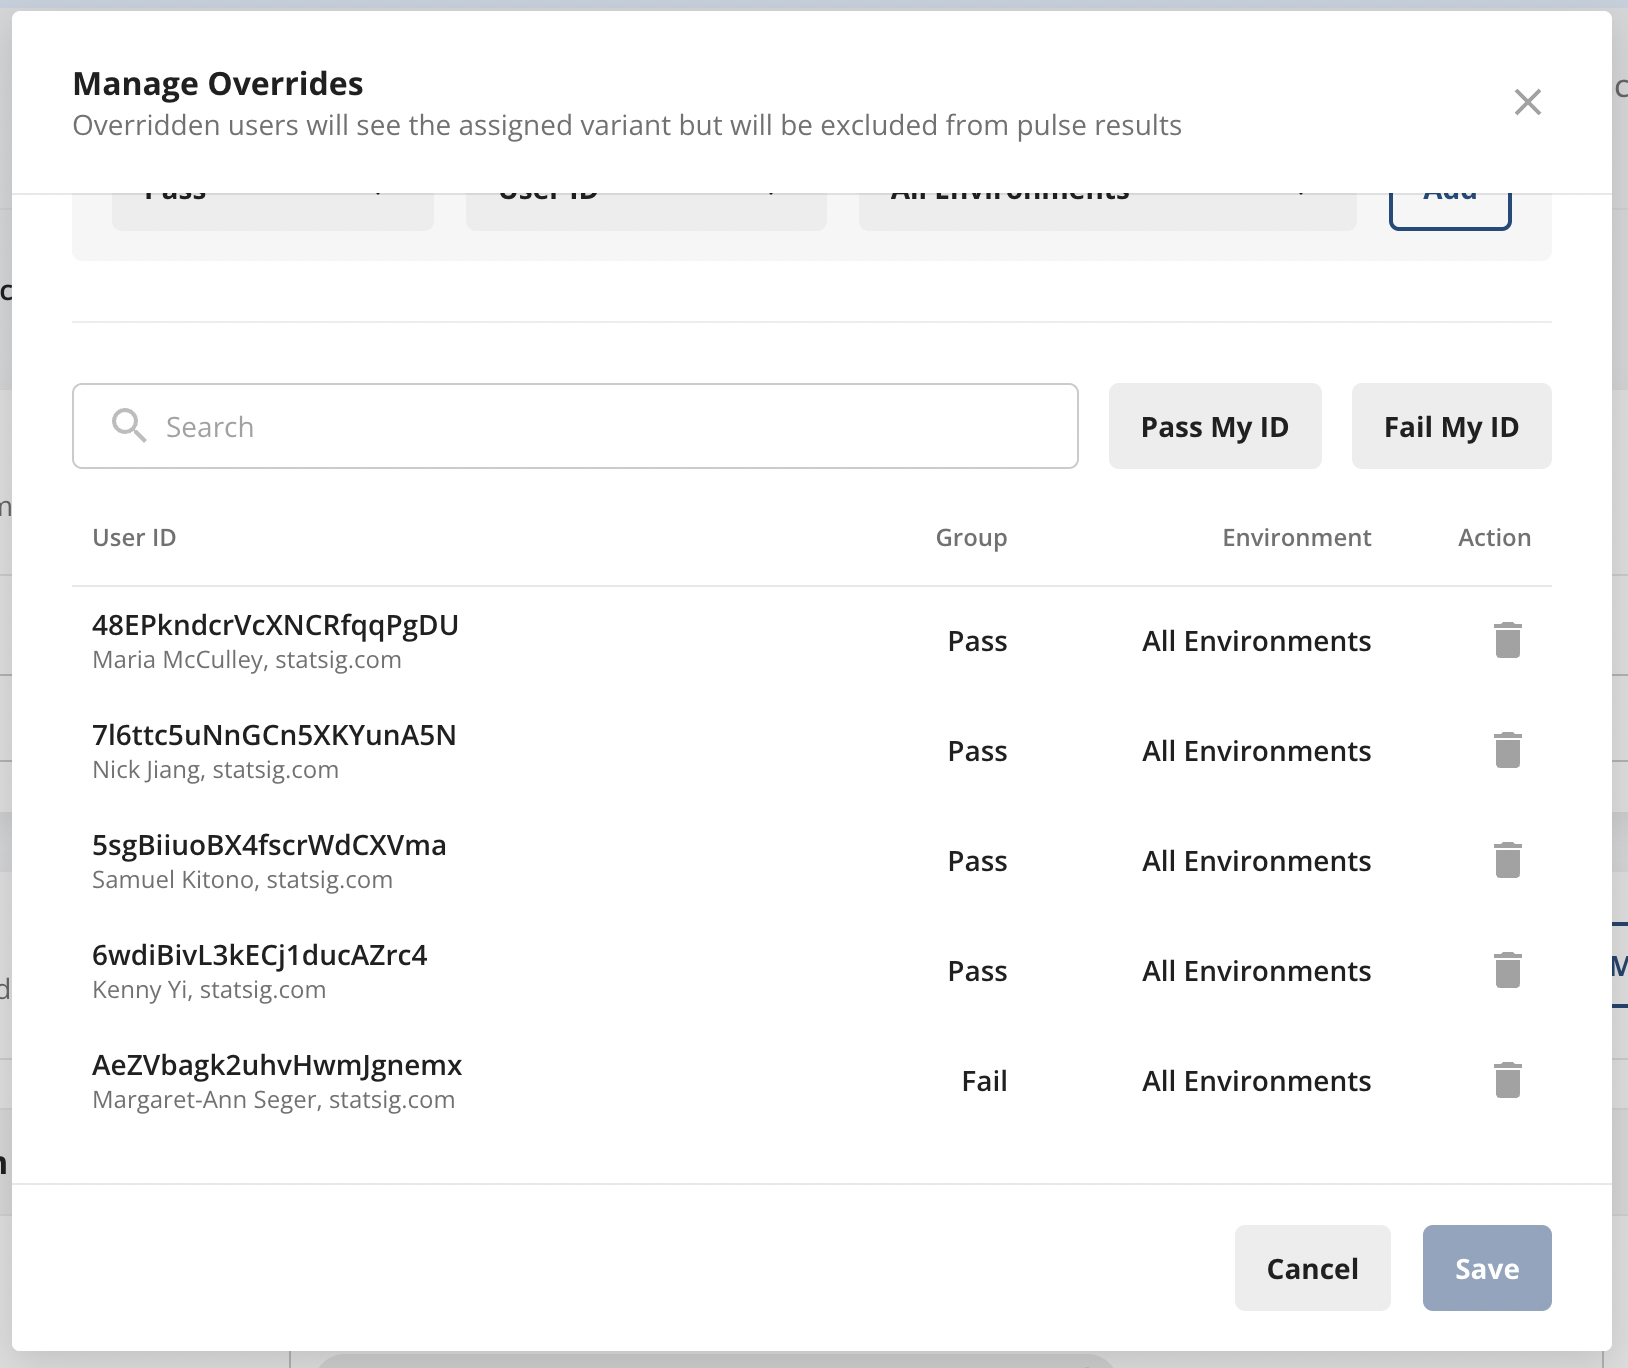
You can use ID Resolver wherever you enter IDs, for example in Feature Gate rules, Overrides, the Users tab, and Segment ID lists.
Step 1 - Create your ID Resolver webhook
Create and host your own webhook for this integration. The webhook takes an id and a possibly null unit_type and returns name. unit_type is one of userID, stableID, or a custom ID type. name must be under 100 characters.
  const inputId = req.body.id as string | null;
  const unitType = req.body.unit_type as string | null;

  if (!inputId) {
    res.status(200).json({
      success: true,
      data: {
        name: "",
      },
    });
  }

  const result = IDResolverDatabase.find((d) => d.id === inputId);
  res.status(200).json({
    success: true,
    data: {
      name: result ? result.name + ", " + result.Publisher : "",
    },
  });
Step 2 - Create your ID Resolver Autocomplete webhook
This webhook takes a name (the current partially typed name) and a possibly null unit_type. It returns the array results containing potential matches in the shape of {name: string, id: string}. Return at most 100 results, with each item under 100 characters.
  const partialName = req.body.name as string | null;
  const unitType = req.body.unit_type as string | null;

  if (!partialName) {
    res.status(200).json({
      success: true,
      data: {
        results: [],
      },
    });
  }

  const results = IDResolverDatabase.filter((d) =>
    d.name.match(new RegExp(`^${partialName}`))
  ).limit(100);
  res.status(200).json({
    success: true,
    data: {
      results: results.map((result) => {
        return {
          name: result.name + ", (" + result.Publisher + ")",
          id: result.id,
        };
      }),
    },
  });
Step 3 - Integrate your webhooks with Statsig
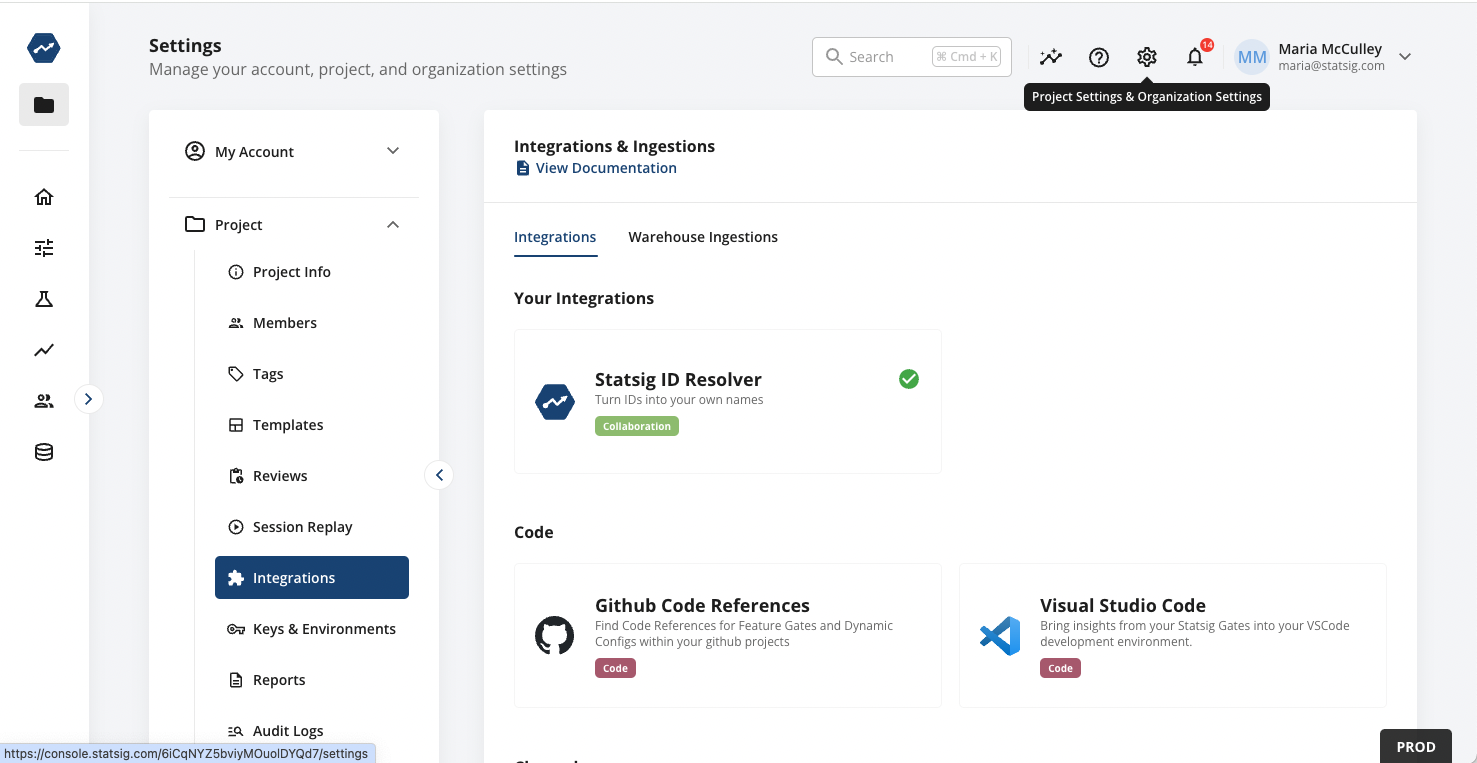
Navigate to Project Settings > Integrations > Statsig ID Resolver.

Secure your webhook with an API key (optional, but recommended)
Statsig accepts an optional API key in the integration configuration. If you provide a string, Statsig calls your webhook with the HTTP header Authorization: Bearer <apiKey>.
The value can be any random string. Your server should reject any request that doesn't supply the same string you provided when setting up the integration. Generate one by running openssl rand -hex 32. Store and read this value securely on your server.
Setup is complete. Statsig now shows resolved names next to IDs throughout the console.
Was this helpful?