Okta SCIM Team Management
Manage Statsig teams from Okta using SCIM provisioning so team membership stays in sync with Okta groups and reflects organizational changes automatically.
Manage Statsig teams from Okta by pushing Okta groups to Statsig Team x Role Groups, so team membership stays in sync as your Okta directory changes. You import existing Statsig teams into Okta, map Okta groups to them, and push changes to add, update, or remove team members.
Import existing Statsig teams
Teams are specific Statsig groups that exist within projects. Statsig doesn't share them across projects. They also have two possible roles: Admin and Member.
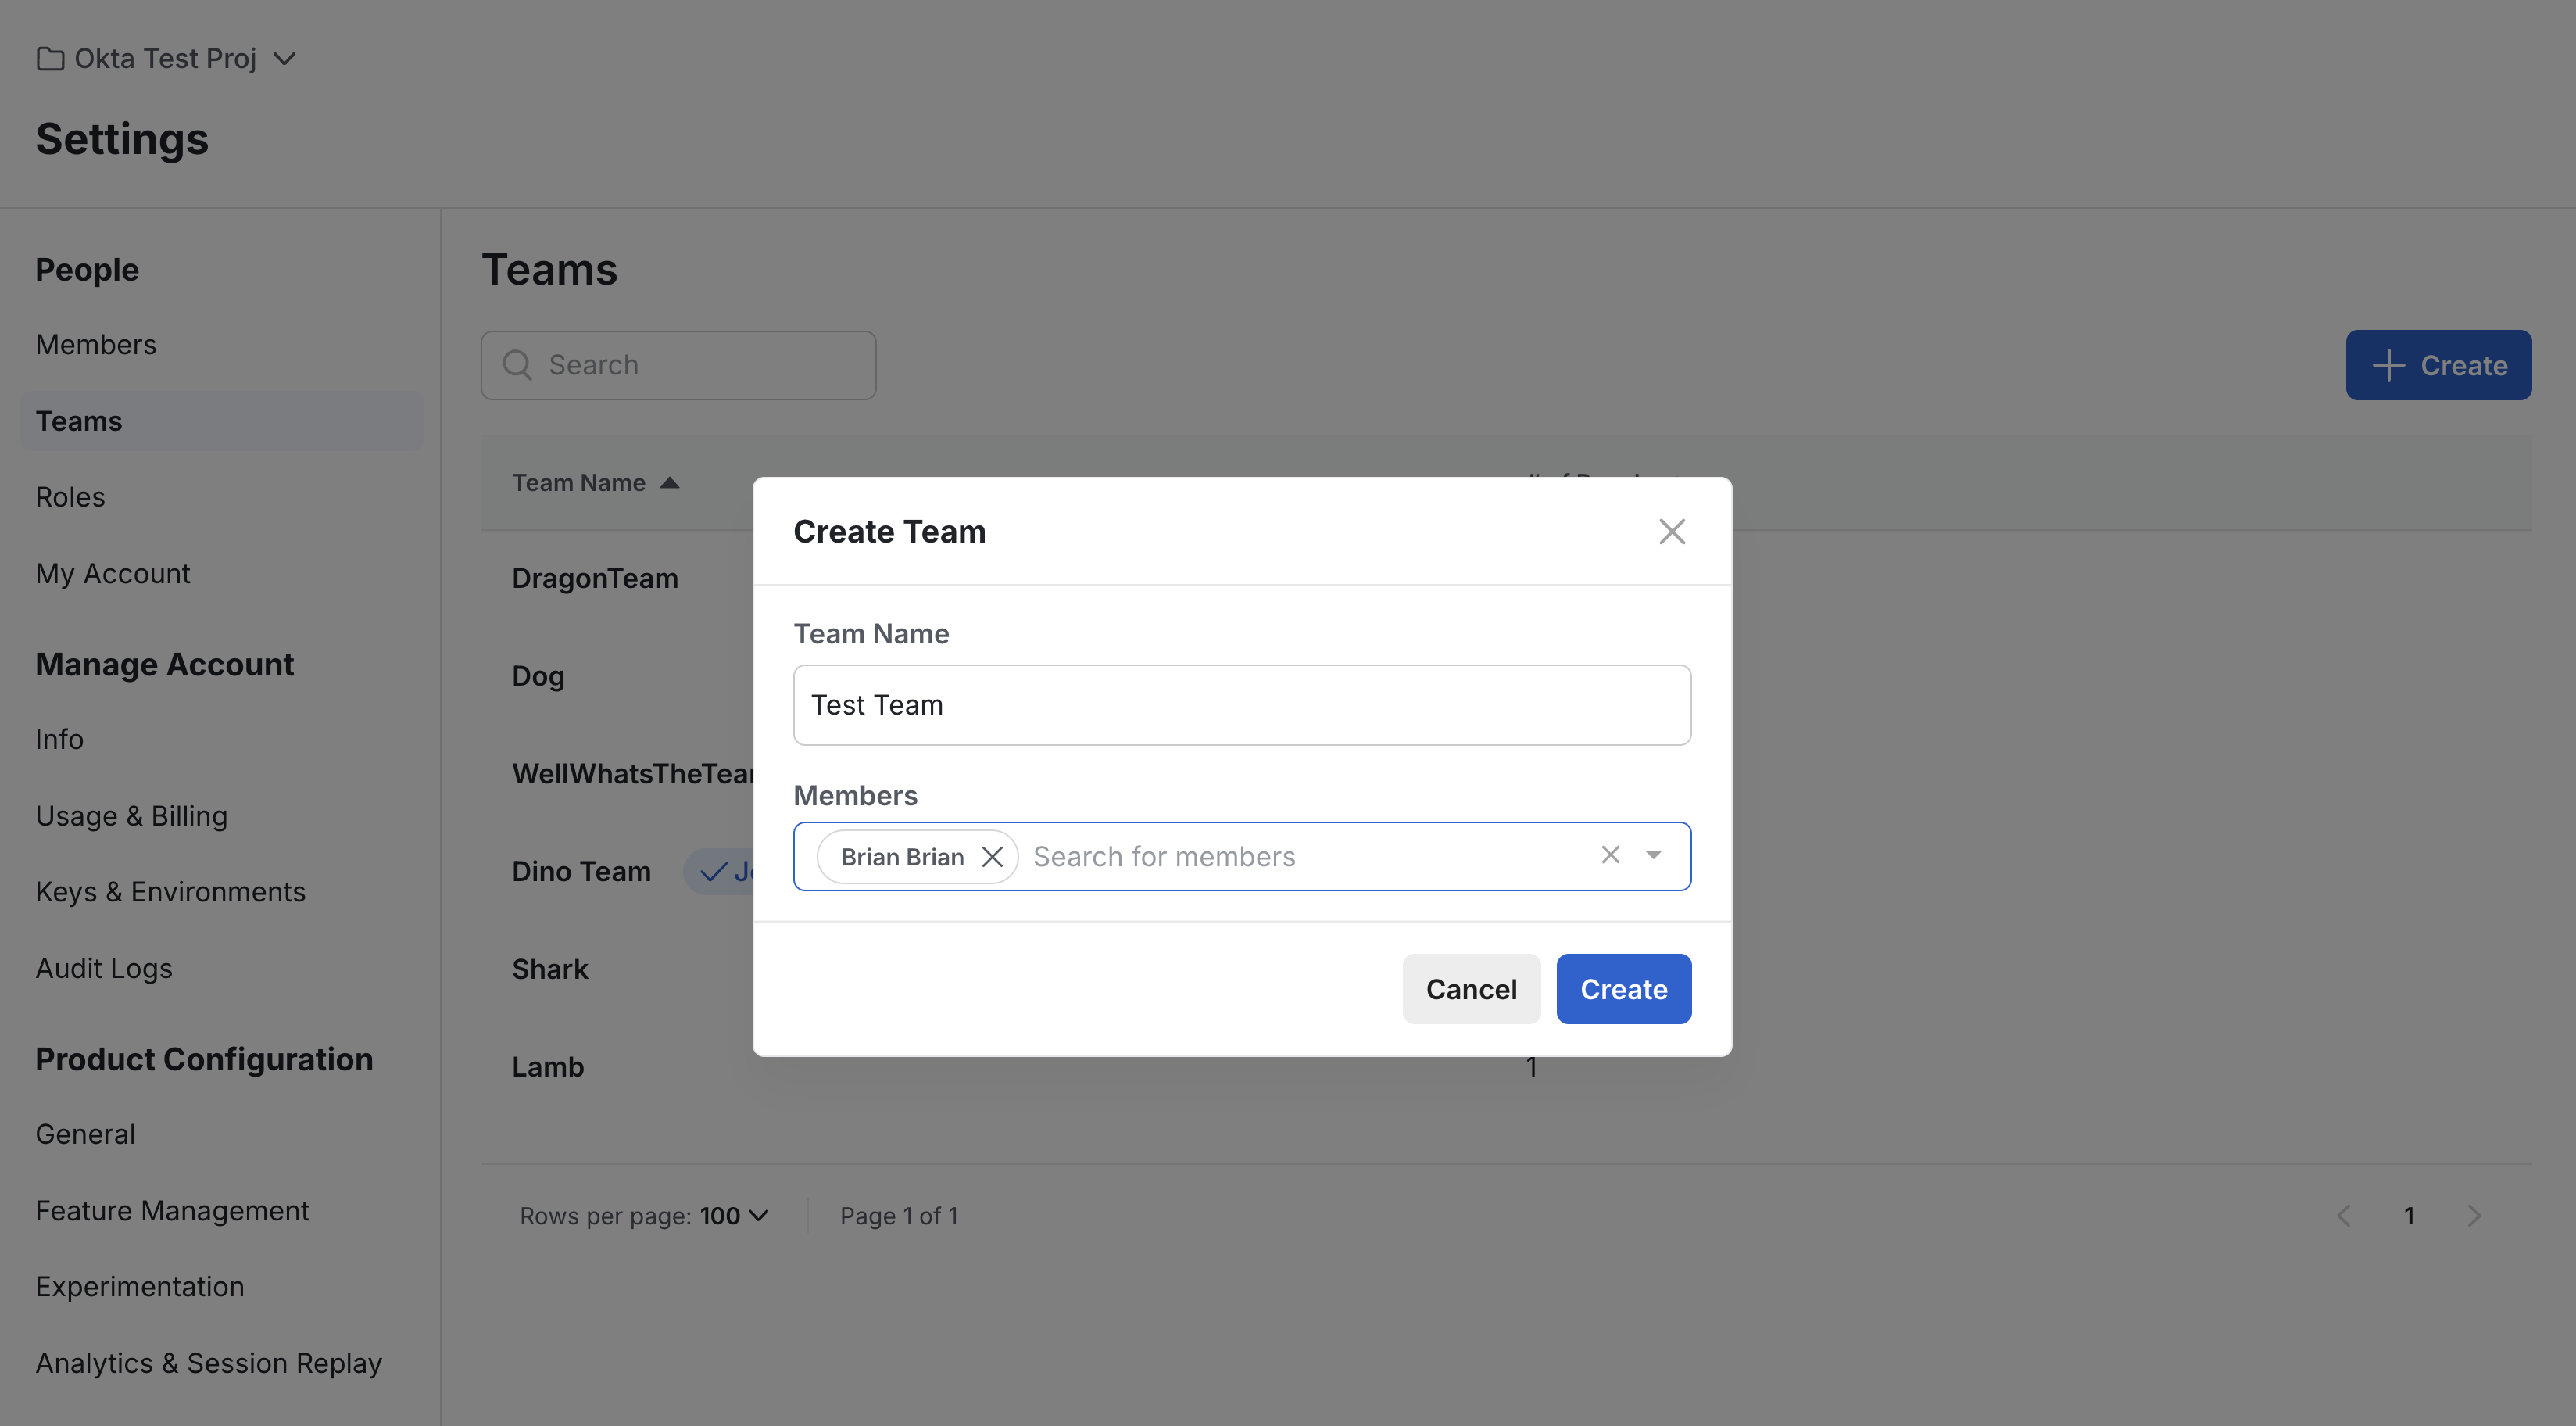
Before you manage teams through SCIM, create at least one team in your Statsig Project.
Import existing groups
- In Okta, go to the Statsig app's "Import" tab
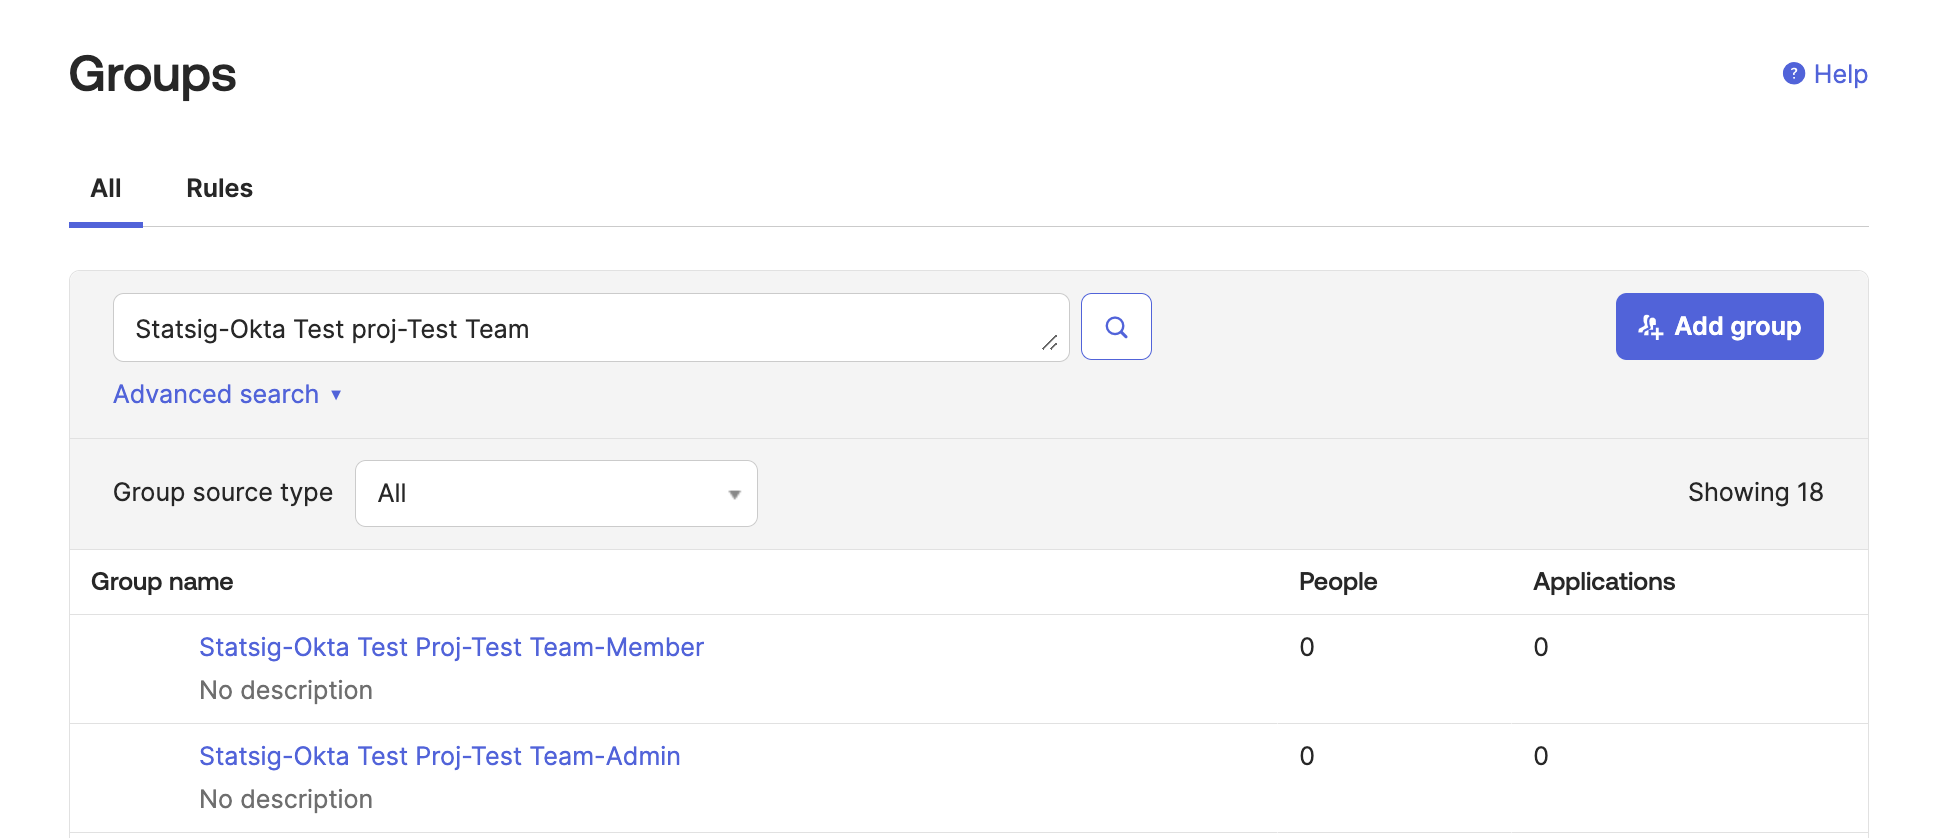
- Click "Import Now" to fetch existing Statsig users, groups, and teams
- After importing, the group appears in your Okta groups following the format
Statsig-ProjectName-TeamName-RoleName.
Create a mapping group
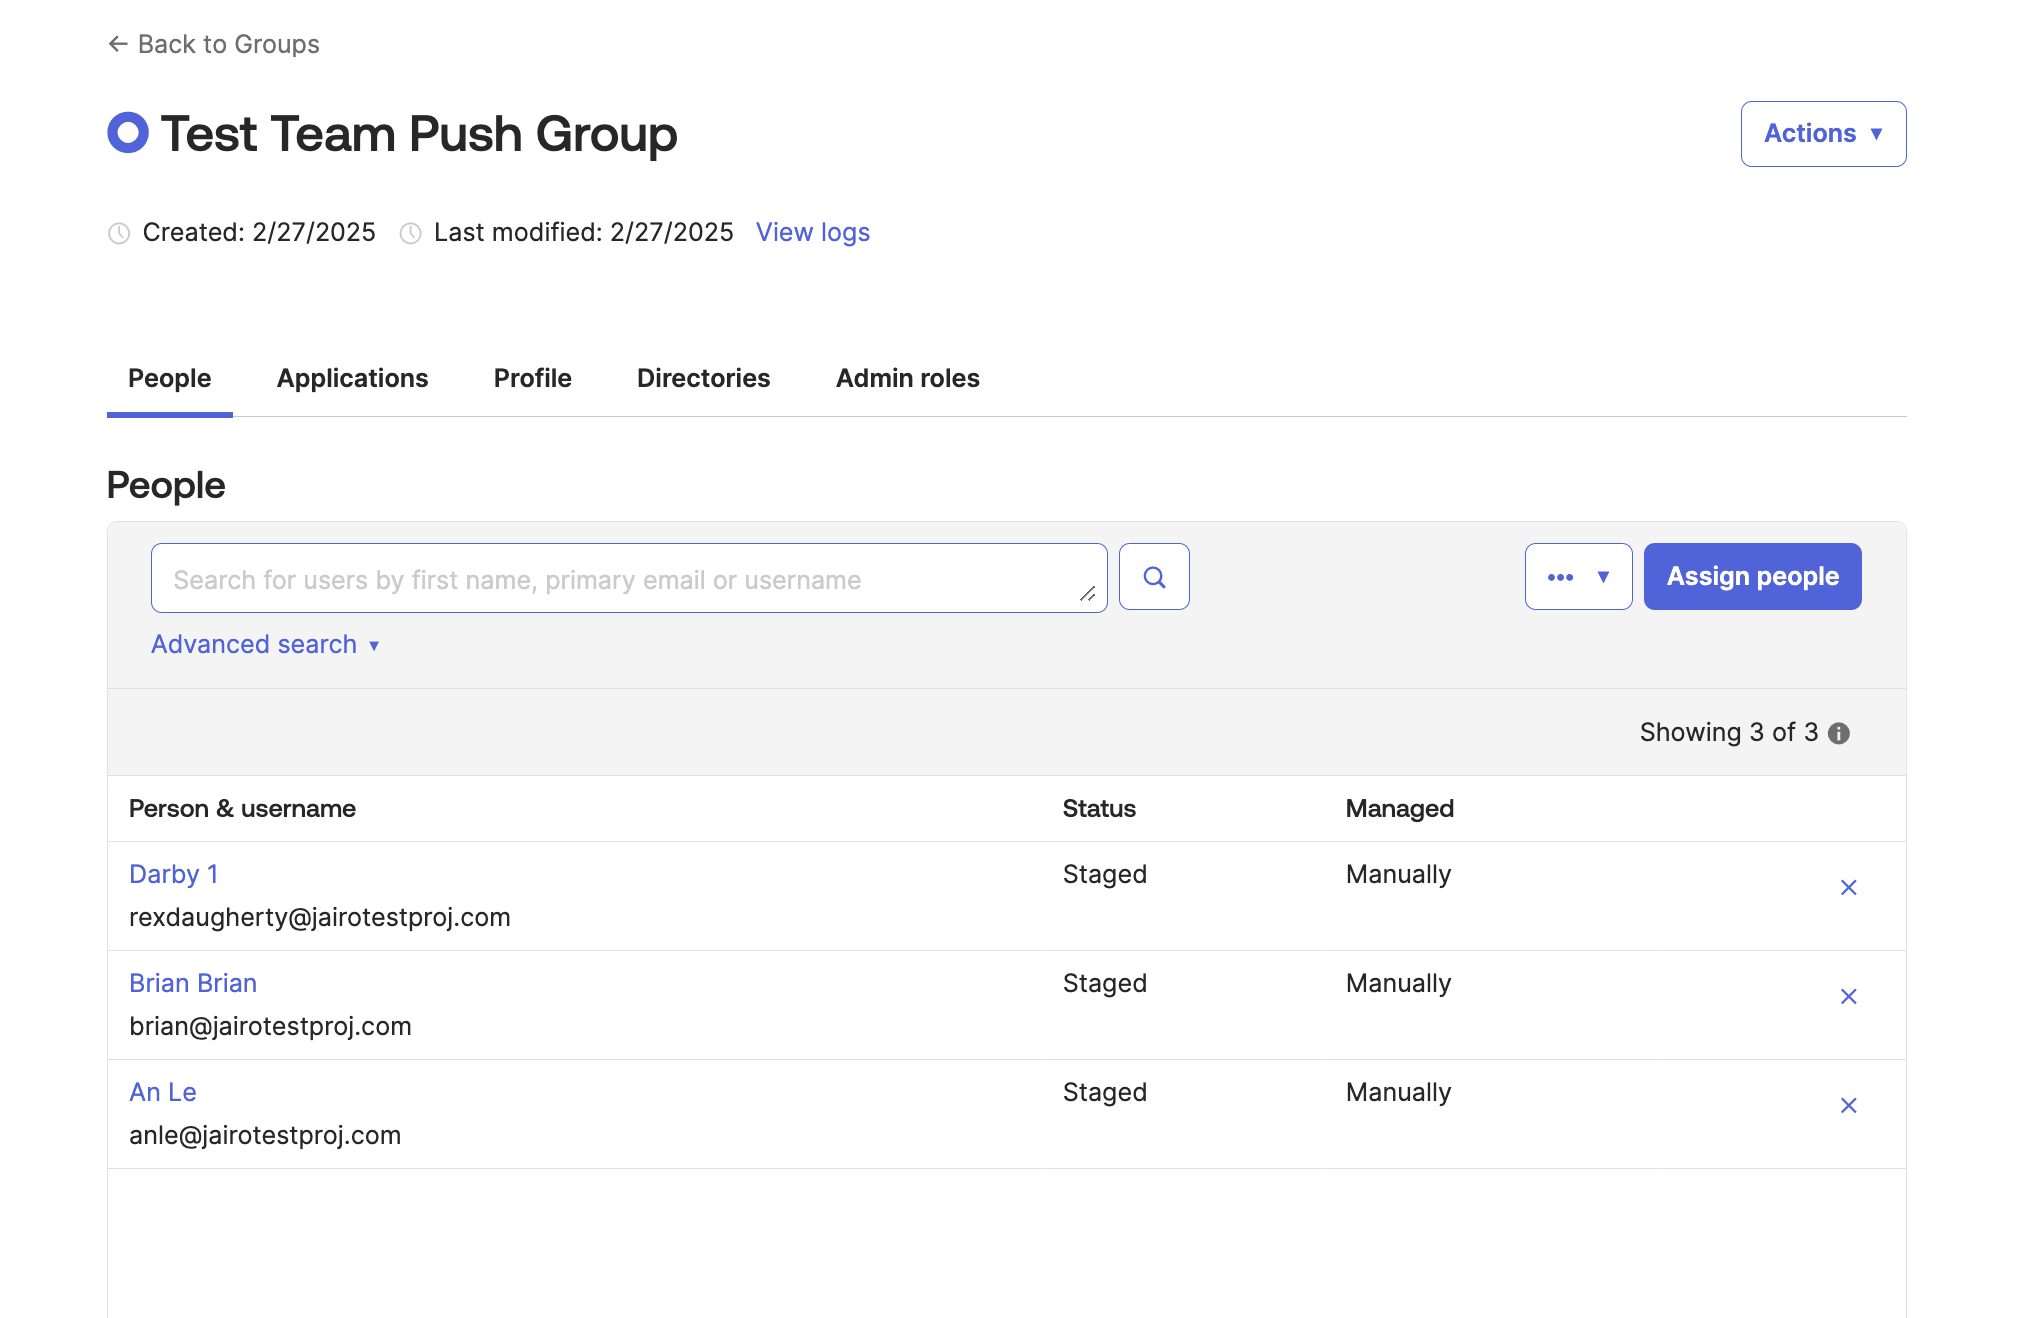
- To push a group of Okta users to a Statsig team, first create a mapping group.
- This group contains the Okta members who are part of the Team x Role Group.
Push teams to Statsig
In Okta, go to the Statsig Integration's "Push Teams" tab and select "Push Groups". Then pick the mapping group you created.
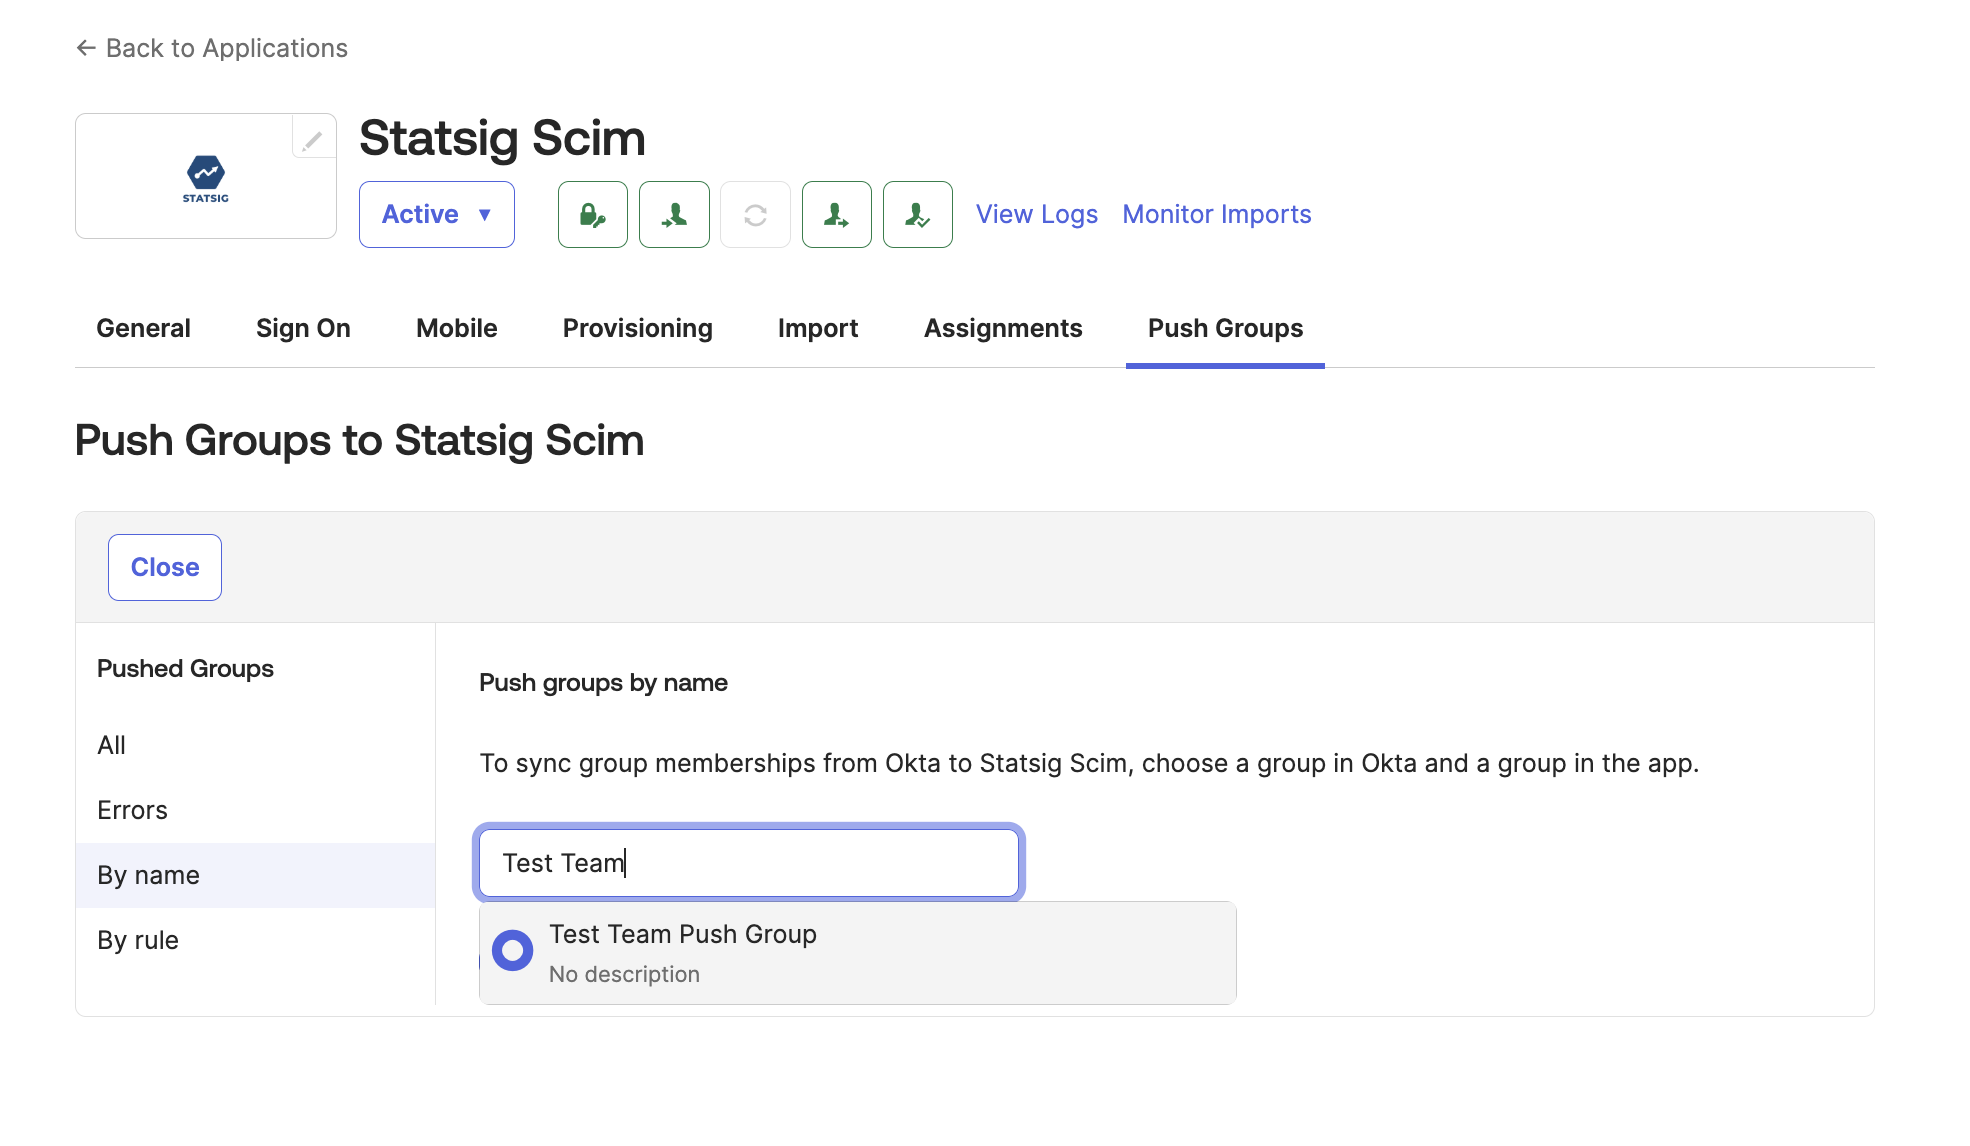
Change the Match result & push action to Link group. Then select the Statsig team you want to push to. The team name must follow the format
Statsig-ProjectName-TeamName-RoleName.
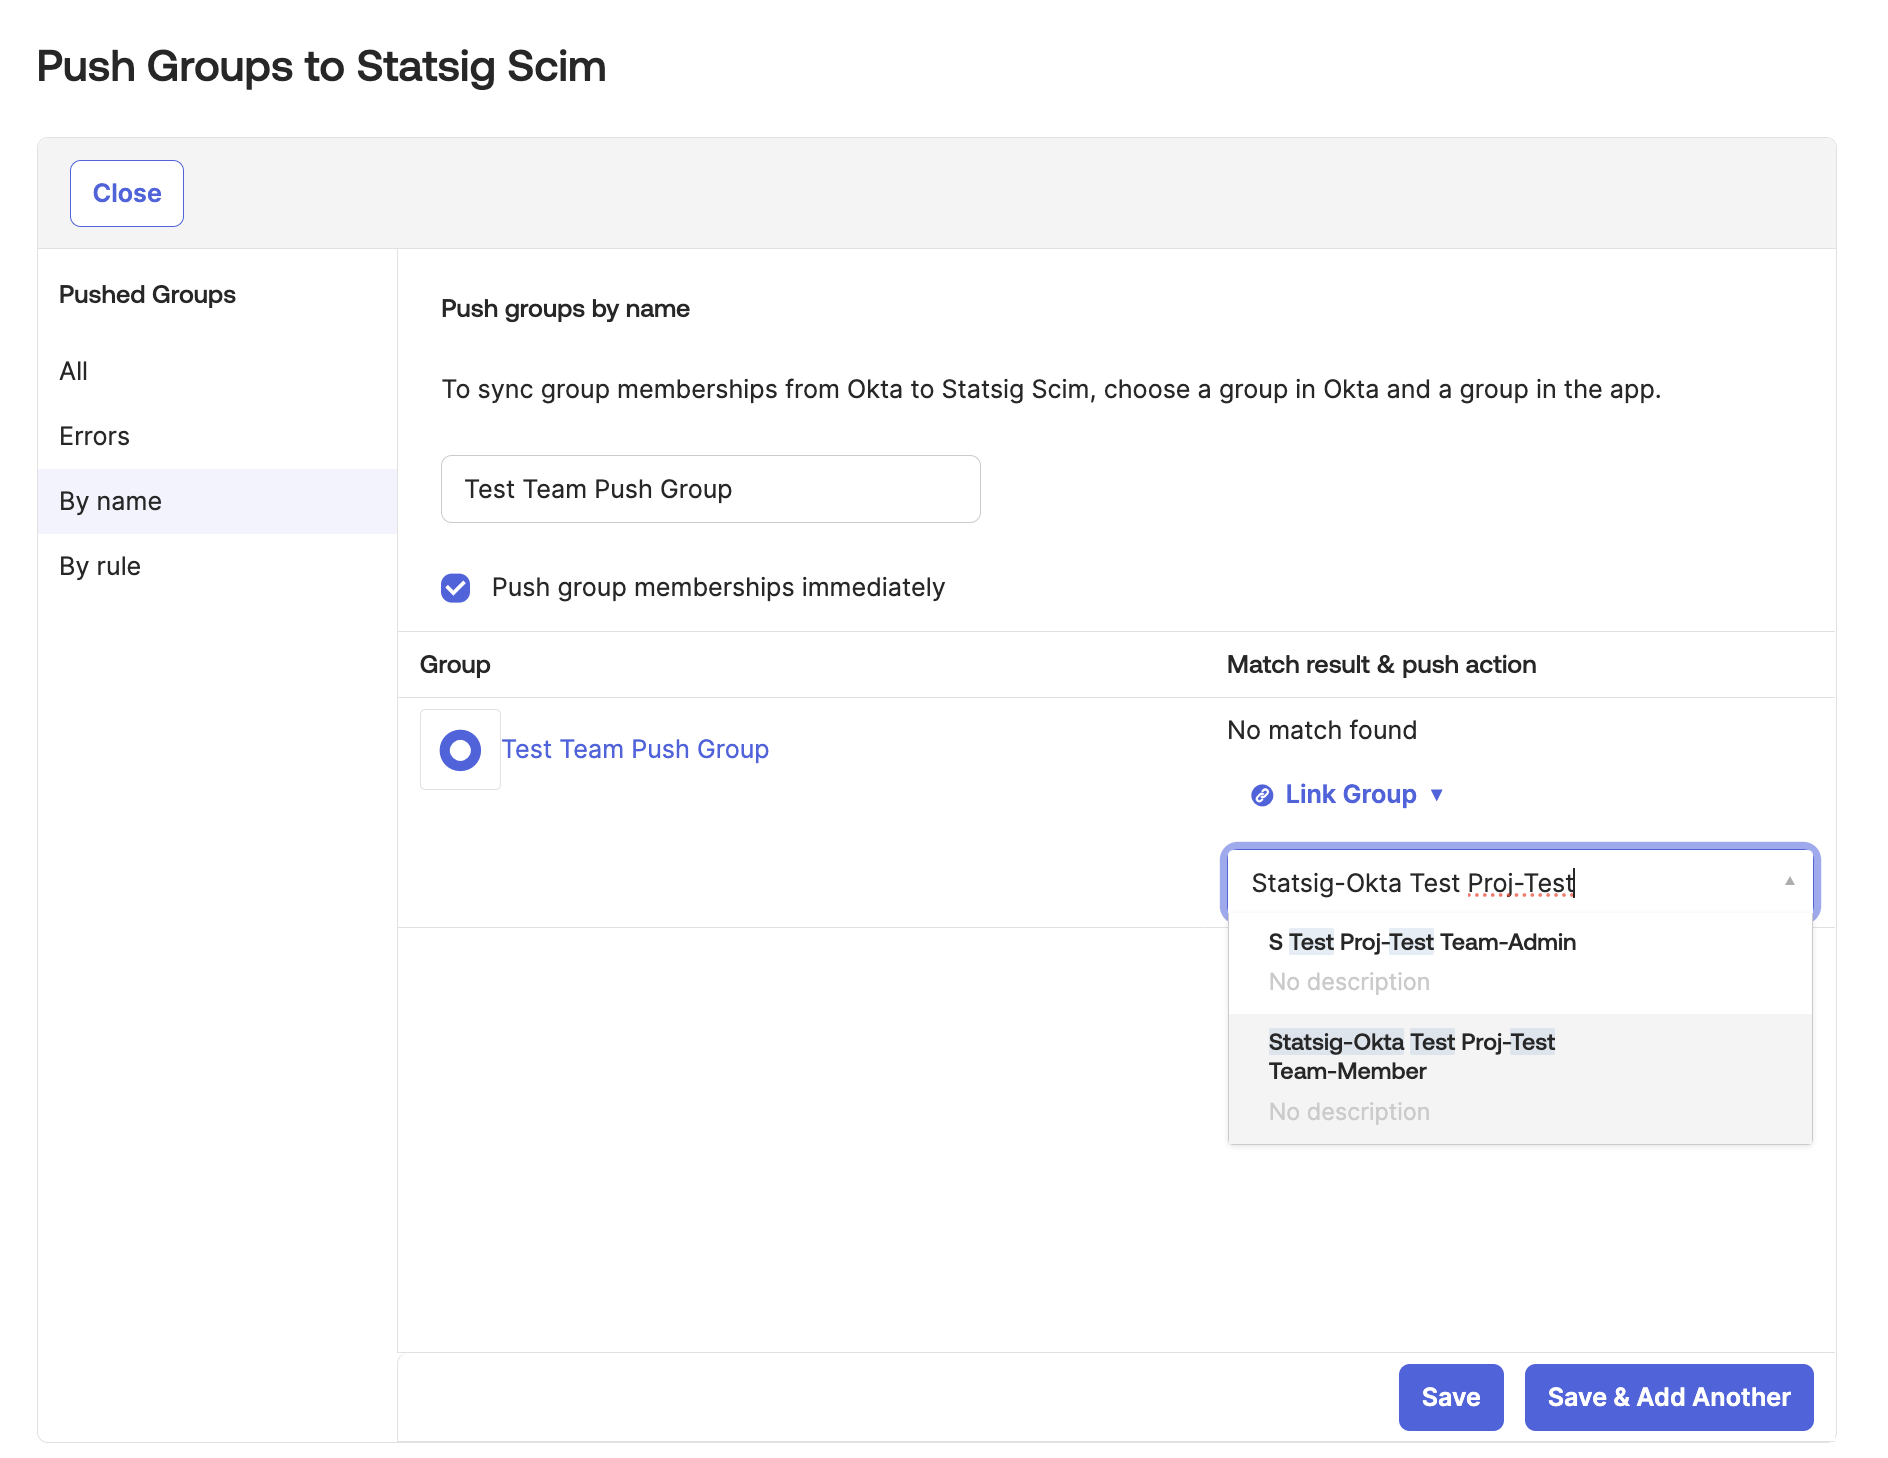
- When you finish setting up the push, click Save.
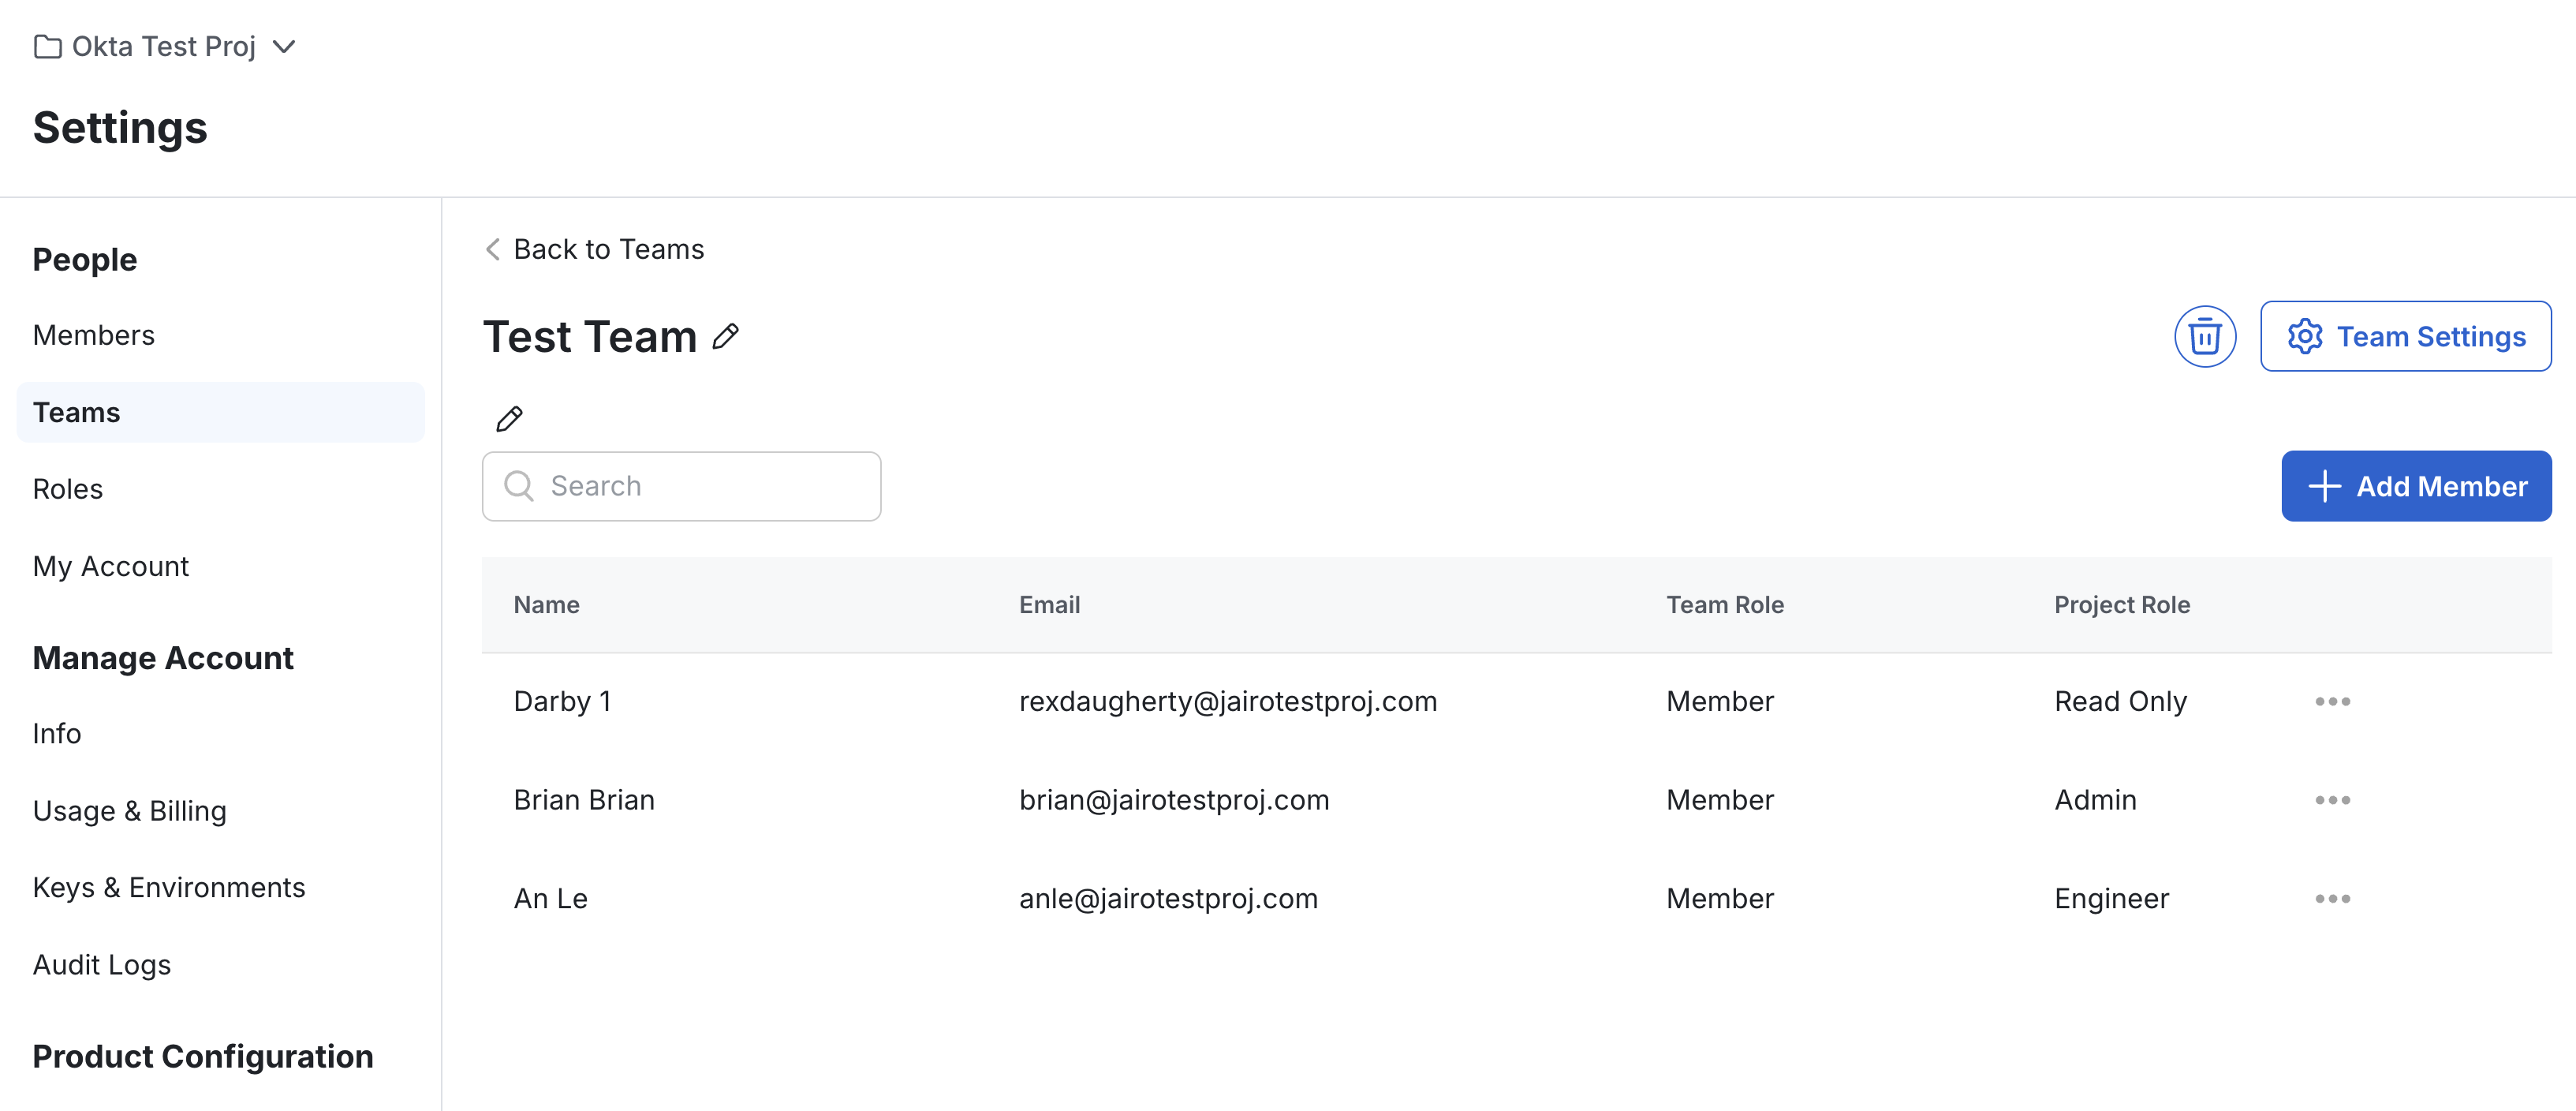
Verify the push
- Navigate to the Statsig Project and verify that the team has the new members.
- Okta can take a few minutes to push members to the team.
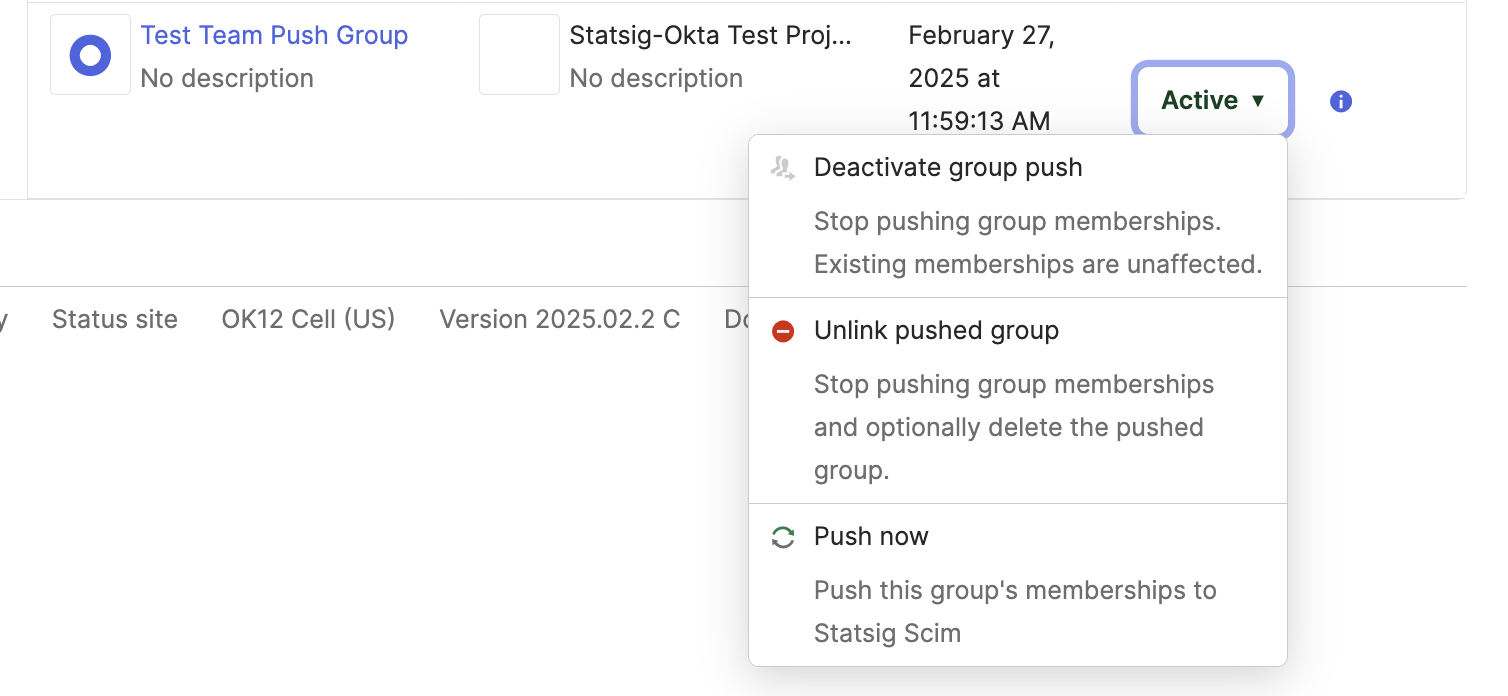
Delete the team
- On Okta, navigate to push groups and find the pushed group that maps to the Statsig team.
- Click the push status section and select "Unlink Group".
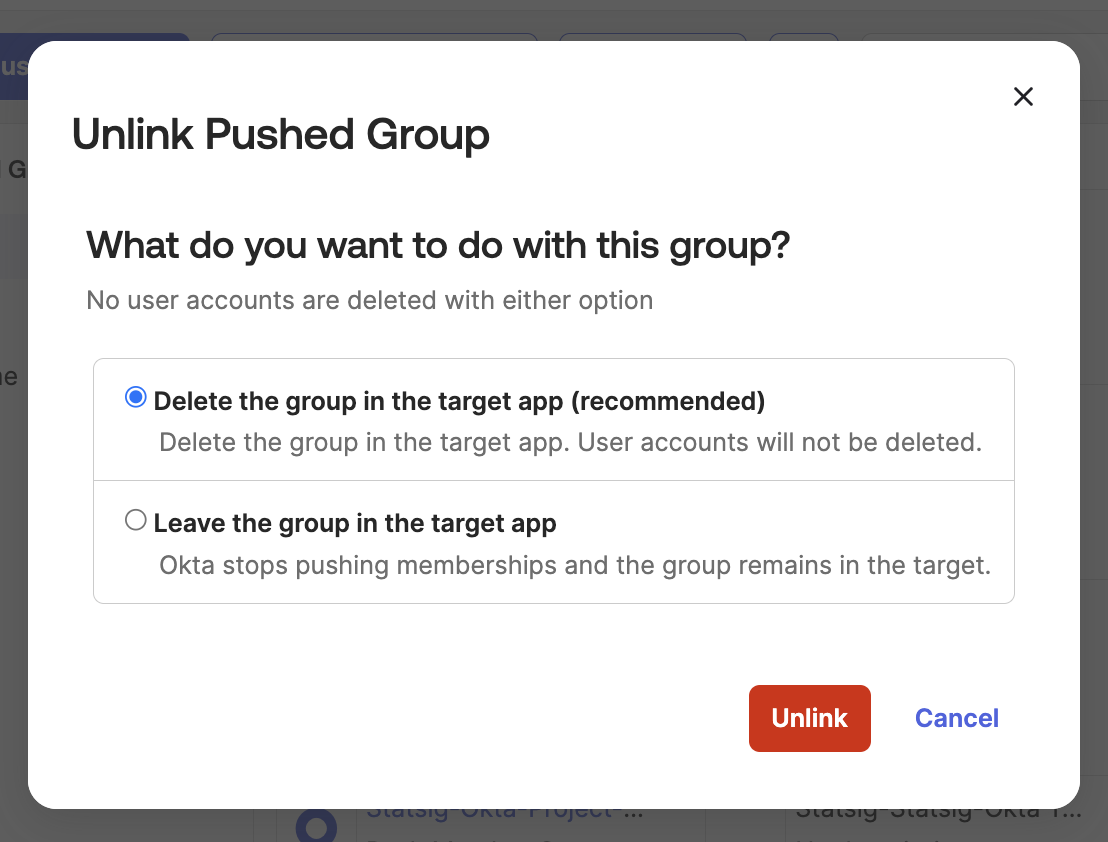
- When Okta prompts you to delete the group or leave it in the app, select "Delete".
- After Okta pushes the deletion, Statsig deletes the team. This can take a few minutes to complete.
Optional: Create a team using SCIM
- Find an existing Okta group with the members for a new Statsig Team.
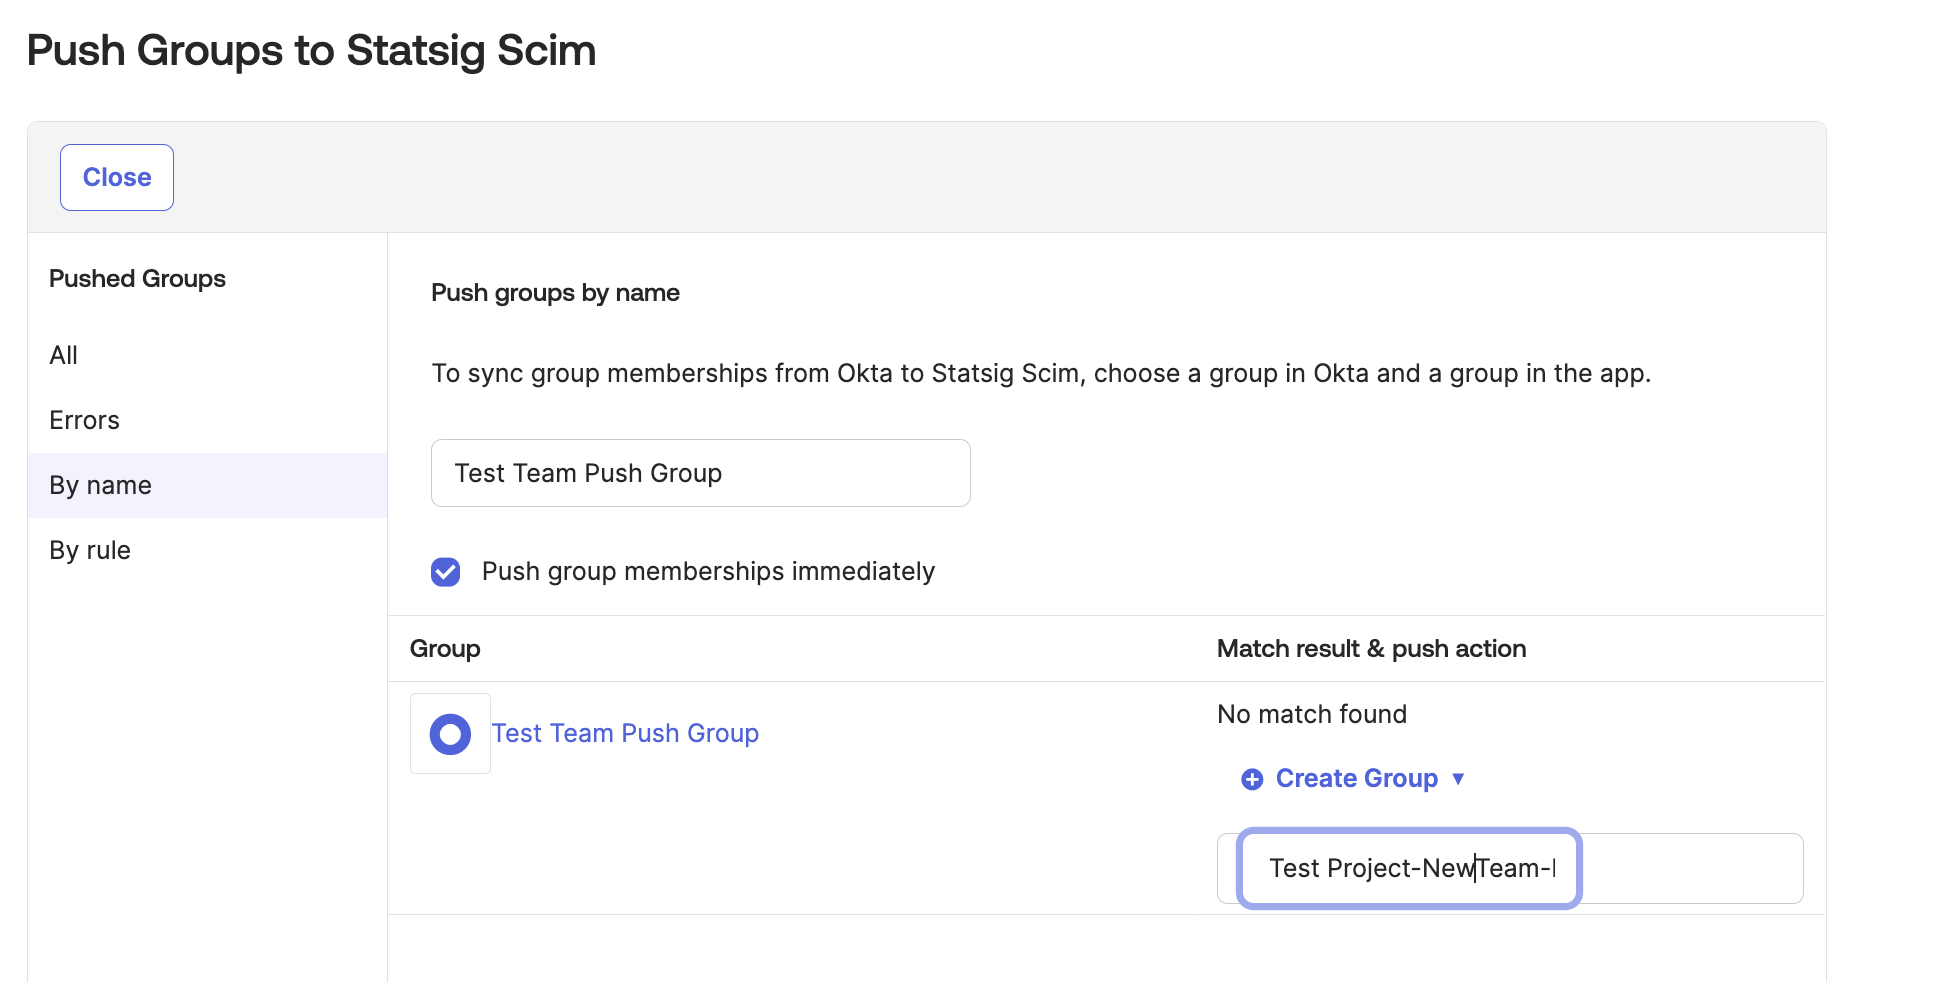
- Navigate to Push Groups and Select "Push Groups".
- Select the group you want to push to Statsig.
- Change the Match result & push action to Create Group.
- The naming for this group must match the format
Statsig-ProjectName-TeamName-Member.
- When you finish setting up the push, click Save.
- The new team appears in the Statsig Project you specified.

Was this helpful?