Datadog Triggers
Configure Datadog triggers in Statsig to react to Datadog monitor events with automated rollback, killswitch, or notification actions on feature flags.
How Datadog triggers work
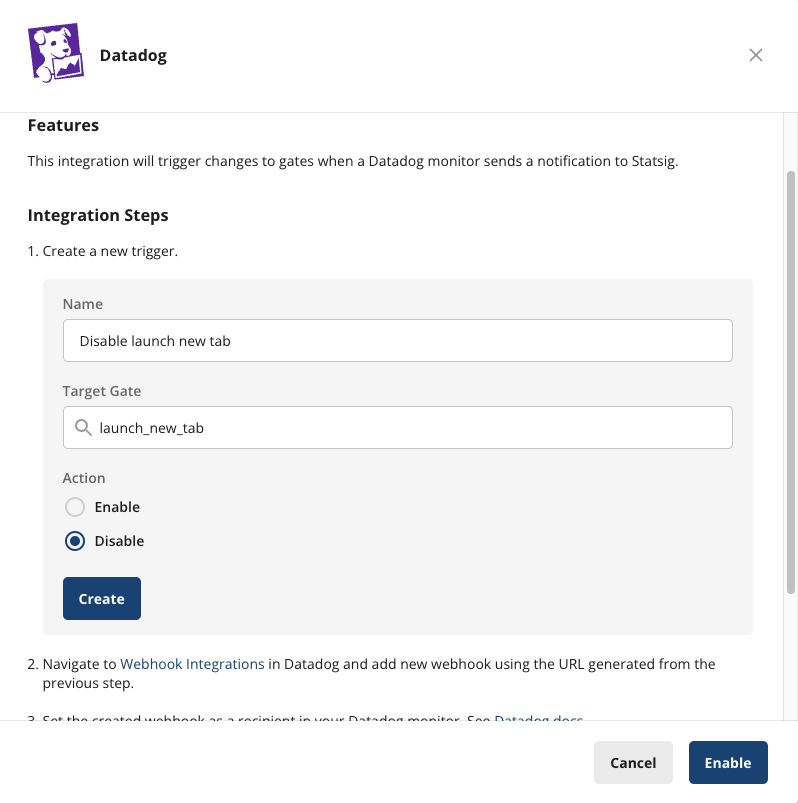
Triggers let you make changes to your Statsig project from a third-party source. You can create a trigger with a specific action, such as "Disable a feature gate," and Statsig generates a URL that performs that action when called.
You can use triggers with Datadog to toggle a gate on or off based on metric performance. For example, create a trigger that disables a gate, then connect the trigger to a Datadog monitor. Statsig disables the feature automatically when the monitor detects a metric regression.
Trigger types
The provider supports gate triggers only.
Creating a trigger
- On Statsig console, navigate to the integrations tab.
- Find and open Datadog -> Triggers.
- Specify the target gate and action, then click Create.
Connecting to Datadog
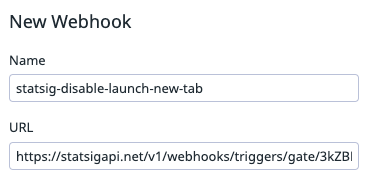
- Copy the trigger URL generated from the previous step.
- In Datadog, create a new Webhook using that URL. You don't need to change the payload.
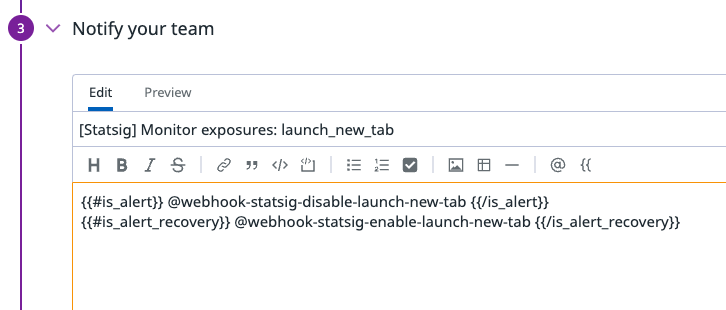
- In your Datadog monitor settings, add this webhook as a notification target.
Was this helpful?