Running A/B Tests
AzureAI SDK helps you easily and quickly run A/B tests to measure the effectiveness of different models and related parameters. By leveraging Statsig's powerful stats engine, you can gain real-time insights into model performance, optimizing for metrics like cost, accuracy, and latency. This integration enables you to experiment with various configurations, such as model type, prompt settings, or response parameters, and make data-driven decisions to enhance your application's efficiency and user experience.
Example: Test GPT4o vs. GPT4o-mini
Step 1: Create configs
Create two dynamic configs, one named gpt-4o
and another named gpt-4o-mini
. In the Value section add the endpoint, key and other default parameters like this:
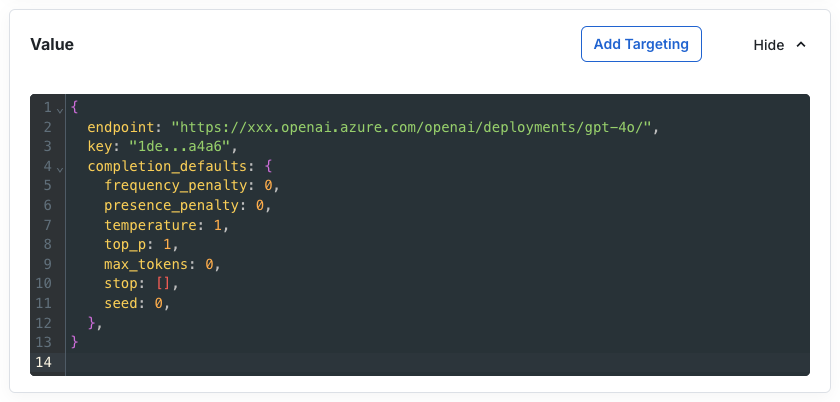
These will serve as the base deployment configs for our tests, and also allow you to modify it on the fly as you launch
Step 2: Create some metrics to track
Let's take the example of a metric like latency and see how to create it in Statsig.
Navigate to the Metrics Catalog page (https://console.statsig.com/metrics/metrics_catalog) and click on Create button.
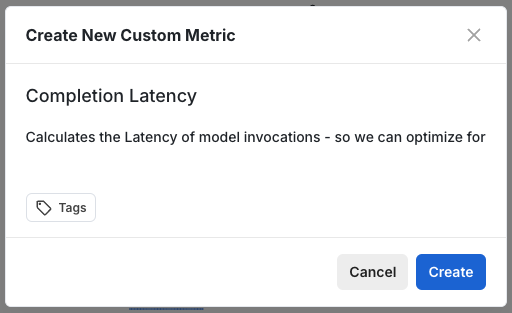
Now, in the Metric Definition section, choose:
Property | Value |
---|---|
Metric Type: | Aggregation |
ID Type: | User ID |
Aggregation Using: | Events |
Aggregation Type: | Average |
Rollup Mode: | Total Experiment |
Event: | usage |
Average Using: | Metadata => latency_ms |
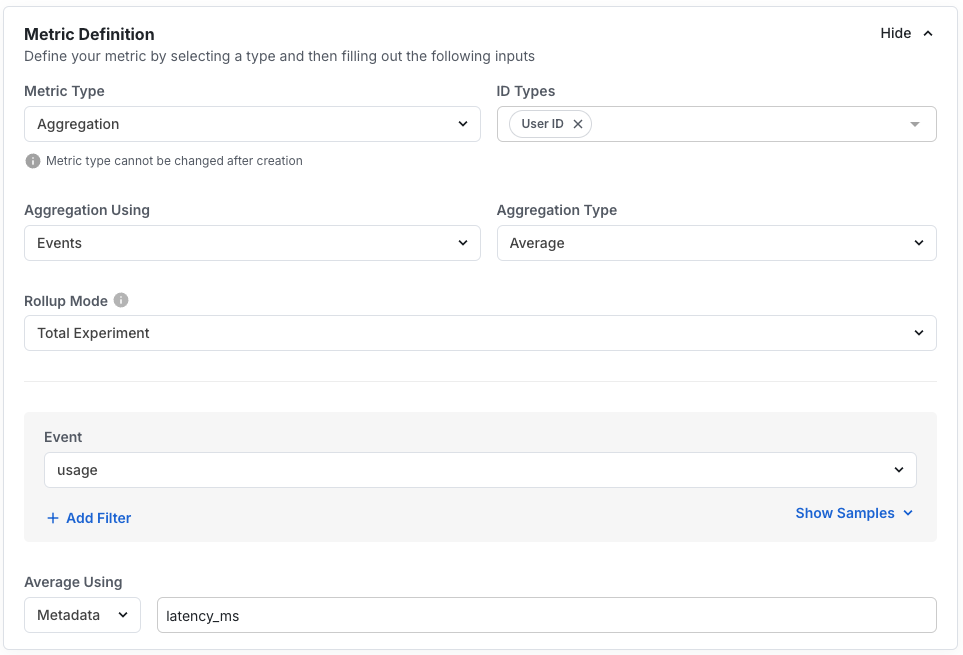
This will create a metric that averages latency across all usage events coming from chat completions.
Step 3: Create an experiment
Create a new experiment in the Statsig console from https://console.statsig.com/experiments
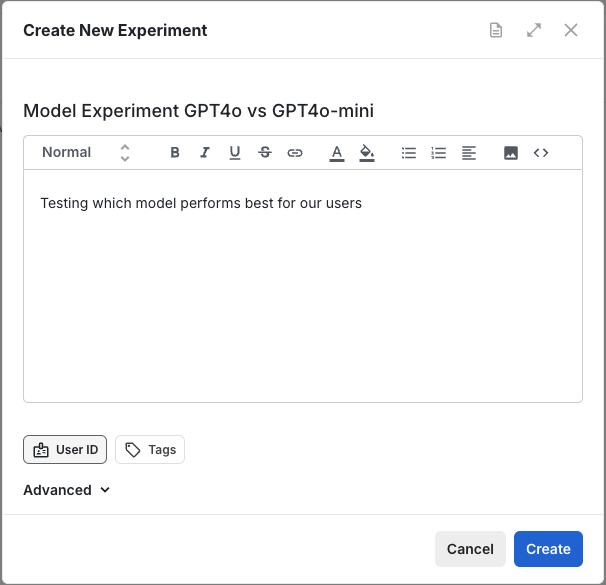
In the Setup page, add the metrics you created in Step #2 in the Primary Metrics field.
Step 4: Set up the variations
You can now create the control and test variants for the experiment you want to run. In our case, let's split them evenly 50/50.
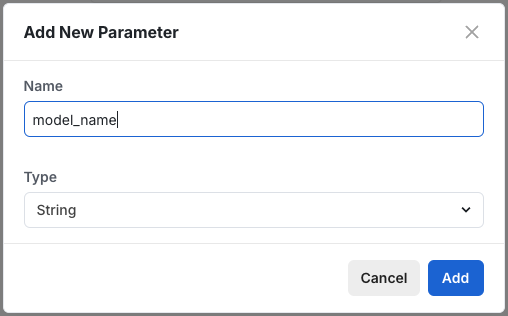
In the Groups and Parameters section, click on Add Parameter button and name the parameter model_name, with String type
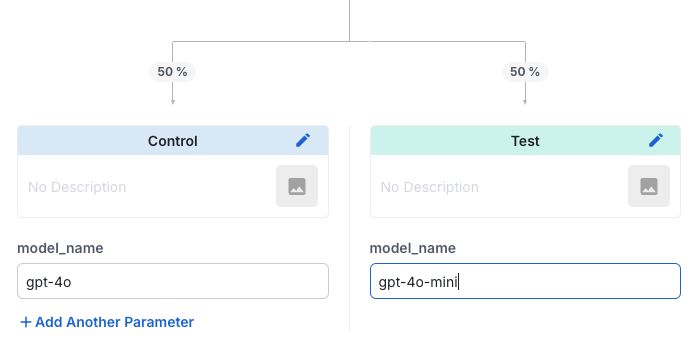
Now add the two configs we created in Step #1, one each to Control and Test parameters like this:
Step 5: Save and start the experiment
Now, hit the Save button at the bottom of the page. You will now see a Start button appear at the top of the experiment page. Go ahead and click it - this will start the allocation process for the experiment.
Step 6: Let's write some code
The code below:
- Fetches the experiment configuration from server for a given user. You can pass down the userID from your client application or use one from your database. The code below generates a random one for testing purposes.
- Gets the config name from the experiment variant - either from control or test
- Create a model client using the config that we just fetched
- Uses that model client to complete text.
async function testExperiments() {
await AzureAI.initialize(statsigServerKey);
const experiment = Statsig.getExperimentSync(
{ userID: Math.random().toString() }, // use a valid userID here
"model_experiment_gpt4o_vs_gpt4o-mini",
);
const configName = experiment.get("model_name", "gpt-4o");
console.log(`Using model: ${configName}`);
const modelClient = AzureAI.getModelClient(configName);
const result = await modelClient.complete([{
role: "user",
content: "Recite the first 10 digits of pi."
}]);
result.choices.forEach((choice, i) => {
console.log(choice.message.content);
});
await AzureAI.shutdown();
}
Step 7: Run the experiment and verify results
Run this experiment for several days, and you will now be able to measure latency profiles of gpt-4o compared with gpt-4o-mini in Statsig console. You can choose whichever one suits your needs.
The above is just a simple experiment to test models against each other. You could also tweak other parameters like temperature, frequency_penalty, max_tokens, etc. by modifying the config. This could all be done without needing to update code.