Okta SCIM Setup (OIN SUBMISSION)
Reference for configuring Okta SCIM provisioning with Statsig using the OIN-submitted integration, including supported operations and limitations.
⚠️⚠️ This is required documentation for the official Okta integration submission. For now, refer to the existing guide at Setup
This guide describes how to set up SCIM (System for Cross-domain Identity Management) integration between Statsig and Okta for automated user provisioning and management.
To set up SCIM, you need an Okta account with admin access and a SCIM Key from the Statsig Console, which requires Statsig Org Admin rights.Integration notes
- SCIM doesn't support user email management yet.
- When you remove a user from Statsig, Okta automatically unassigns them. If you unassign or deactivate a user in Okta, Statsig removes them from the organization.
- SCIM doesn't support creating Statsig Projects and Roles.
Step 1: Add the Statsig app from the Okta app catalog
Log in to your Okta admin console
Navigate to Applications > Applications > Browse App Catalog
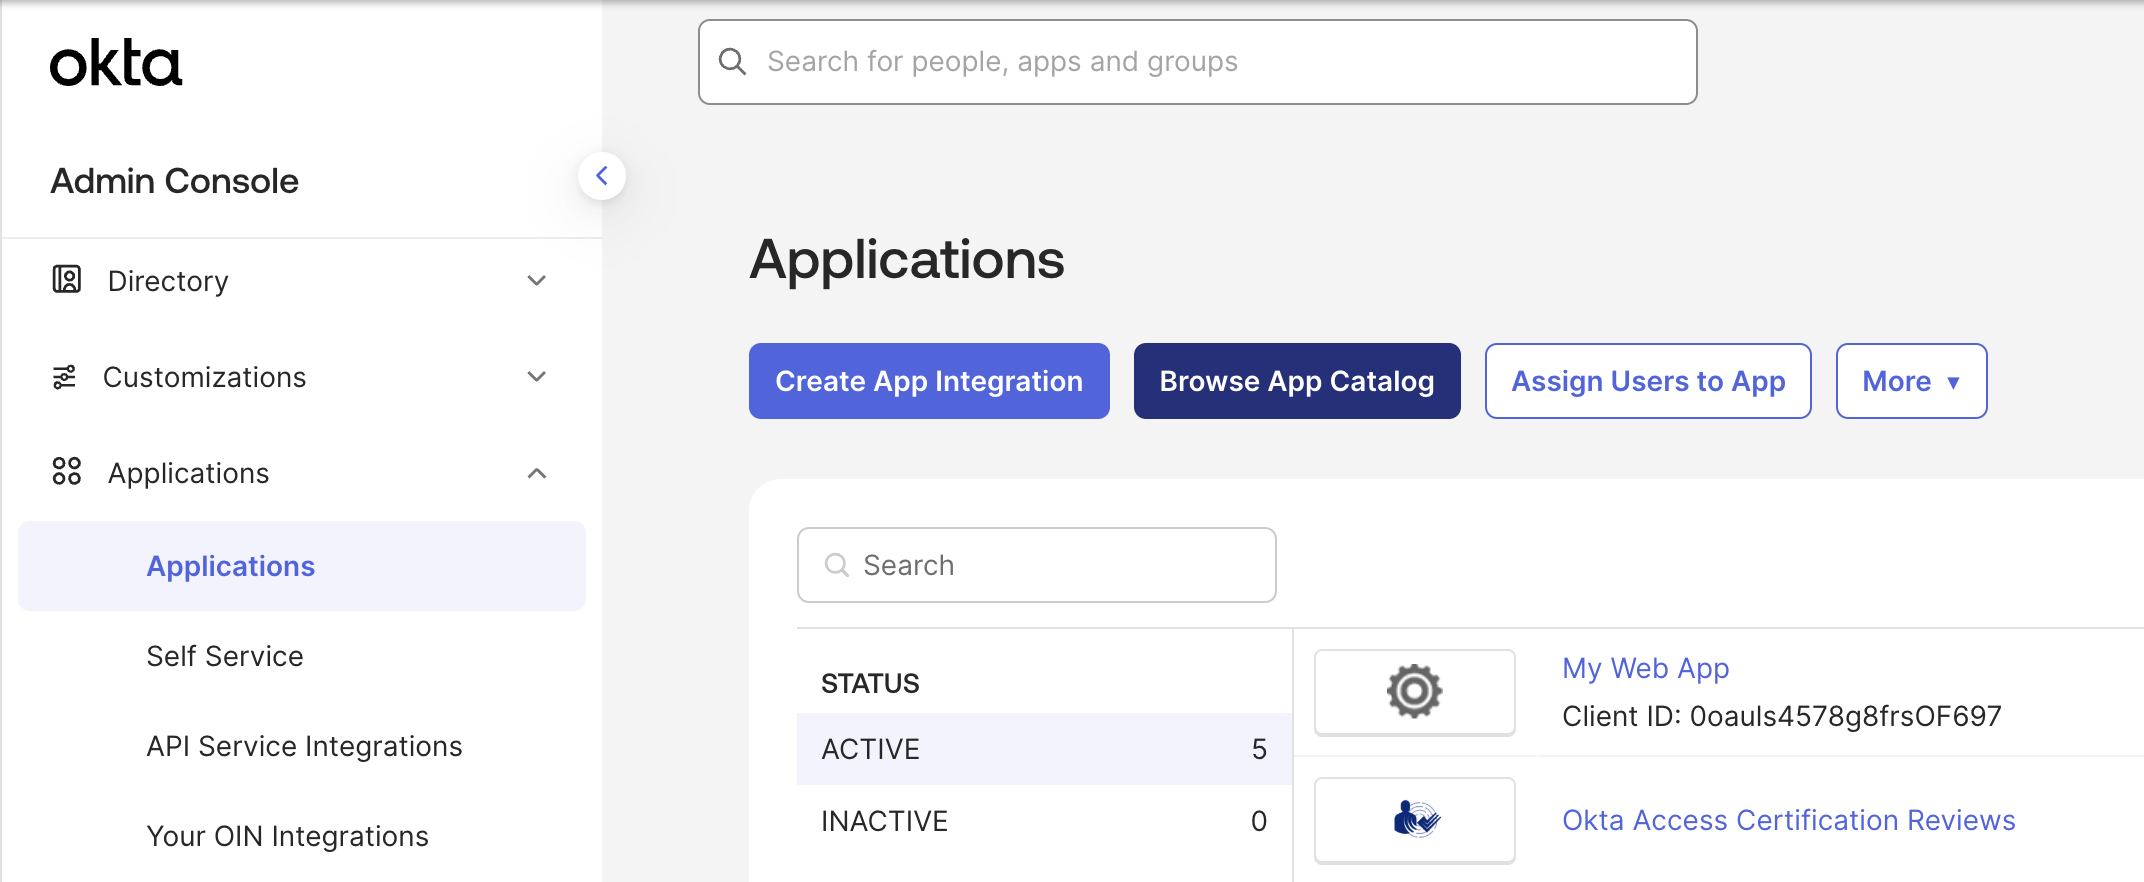
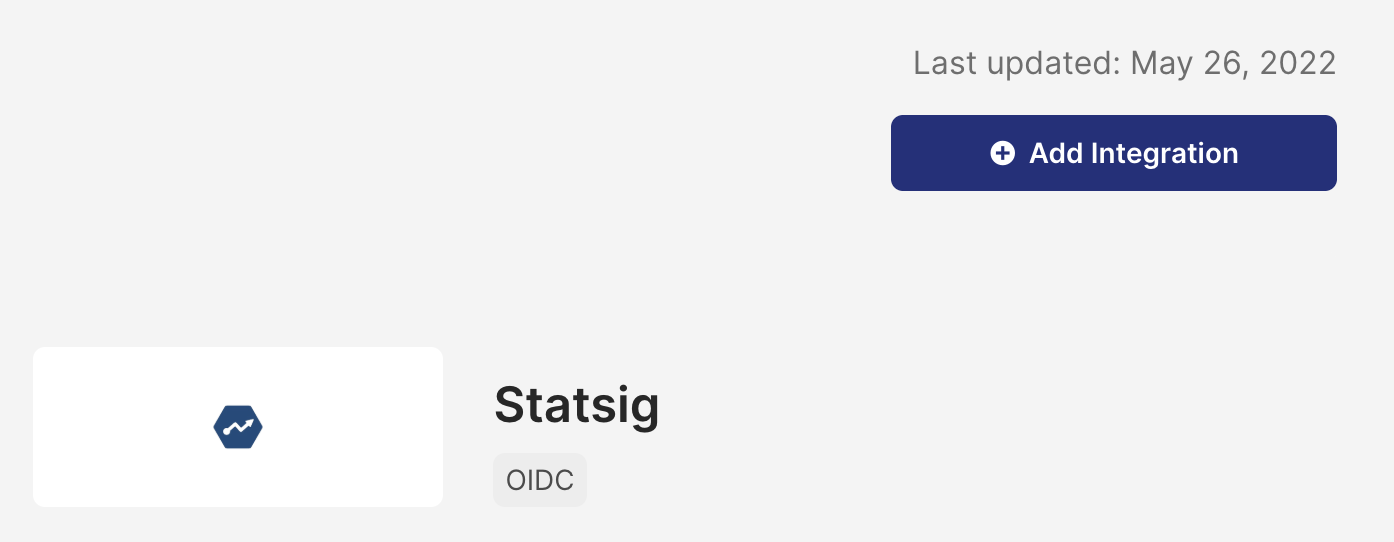
Search for and select "Statsig"
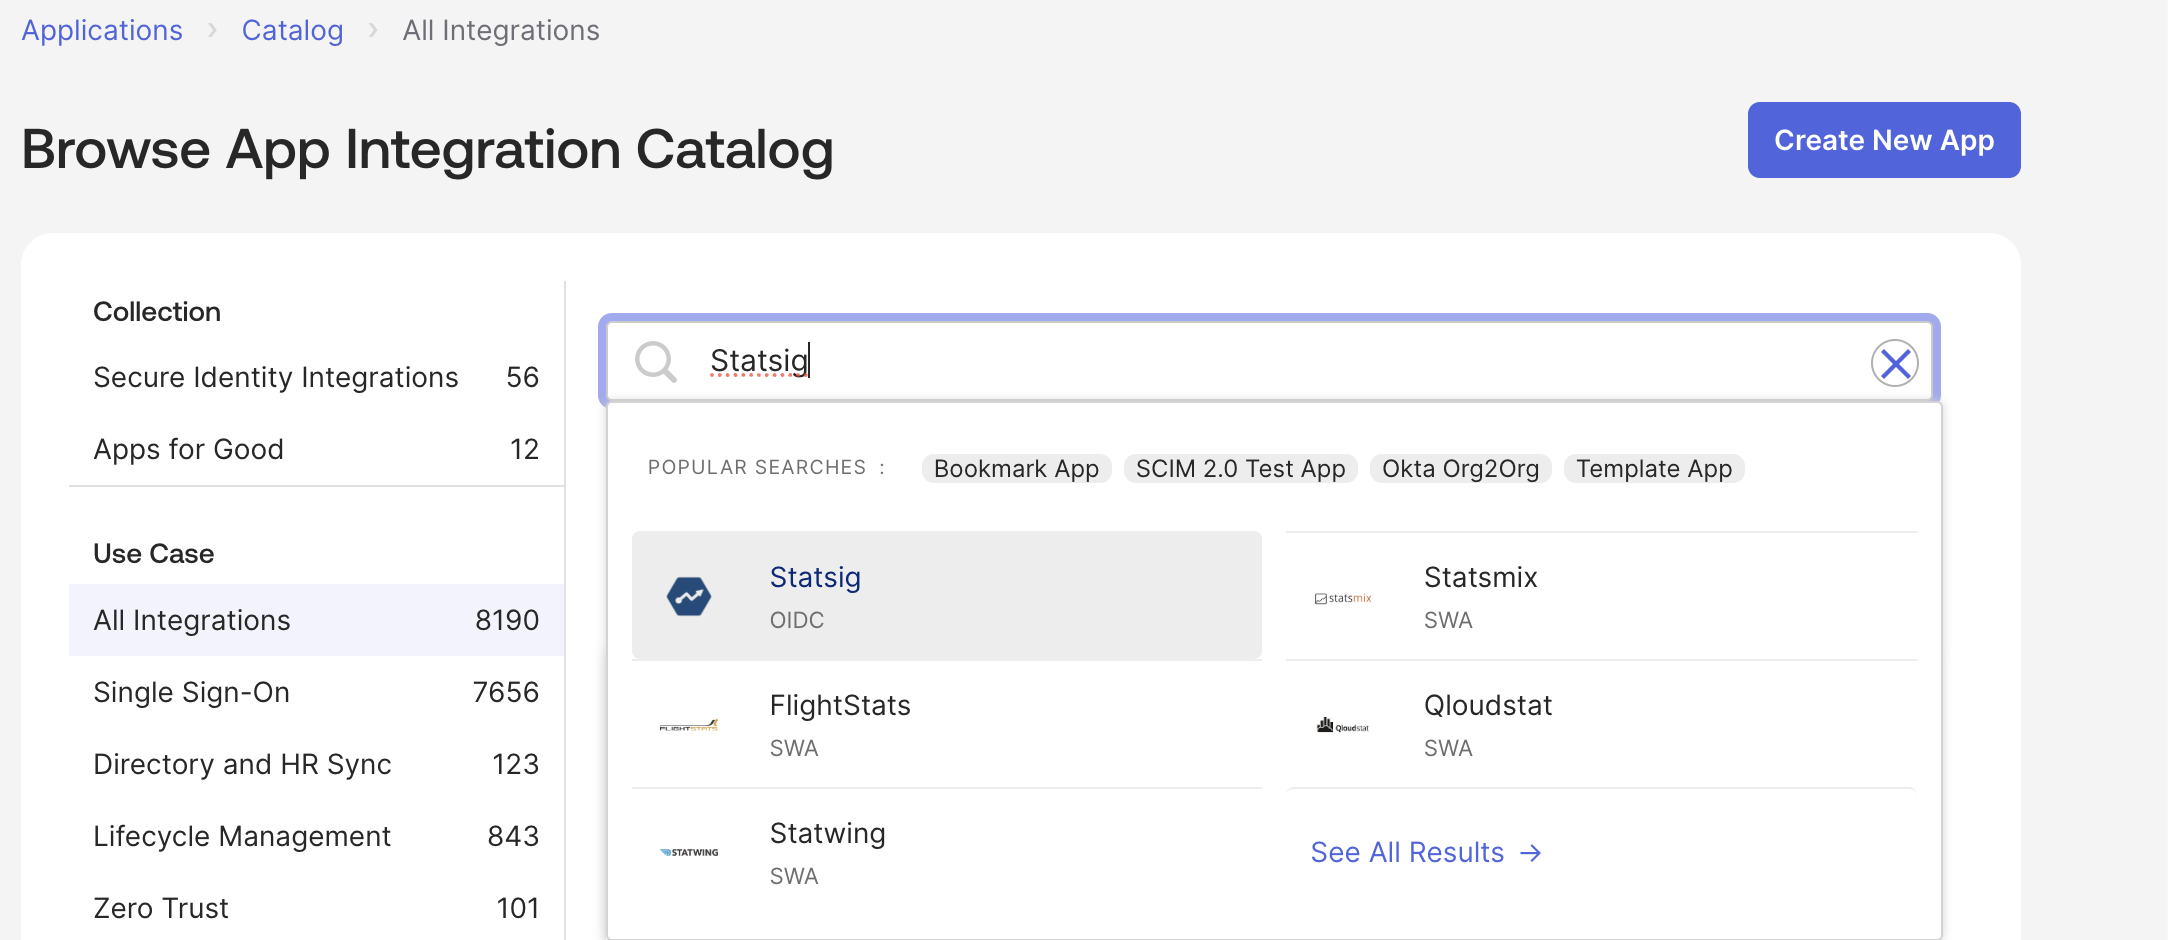
Select "Add Integration"
Set your application label, then select "Done"

Step 2: Enable API integration
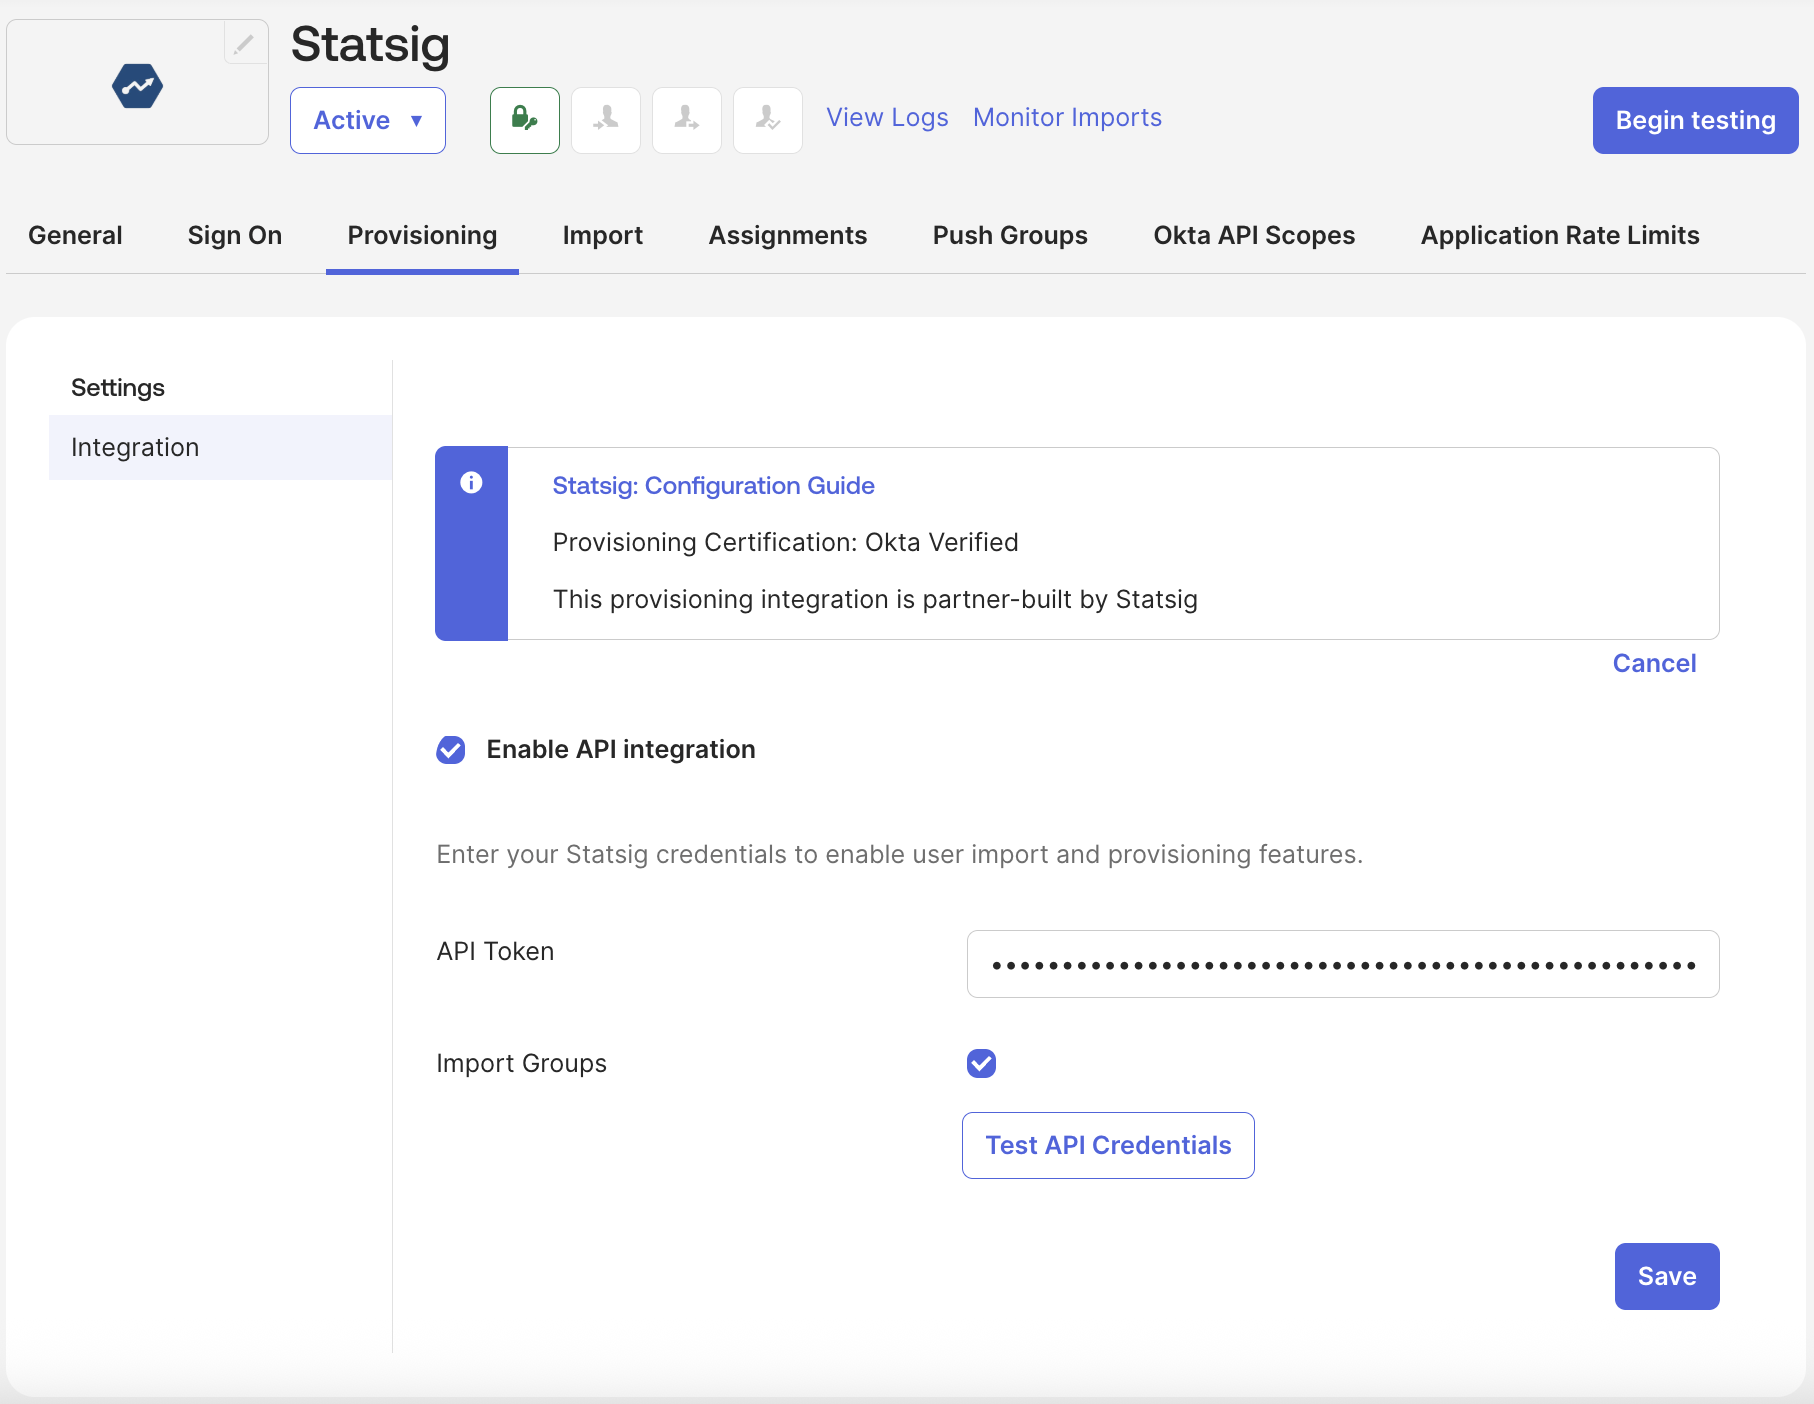
- Navigate to the "Provisioning" tab of the generated app -> Select "Enable API Integration"
- For the API Token, use the SCIM Bearer token your Org Admin generated in Statsig. Go to How to Obtain SCIM Auth Key for details.
- ⚠️Important⚠️ Prepend "Bearer " to the token obtained from Statsig, e.g. "Bearer scim-G22A***"
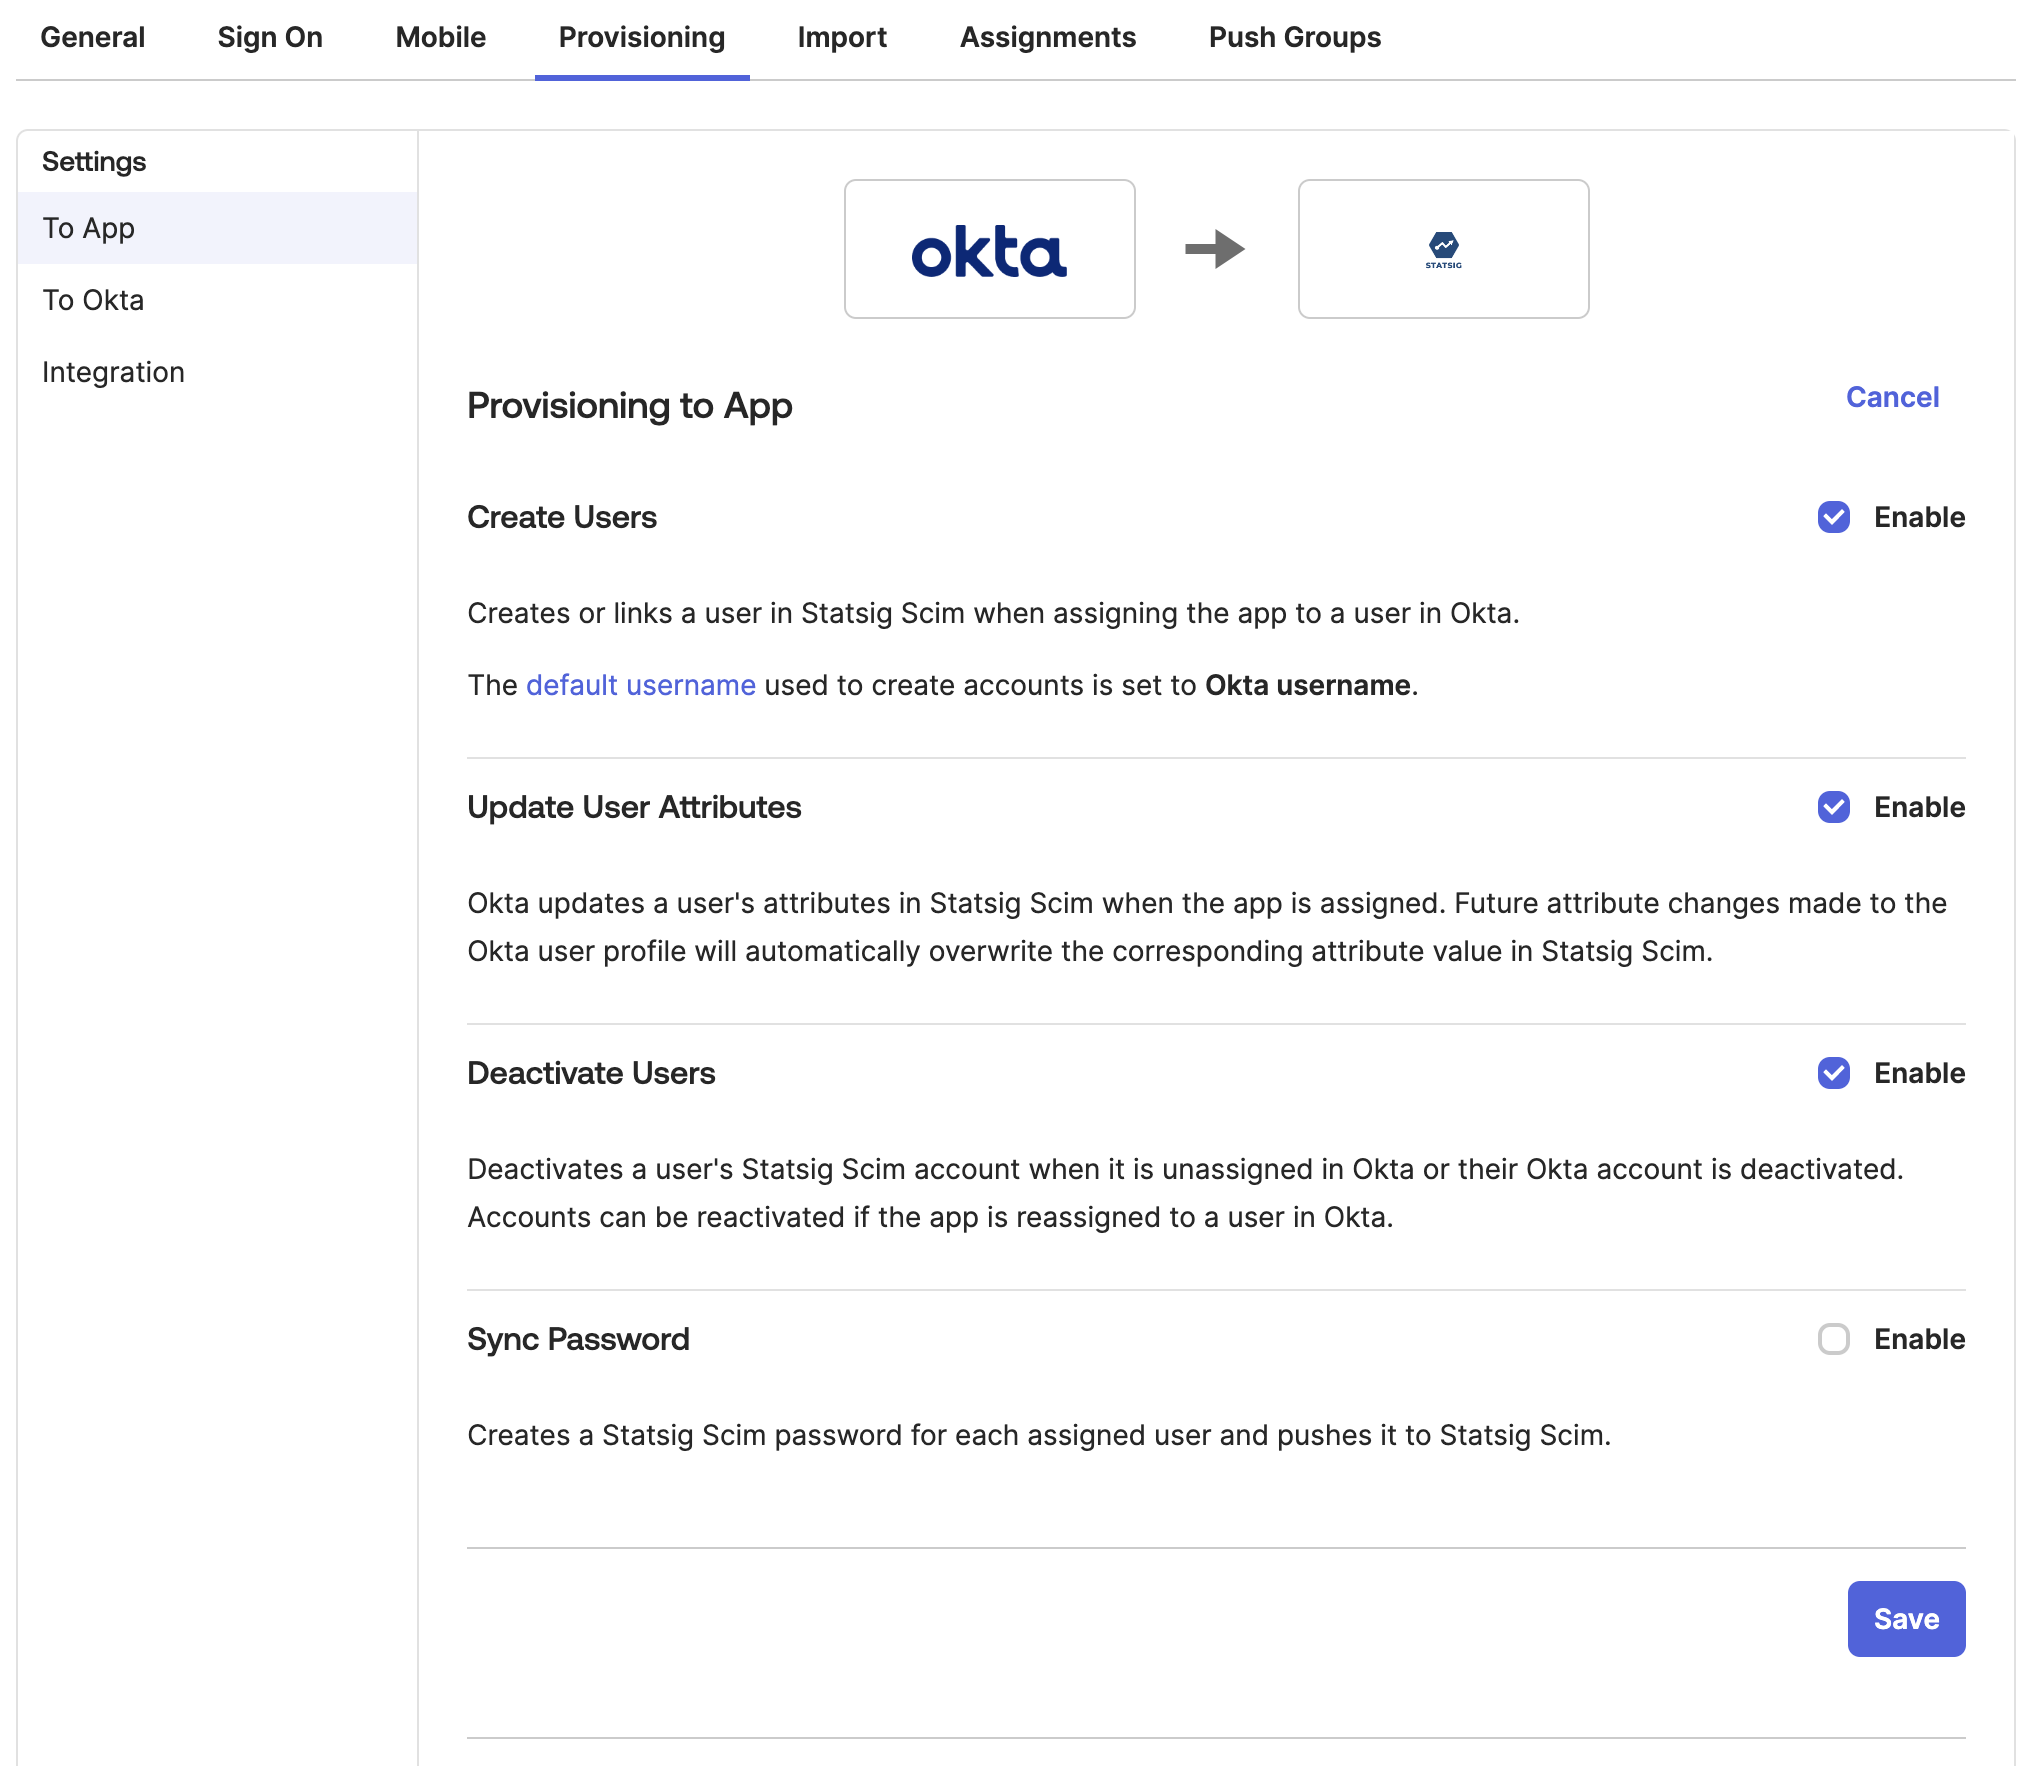
Step 3: Configure Okta to Statsig settings
- Enable "Create Users"
- Enable "Update User Attributes"
- Enable "Deactivate Users"
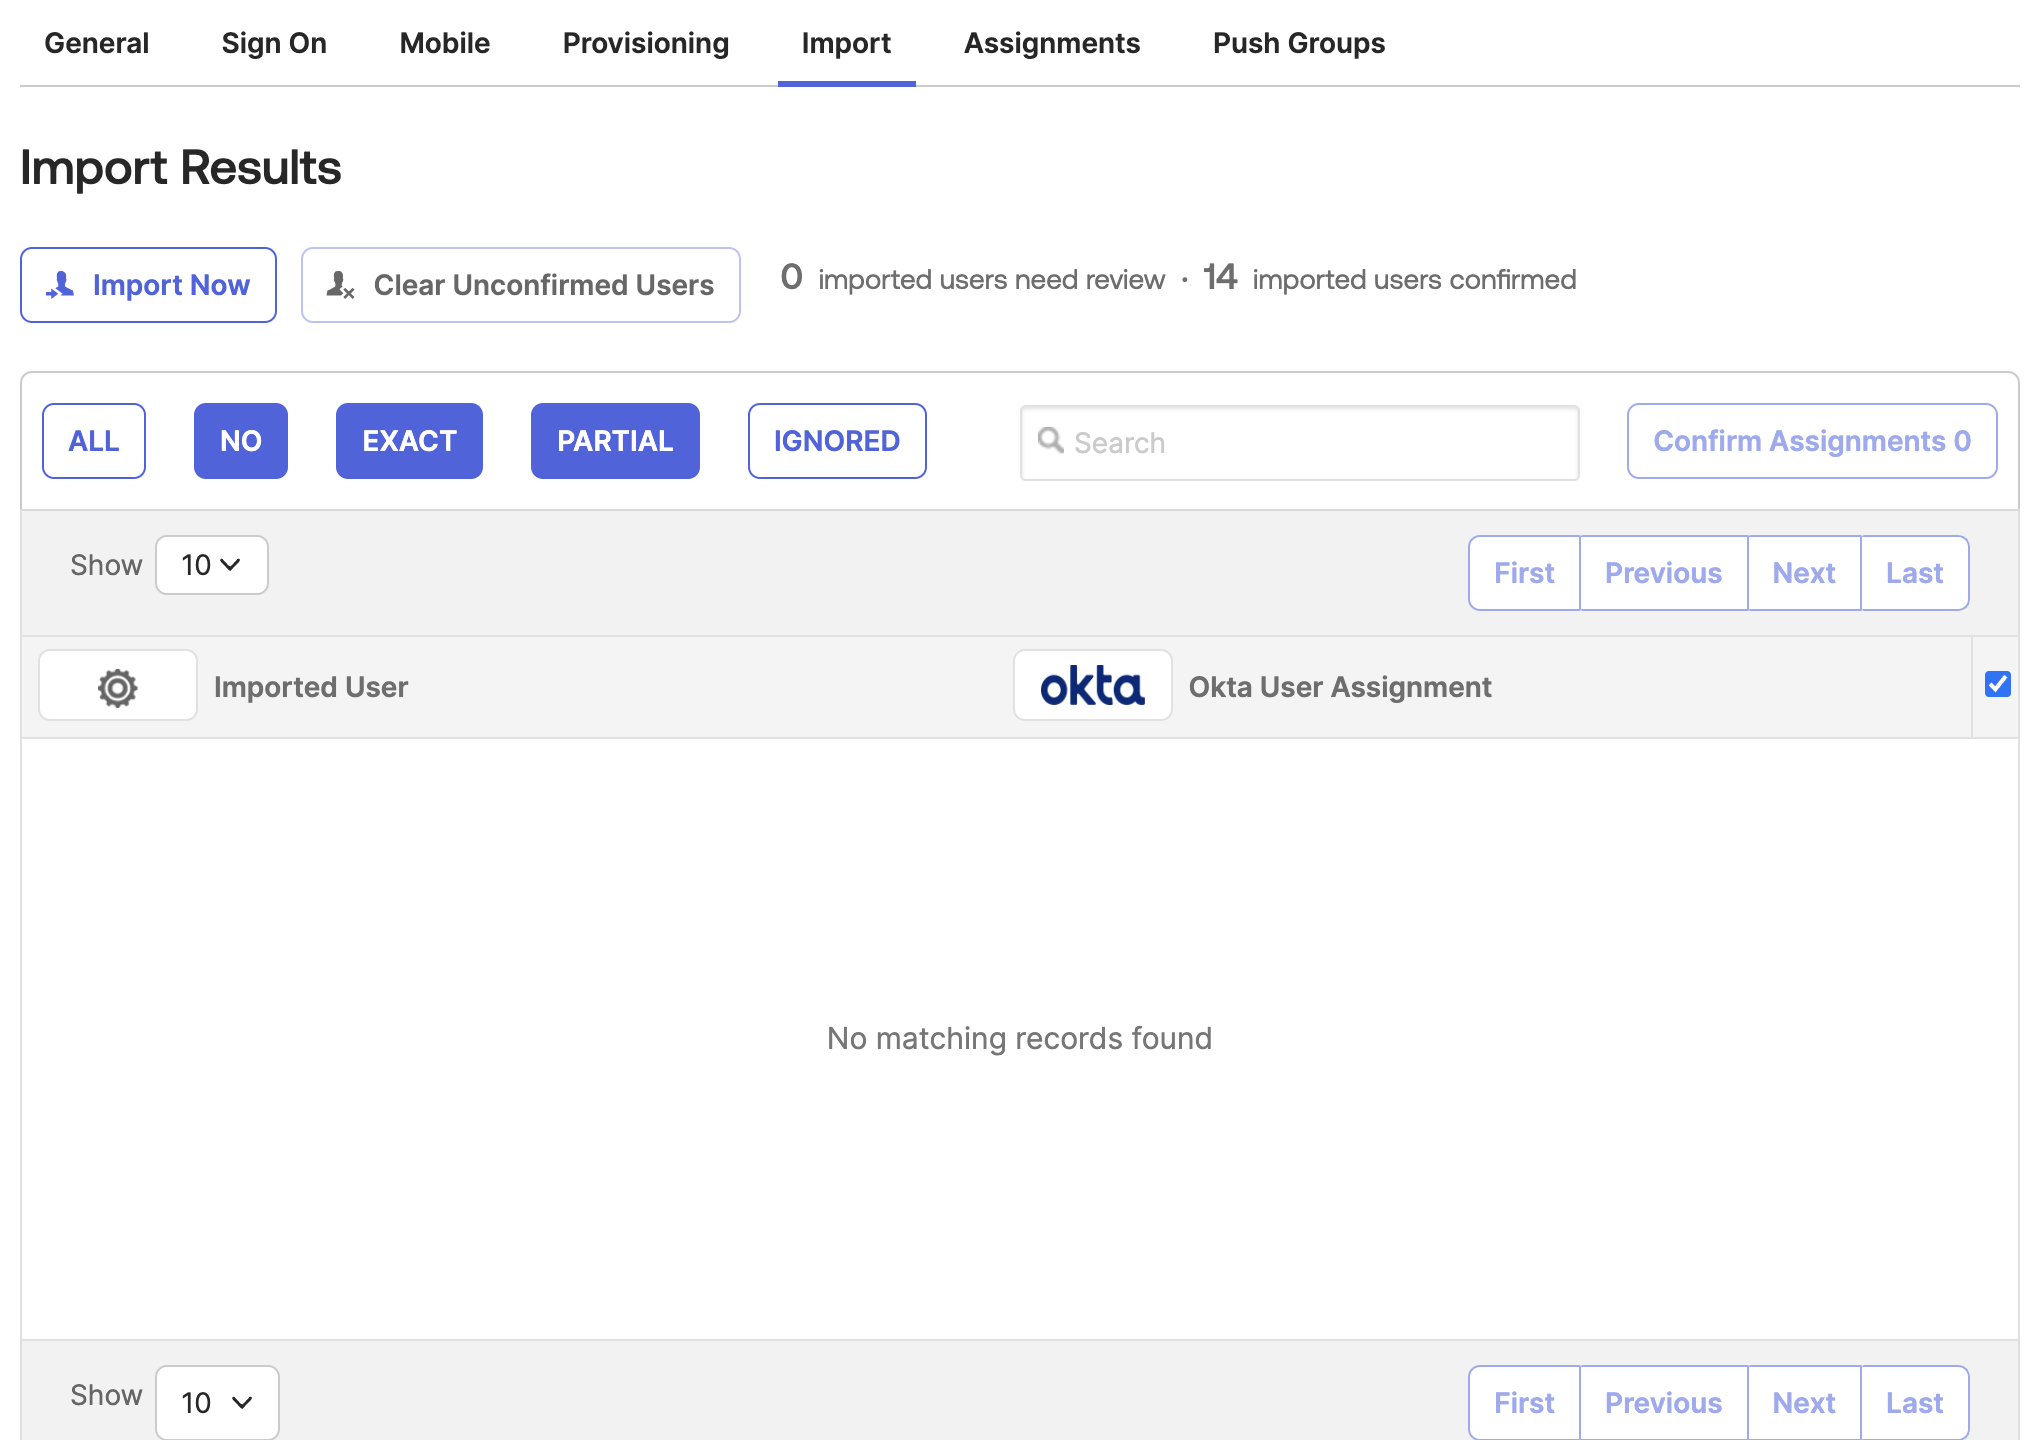
Step 4: Import existing Statsig users and groups
- In Okta, go to the Statsig app's "Import" tab
- Click "Import Now" to fetch existing Statsig users and groups
- Process the imported users as needed
Was this helpful?