## In the Statsig console
### Create a new feature gate
1. Log into the Statsig console at https://console.statsig.com.
2. On the left-hand navigation panel, under **Feature Management**, select **Feature Gates**.
3. Click on the **Create** button.
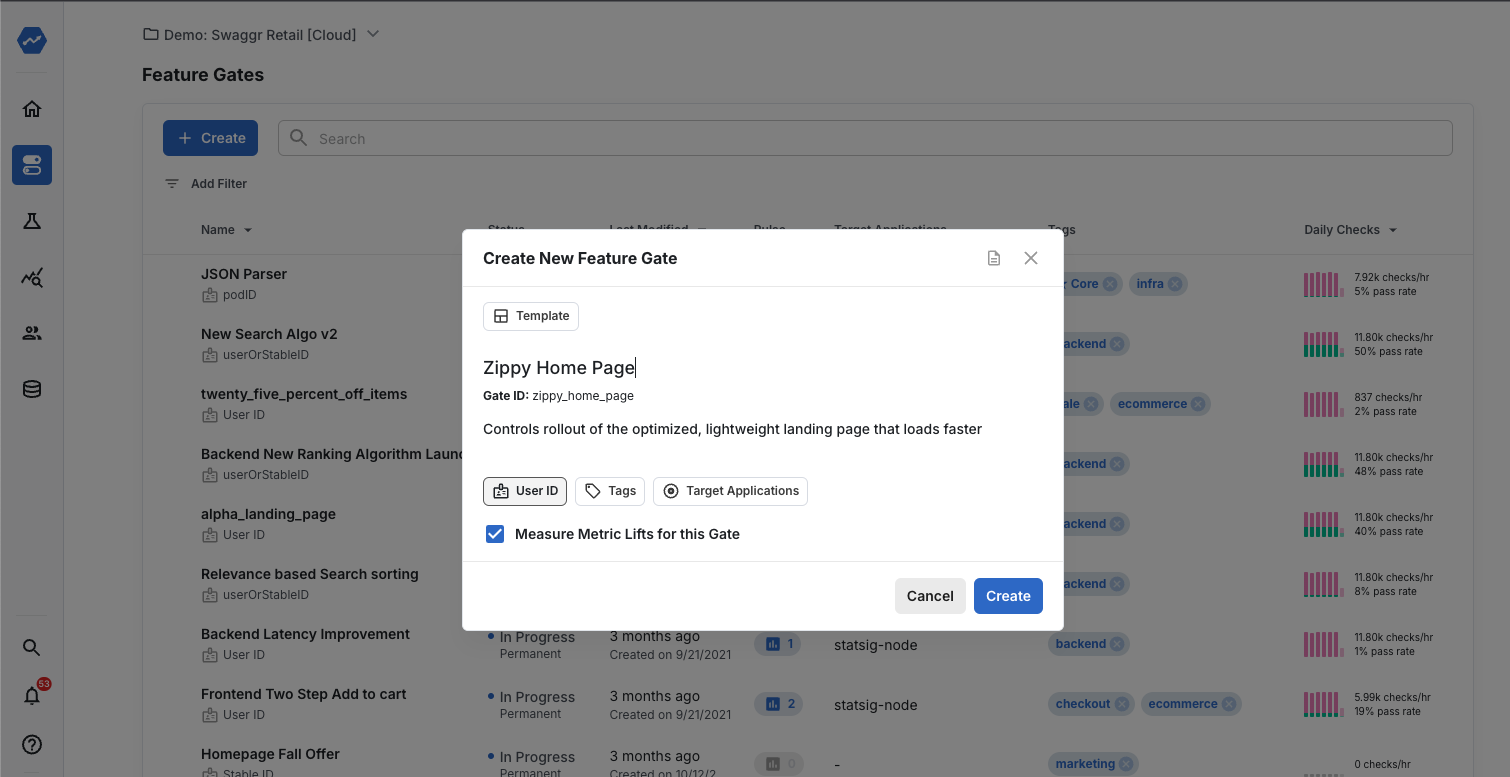
4. Enter the name and description of the Feature Gate you want to create. Name your gate based on what you are rolling out, such as "Zippy Home Page" for a new homepage.
{% figure %}
{% /figure %}
5. Click **Create** to complete creating your Feature Gate.
6. You have created a new Feature Gate without any evaluation rules or conditions.
{% figure %}
 {% /figure %}
### Add a rule to your feature gate
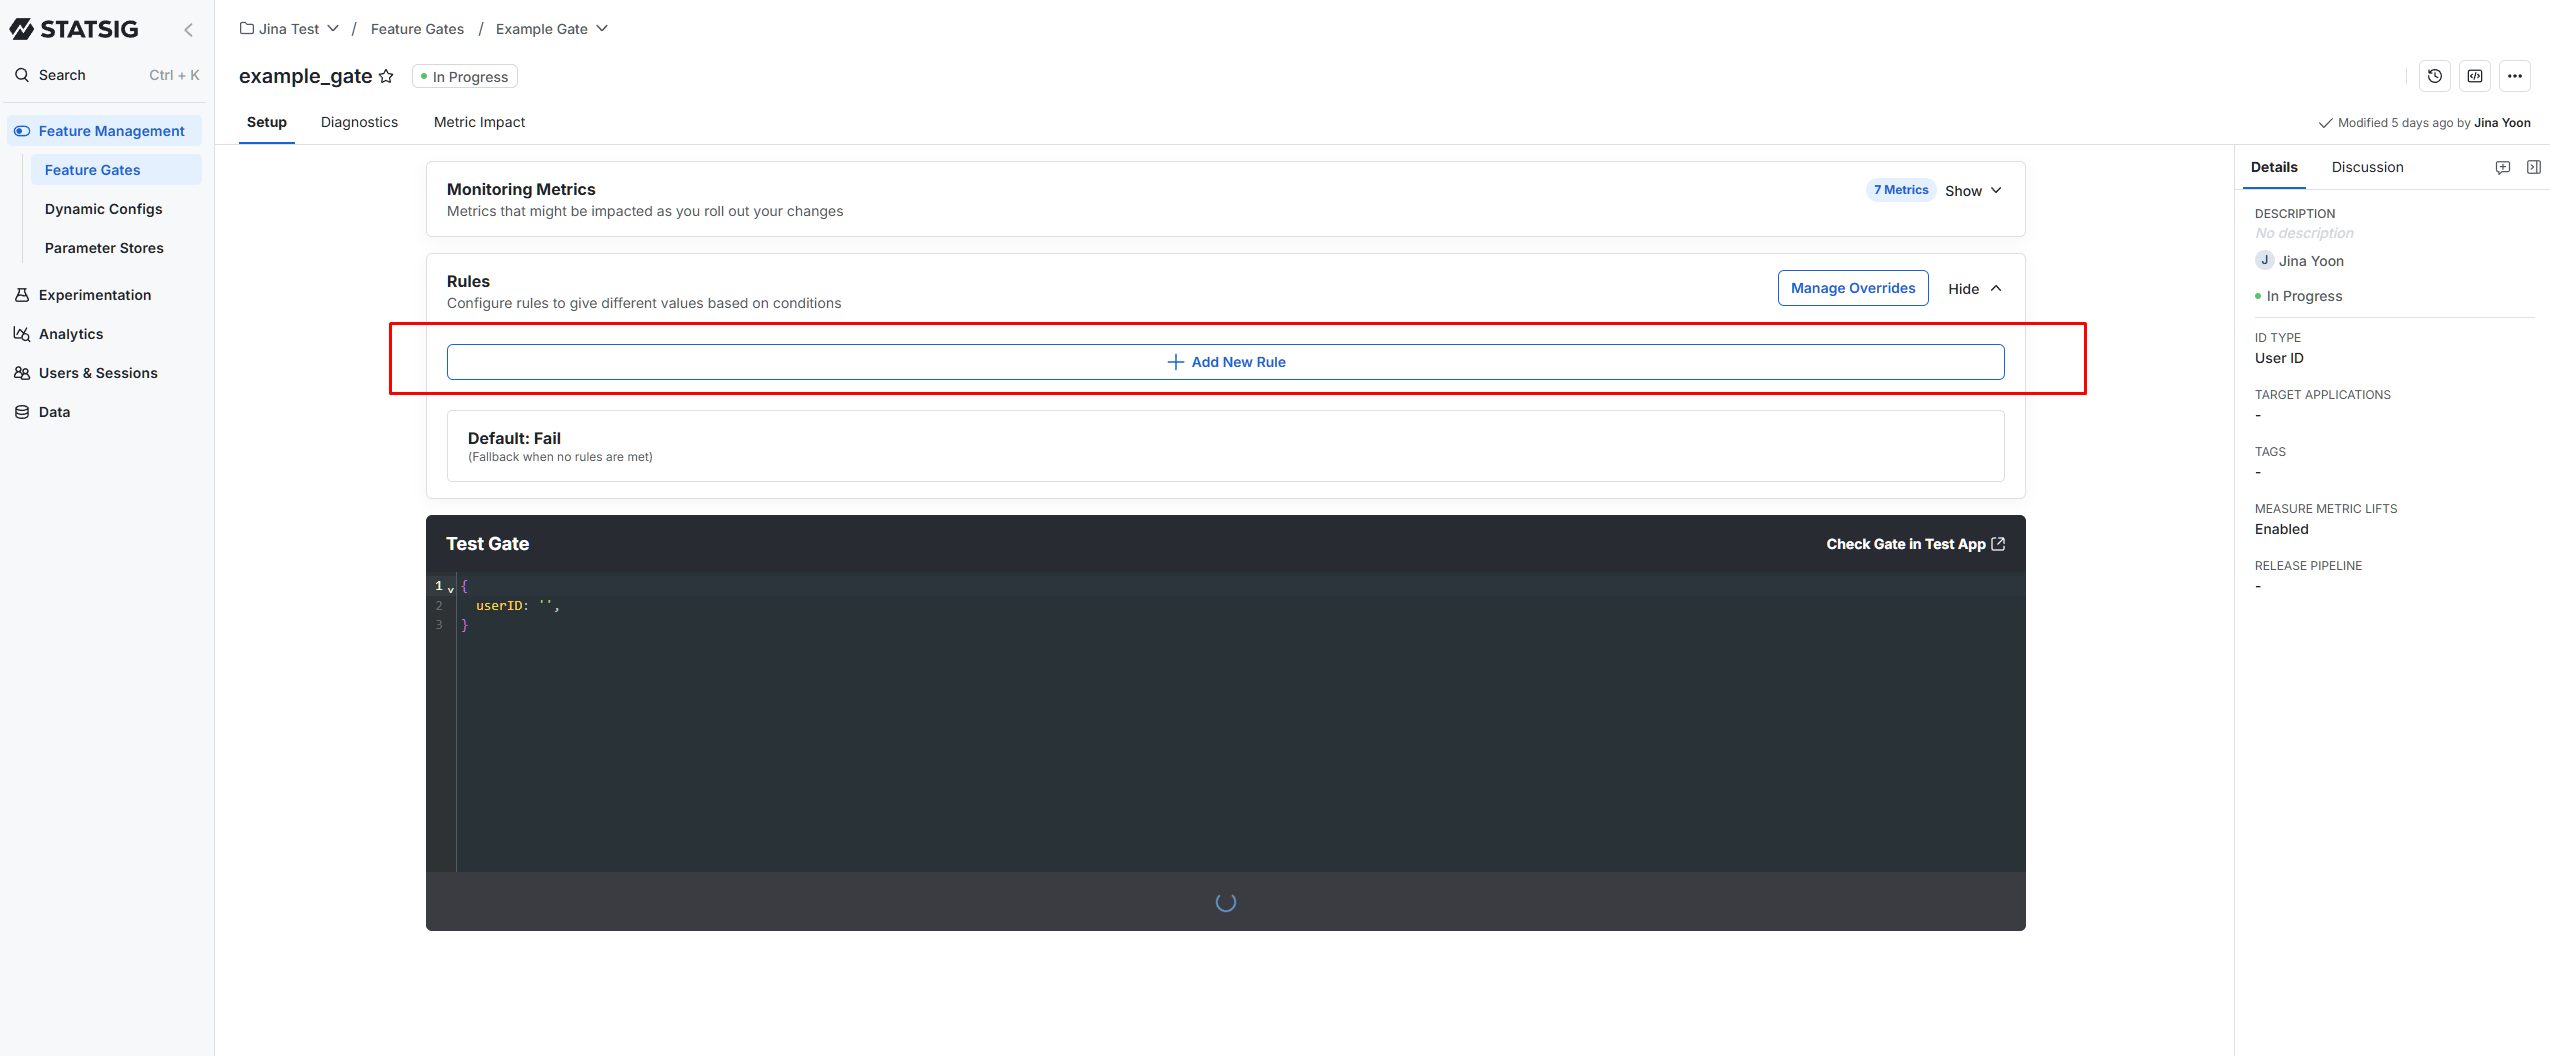
By default, a Feature Gate returns `false` when there are no rules configured. All users are blocked from seeing the feature until you set rules for who gets to "pass". The following steps walk through adding evaluation rules or conditions for a Feature Gate.
1. In Statsig console, under **Feature Management**, select **Feature Gates**.
2. Select the feature gate where you want to add a targeting rule
3. Click the **+ Add New Rule** button.
{% figure %}
{% /figure %}
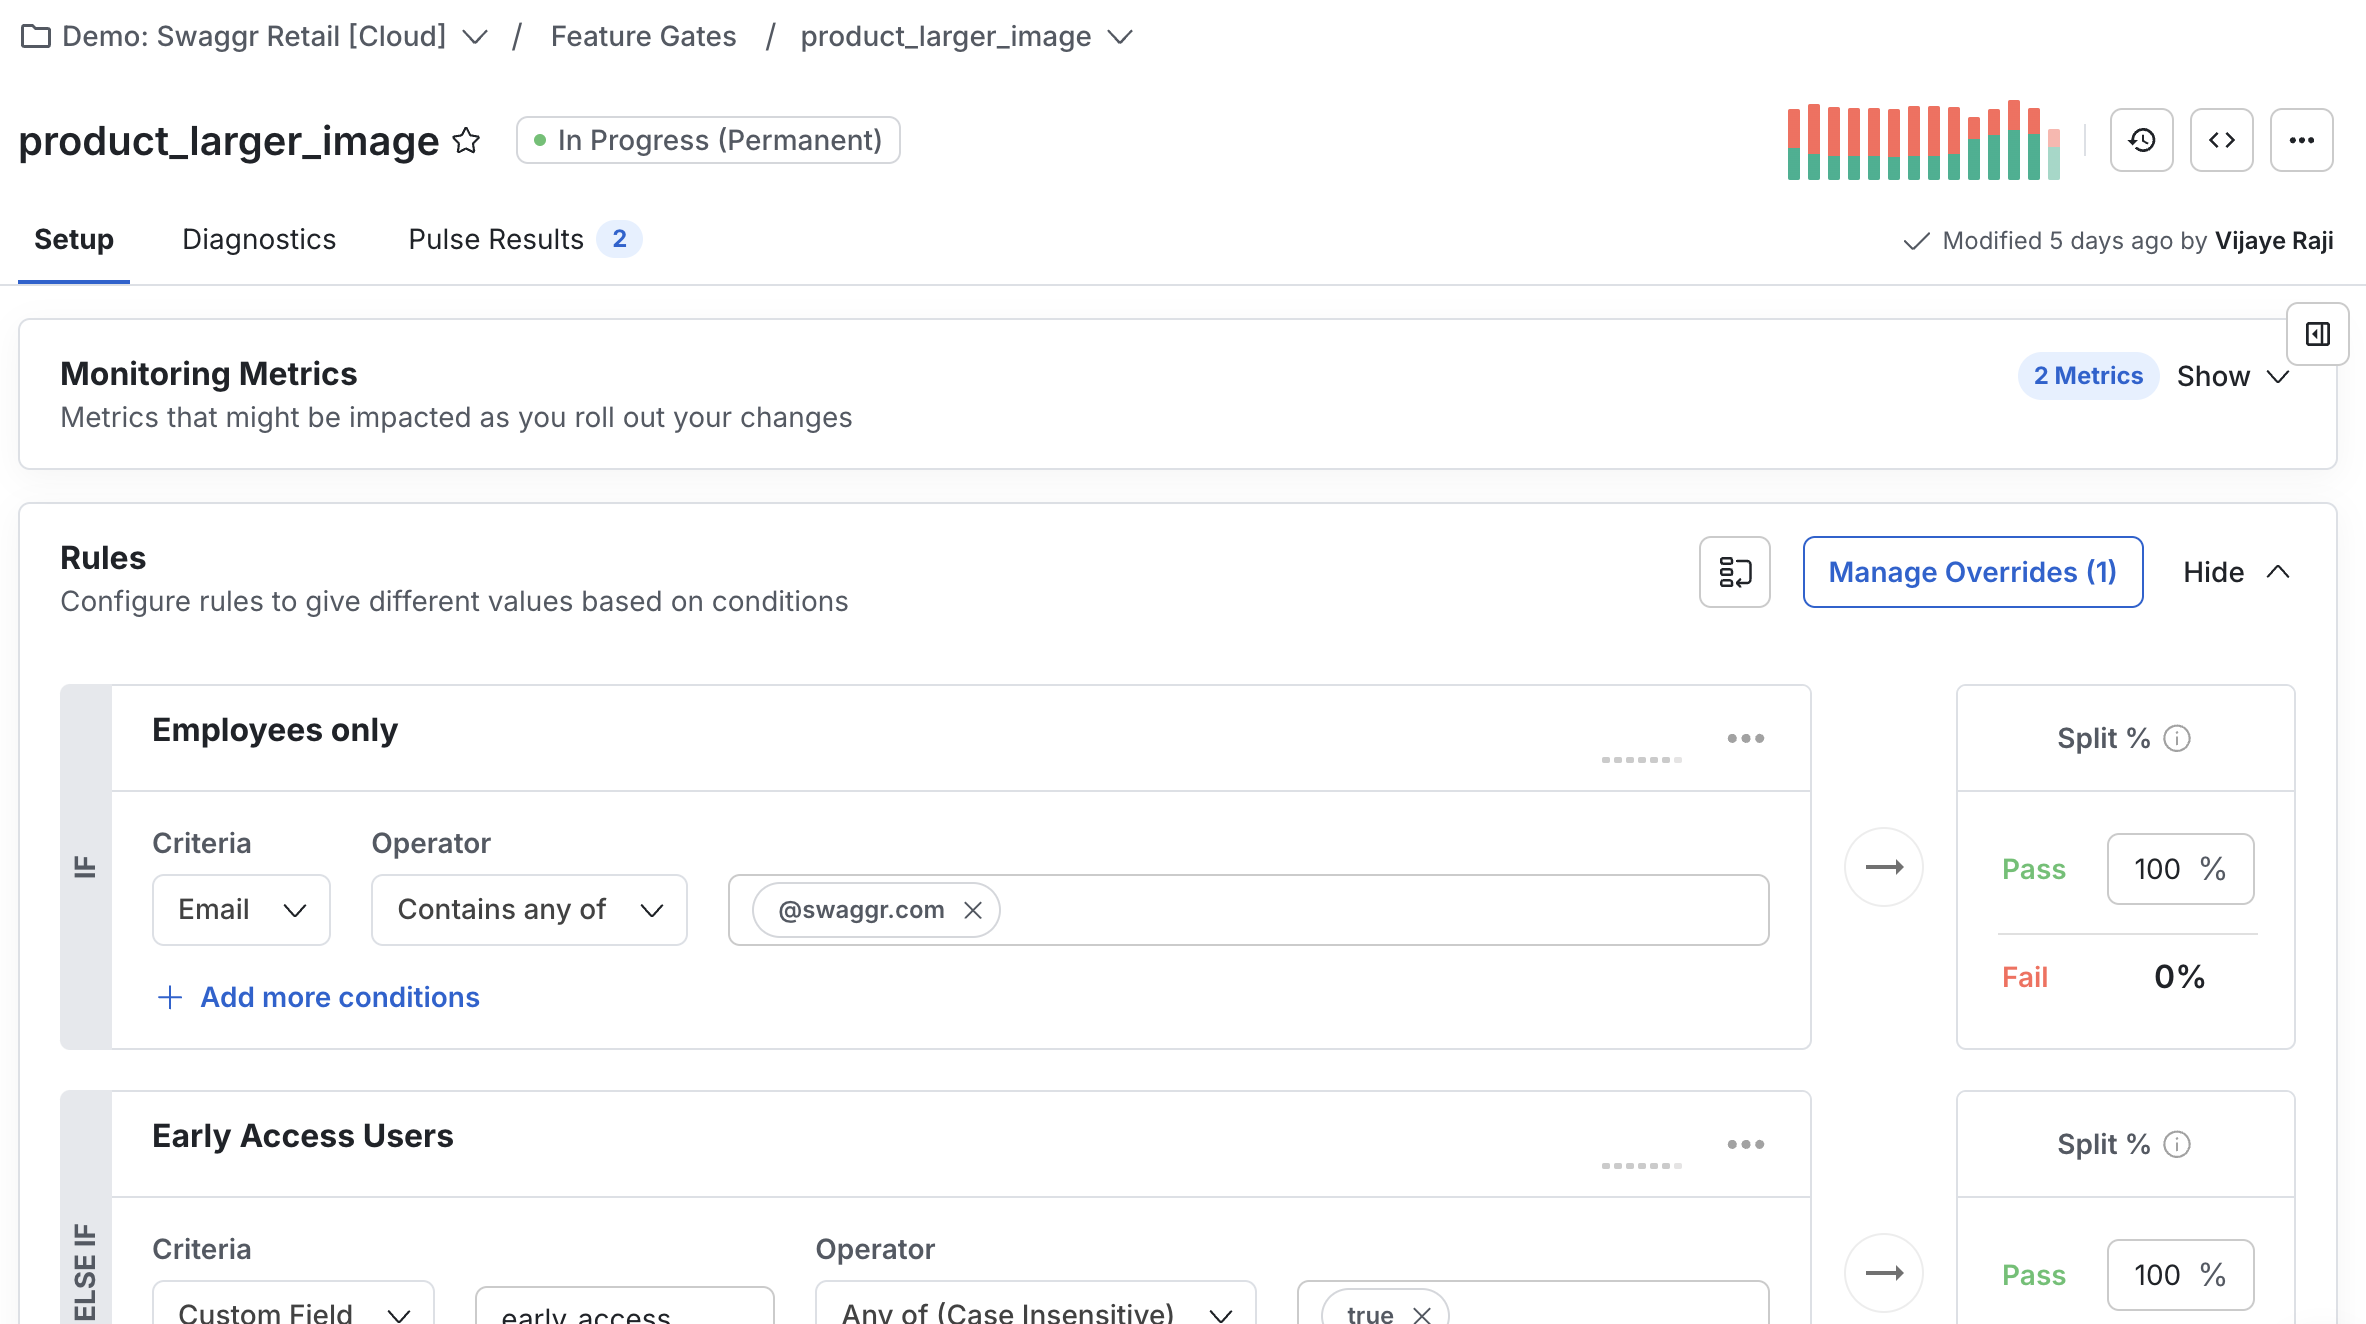
4. Name your rule with something descriptive that other teammates will understand, such as "Mobile Users Only".
5. Configure your Feature Gate with the following options:
* **Environment(s)** - The [staging environment(s)](/guides/using-environments) you want your gate to apply to
* [**Criteria**](/feature-flags/conditions) - Specific evaluation conditions for the rule. Read more details about criteria and condition evaluation [here](/feature-flags/conditions).
* **Split %** - The percentage of users who meet the criteria that you want to pass or fail the gate check. The Fail % is automatically calculated based on the Pass % you set
* [**Overrides**](/feature-flags/overrides): A list of users you want to always bypass your gate (an allow list)
6. Statsig doesn't auto-save changes to Feature Gates and targeting rules. Select **Save** at the bottom right when you are ready for your changes to take effect.
## In your code
The previous steps covered setting up Feature Gates in the web console. For these gates to impact the behavior of your application, you also need to update your product code. The Statsig SDK handles the evaluation so that gate decisions take effect in real time.
### Initialize the Statsig SDK
If you have not already initialized the Statsig SDK, follow the [Installation Steps](/client/React#installation) in the language of your choice.
### Check a feature gate
Use the `checkGate` function in the Statsig SDK. You can find a code snippet for any particular gate by selecting the code snippet button on that gate's page in the Statsig console and selecting the SDK you want to use.
{% figure %}

{% /figure %}
Here's an example in [React](/client/React#basics-check-gate):
```tsx
const { client } = useStatsigClient();
return (
{% /figure %}
### Add a rule to your feature gate
By default, a Feature Gate returns `false` when there are no rules configured. All users are blocked from seeing the feature until you set rules for who gets to "pass". The following steps walk through adding evaluation rules or conditions for a Feature Gate.
1. In Statsig console, under **Feature Management**, select **Feature Gates**.
2. Select the feature gate where you want to add a targeting rule
3. Click the **+ Add New Rule** button.
{% figure %}

{% /figure %}
4. Name your rule with something descriptive that other teammates will understand, such as "Mobile Users Only".
5. Configure your Feature Gate with the following options:
* **Environment(s)** - The [staging environment(s)](/guides/using-environments) you want your gate to apply to
* [**Criteria**](/feature-flags/conditions) - Specific evaluation conditions for the rule. Read more details about criteria and condition evaluation [here](/feature-flags/conditions).
* **Split %** - The percentage of users who meet the criteria that you want to pass or fail the gate check. The Fail % is automatically calculated based on the Pass % you set
* [**Overrides**](/feature-flags/overrides): A list of users you want to always bypass your gate (an allow list)
6. Statsig doesn't auto-save changes to Feature Gates and targeting rules. Select **Save** at the bottom right when you are ready for your changes to take effect.
## In your code
The previous steps covered setting up Feature Gates in the web console. For these gates to impact the behavior of your application, you also need to update your product code. The Statsig SDK handles the evaluation so that gate decisions take effect in real time.
### Initialize the Statsig SDK
If you have not already initialized the Statsig SDK, follow the [Installation Steps](/client/React#installation) in the language of your choice.
### Check a feature gate
Use the `checkGate` function in the Statsig SDK. You can find a code snippet for any particular gate by selecting the code snippet button on that gate's page in the Statsig console and selecting the SDK you want to use.
{% figure %}

{% /figure %}
Here's an example in [React](/client/React#basics-check-gate):
```tsx
const { client } = useStatsigClient();
return (
Gate is {client.checkGate("example_gate") ? "passing" : "failing"}.
);
```
In this example, the Statsig SDK checks from a client app whether any rules named "Example Gate" are set. The text "Gate is passing" is rendered for users who pass your gate conditions, and "Gate is failing" for users who fail the gate conditions.
{% callout type="tip" %}
Statsig offers over 20 client and server-side SDKs. Go to the full list of [SDKs](/sdks/quickstart#all-sdks) to find the one that best fits your needs.
{% /callout %}
## Common feature gate setups
### Kill switches
Set up a kill switch by setting an `Everyone` criteria's Pass percentage to 100%. To completely disable the feature for all users after code deployment, set the Pass percentage to 0%.
### OS-based flags
You can target users based on common application properties such as the operating system that the application is running on. For example, to target iOS users only, you can create a rule with the "Operating System" criteria, the "Any of" operator, and then listing "iOS" in the text field.
### Internal employees only
You can target users based on known user attributes. For example, you can use the user's **Email** attribute and the **Contains any of** operator, then enter the email domain of your company to target only internal employees.
### Defined user segments
You can also target users in a defined user [Segment](/segments/overview).
### Parent/child flags
You can target users based on their eligibility of other Feature Gates, enabling powerful chaining, hierarchy, and dependencies of flags. [Flag lifecycle management](/feature-flags/feature-flags-lifecycle) makes it easy to manage, deprecate, and maintain dependent flags.